Stations of the Cross can provide powerful imagery throughout the year and especially during Holy Week (the week before Easter). Many churches offer a “walk through the stations” during Lent, but this liturgical occasion may be difficult for younger children to grasp, and many Stations of the Cross may be too graphic or abstract for kids to understand.
After seeing this craft, I was motivated to help my kids understand and embrace this wonderful tradition. In addition to the egg carton craft, we also put together this felt board to bring to church or to the Stations walk through this Lent. It’s been inspiring to watch them engage with the different Stations of the Cross at the various churches we’ve attended!
AUTHOR’S NOTE: While there are traditionally 14 stations of the cross, Pope John Paul II encouraged the addition of a 15th station (and changed some of the stations to better reflect scripture, often called “The Scriptural Way of the Cross” with the 15th station not “celebrated” until Easter Sunday). While this post follows the traditional 14 stations with the addition of the 15th station, it is a great exercise for either list, and I will include printable cards and article ideas for the “Scriptural Way of the Cross” when I can.
What I used:
- 1/2 yard white felt
- 4 sheets “giraffe” textured felt
- 1 sheet dark brown felt
- 1 sheet light brown felt
- 1 sheet “oatmeal” color felt
- 1/8 yard muslin
- Felt glue
- Sewing machine/thread
- 12×14 coordinating fabric for pocket
- 15 pieces of velcro
- Printed Stations of the Cross cards
- This e-book really inspired me to make some kid-approachable pictures
- Cardstock
- Laminating sheets
- Stations articles
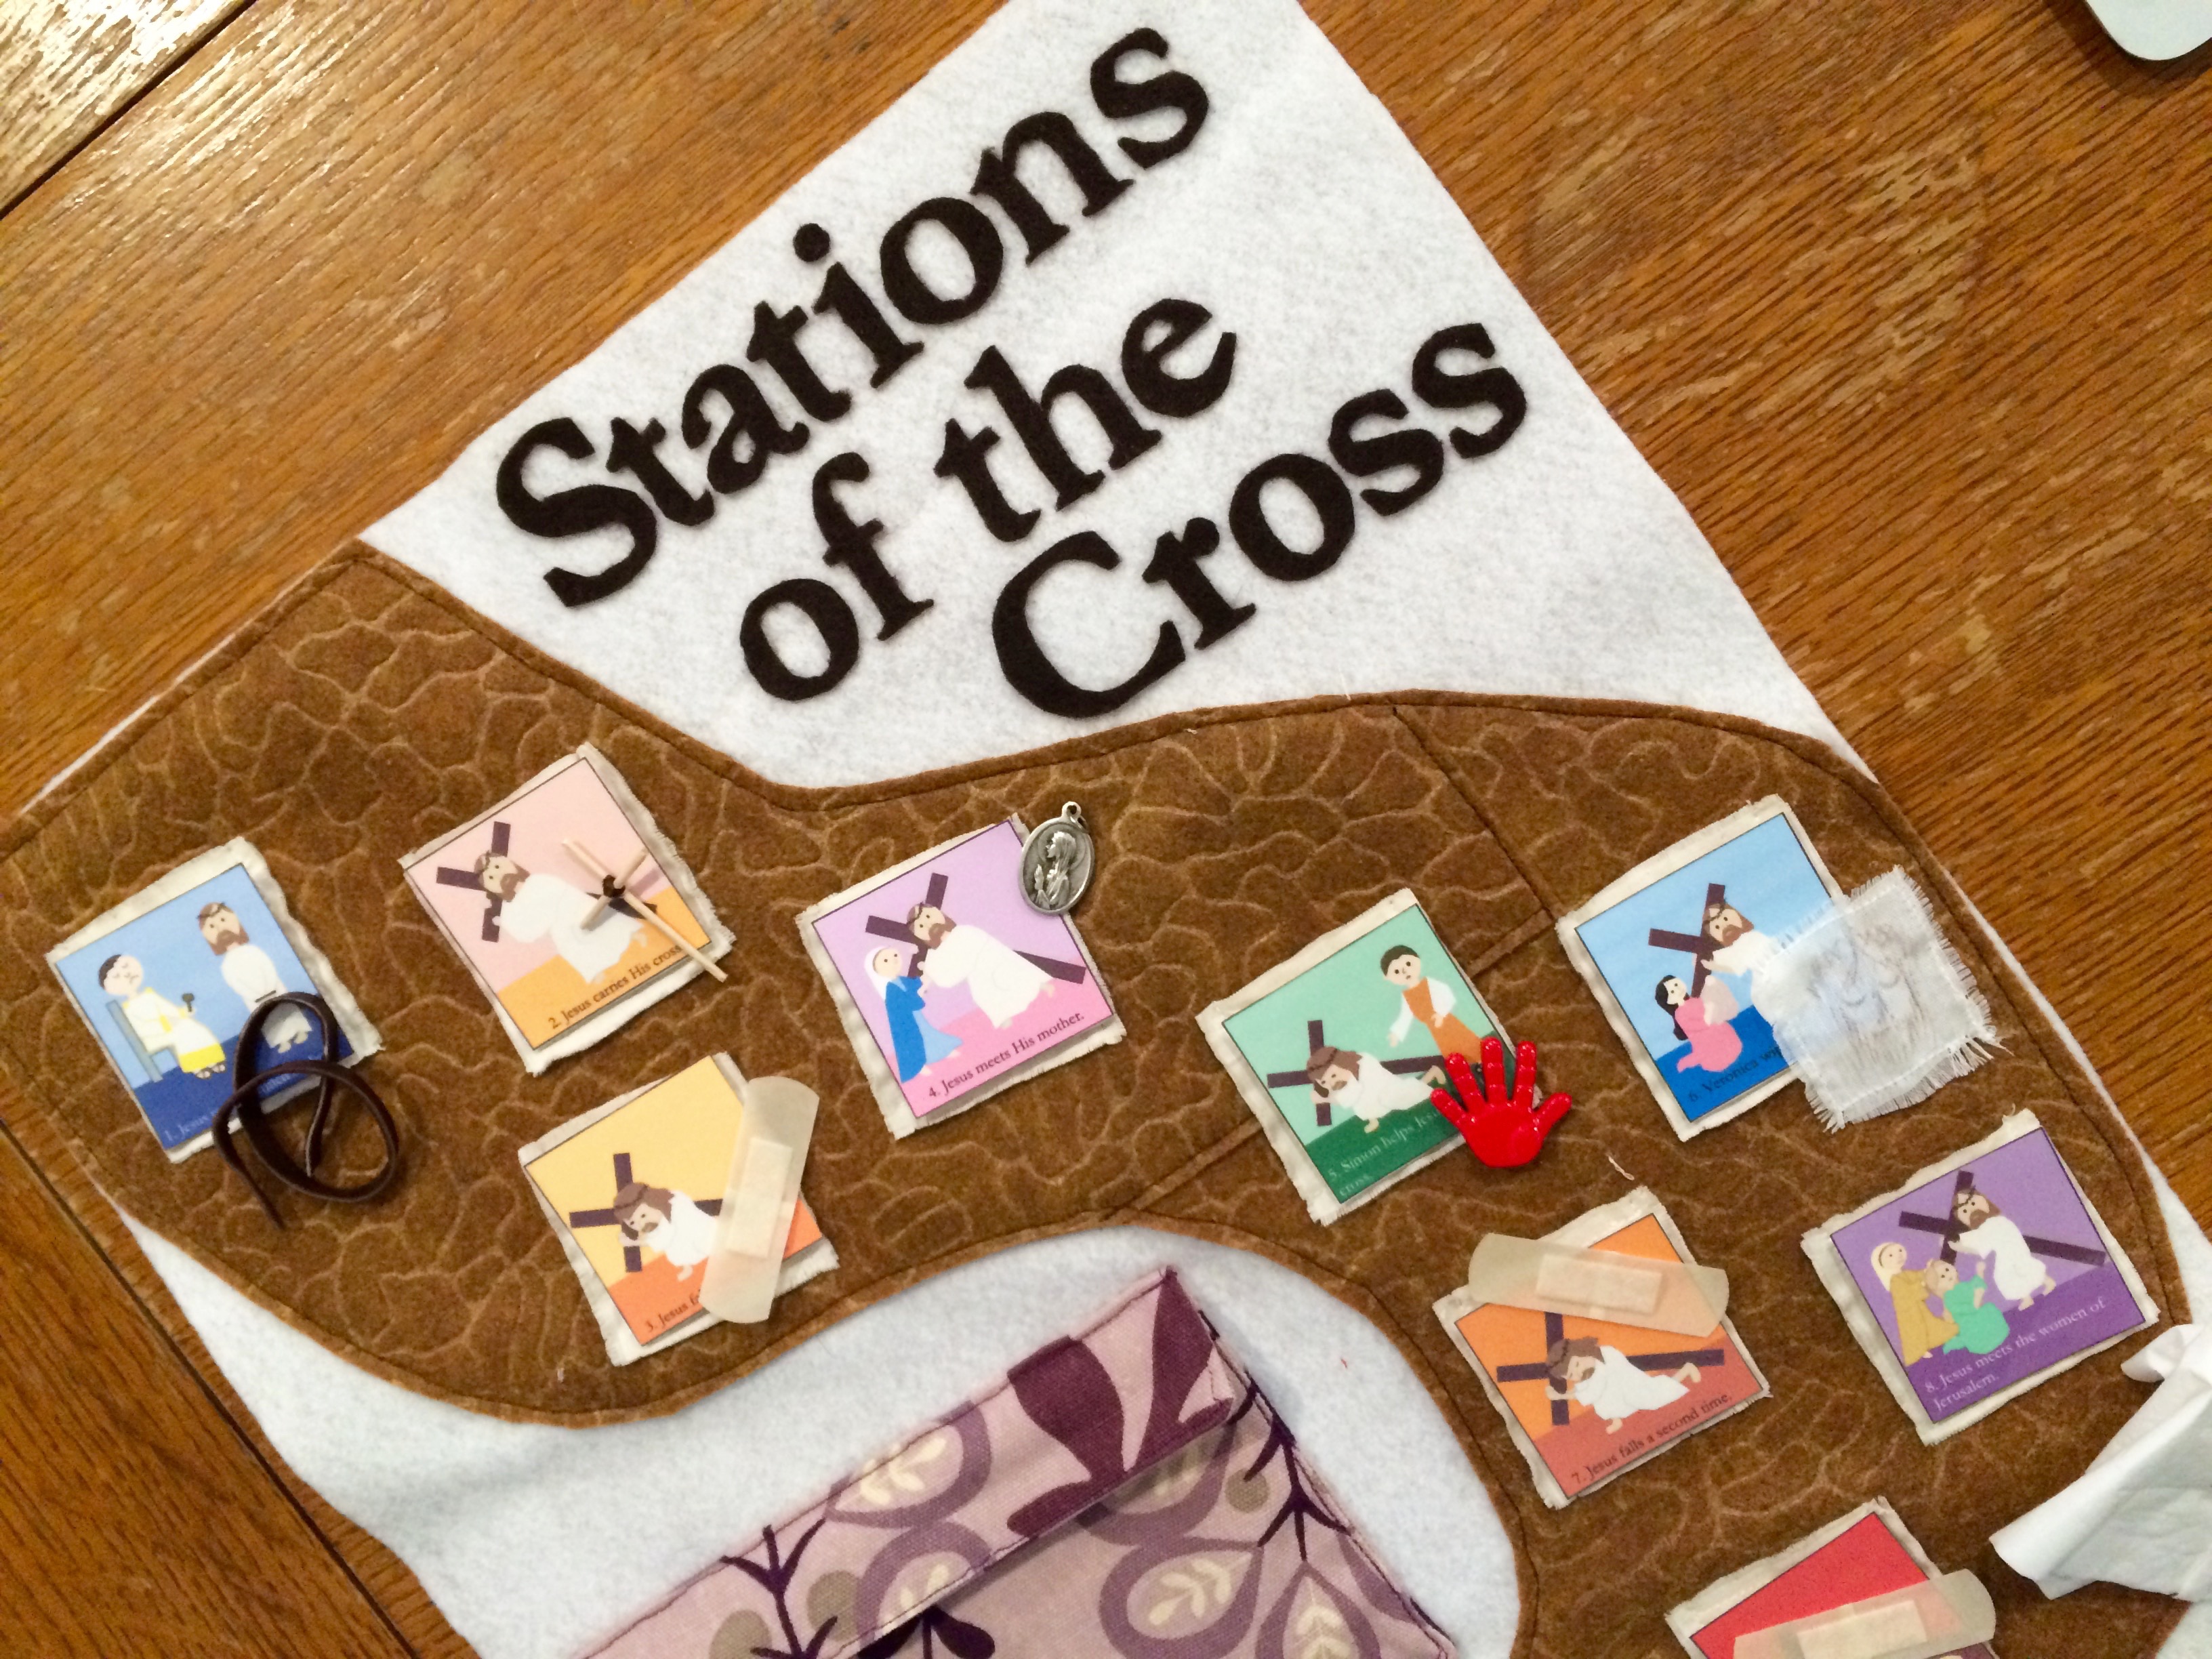
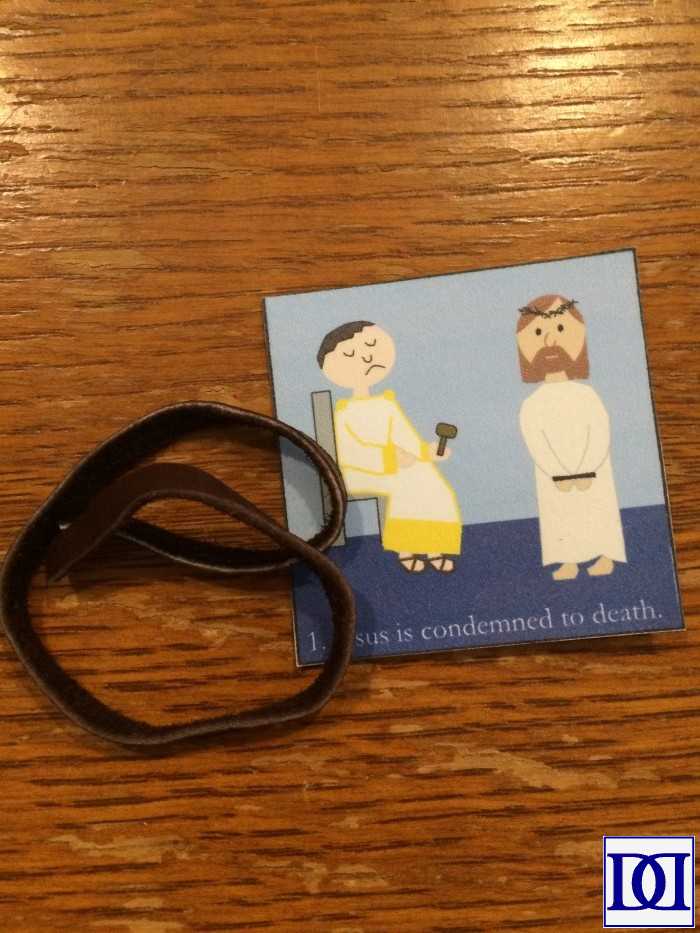
- Brown leather ribbon [Jesus’ hands being bound]
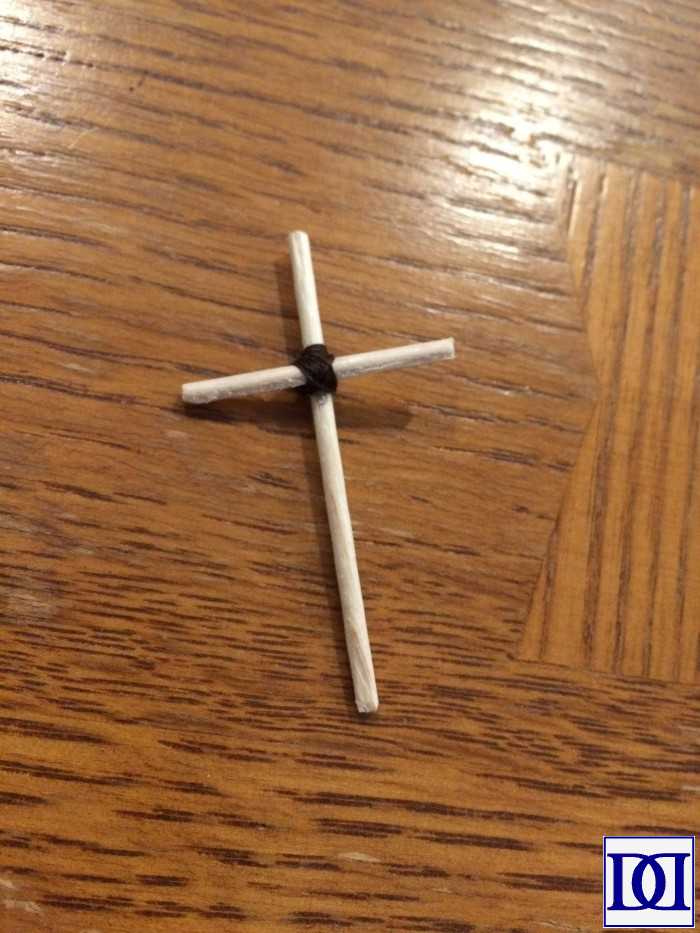
- 2 toothpicks [Cross]
- 3 bandaids [Jesus falling 3 times]
- Mary medal or figurine [Jesus meeting his mother]
- Hand button [The helping hand of Simon]
- Scrap white fabric [Veronica wiping Jesus’ face]
- Tissue [Weeping women of Jerusalem]
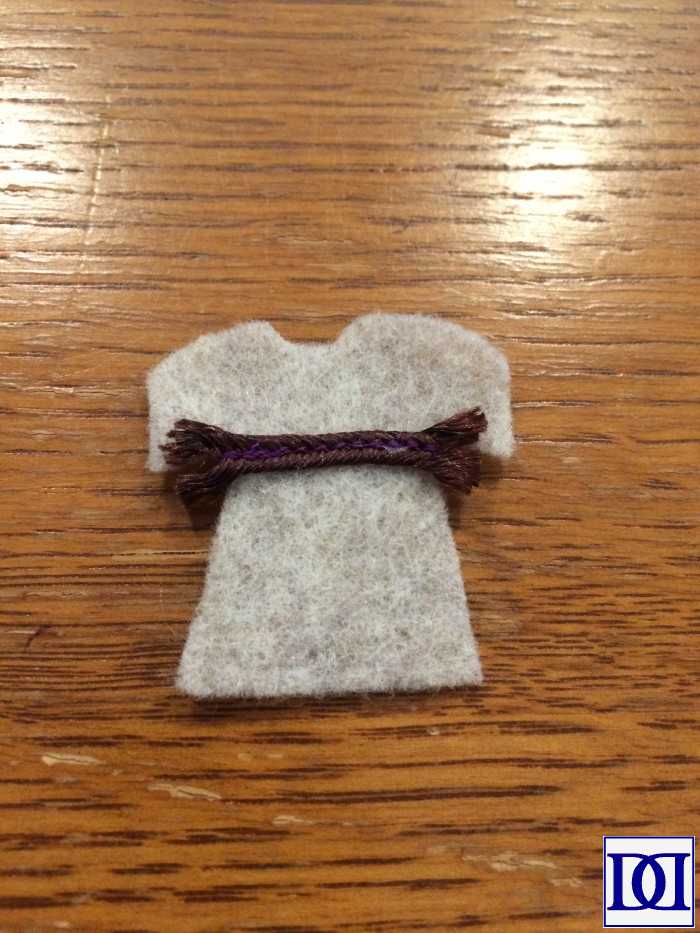
- “Oatmeal” colored felt [Jesus being stripped]
- Metal fastener [Replacing a nail since my kids are too young to handle a sharp nail]
- Small crucifix [Jesus dying]
- Heart button (and I added some gold ribbon) [We hold Jesus in our hearts as Mary held Him in her arms]
- Small rock [Rock covering the tomb]
- Key [By Jesus’ Resurrection, he opened the gates of heaven for us]
AUTHOR’S NOTE: There is some theological dispute on when Jesus opened the gates of Heaven in the chronology of death-resurrection-ascension. I’m choosing to use the key as an inclusive symbol of Jesus’ sacrifice (i.e. Christ died for YOU so that YOU could be saved) and not as a definitive theological statement. It is an interesting debate, nonetheless. Furthermore, while there is biblical evidence for St. Peter having been bestowed the “keys to the kingdom,” there is also some theological debate about a key being intended for all apostolic ministers (which can be interpreted to include all members of the faith). Regardless, for this early stage of my children’s faith formation, I think a key will be a decent representation of Jesus setting us free through his conquering death.
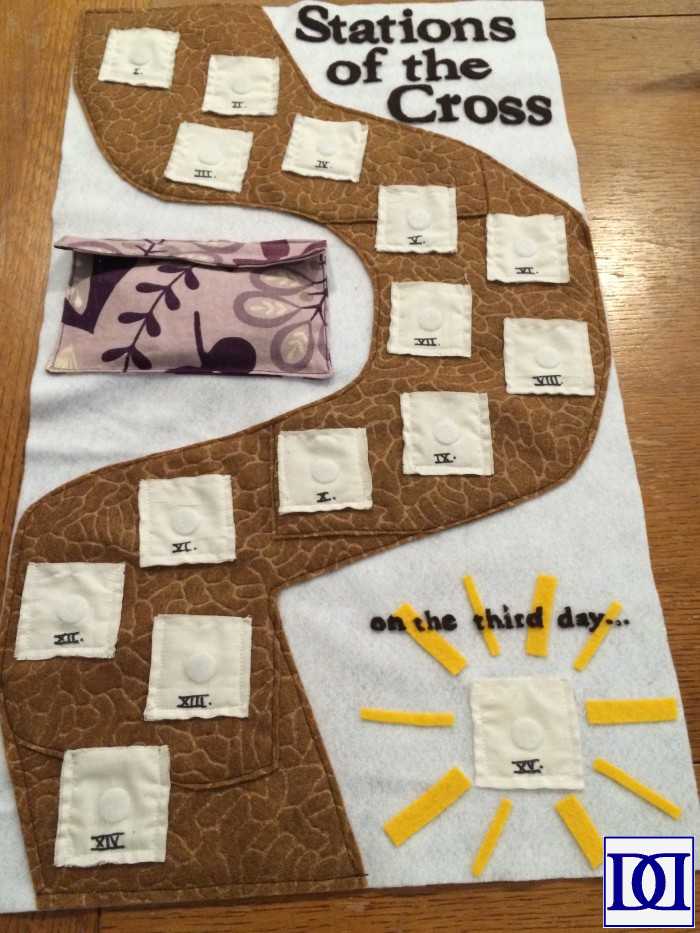
(1) Cut white felt to 16″ x 26″.
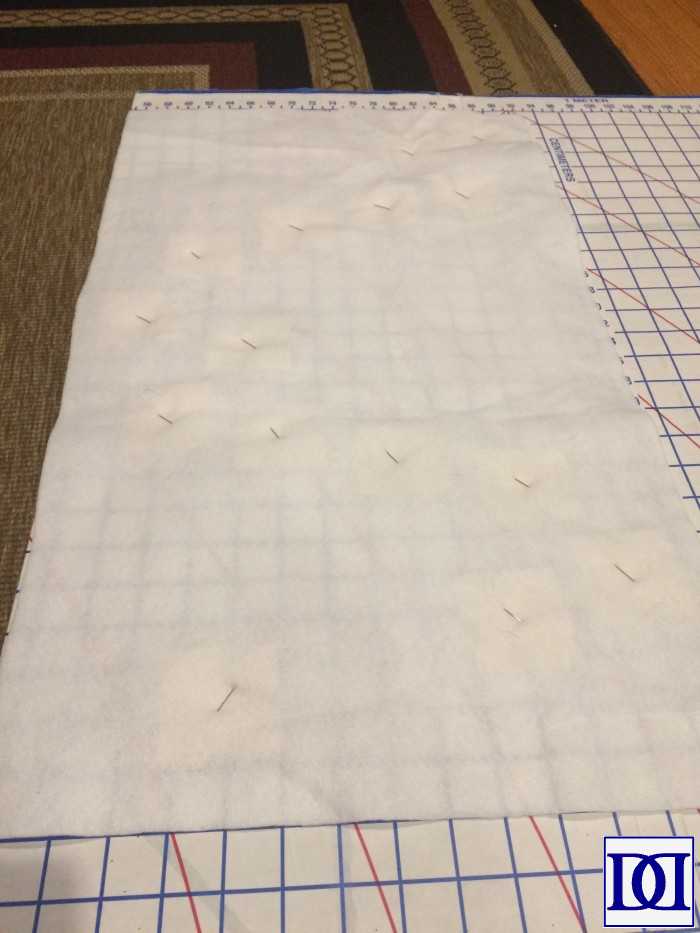
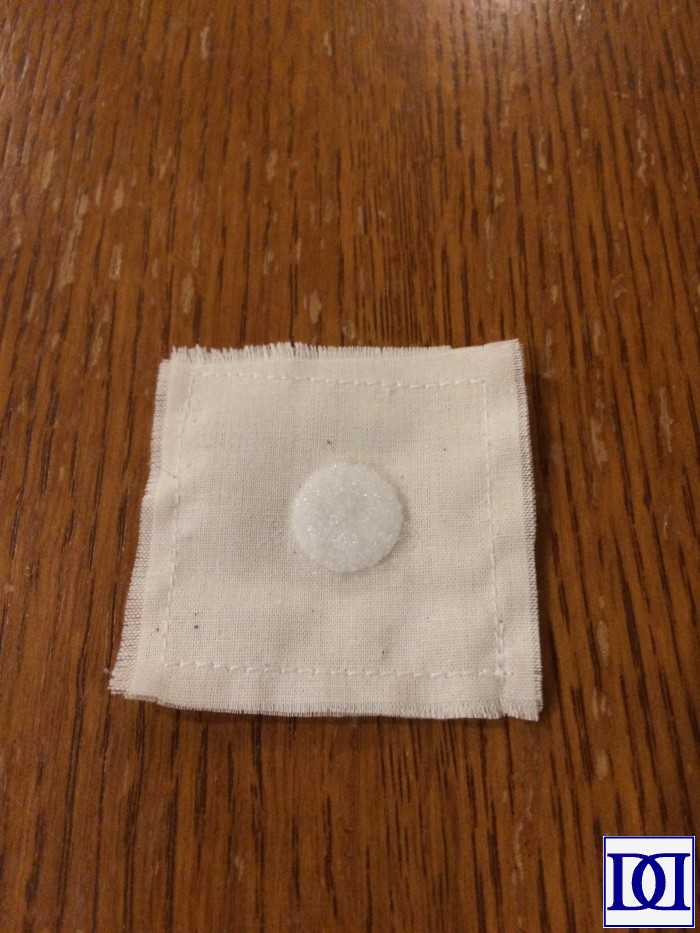
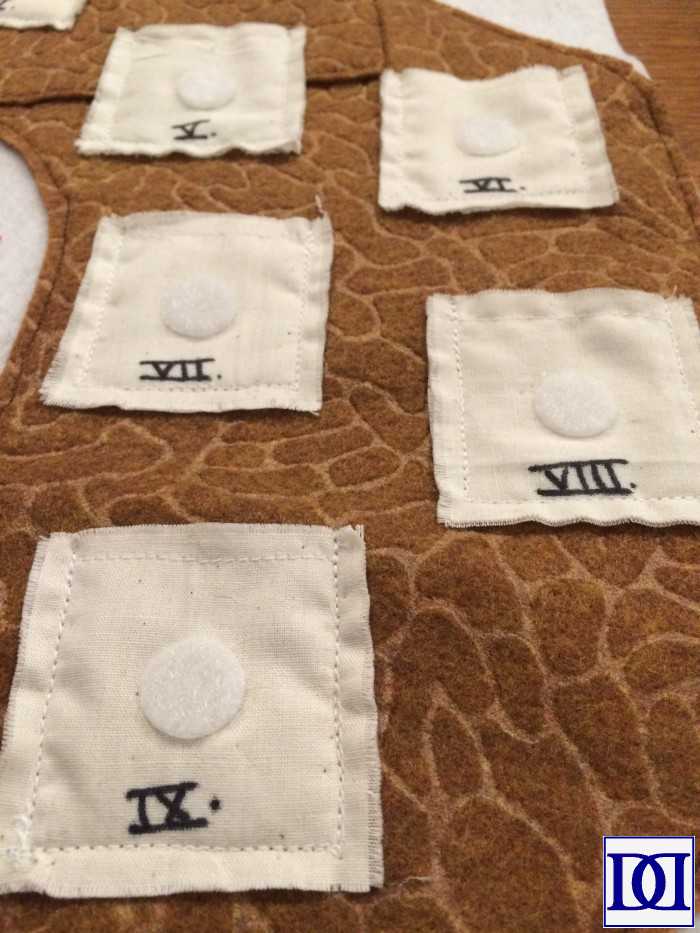
(2) Cut muslin into fifteen 2.25″ squares. Sew together, fray raw edges slightly, and add fray check to prevent further fraying. Hot glue soft side of velcro onto squares.
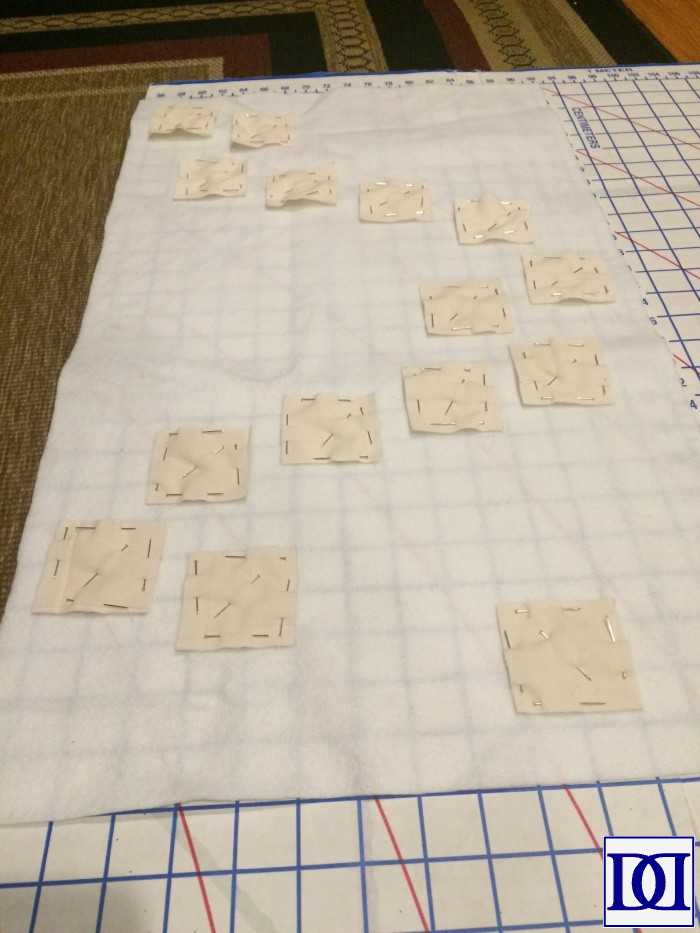
(3) Place squares on white felt in desired shape and cut “giraffe” pattern felt to make a “path.”
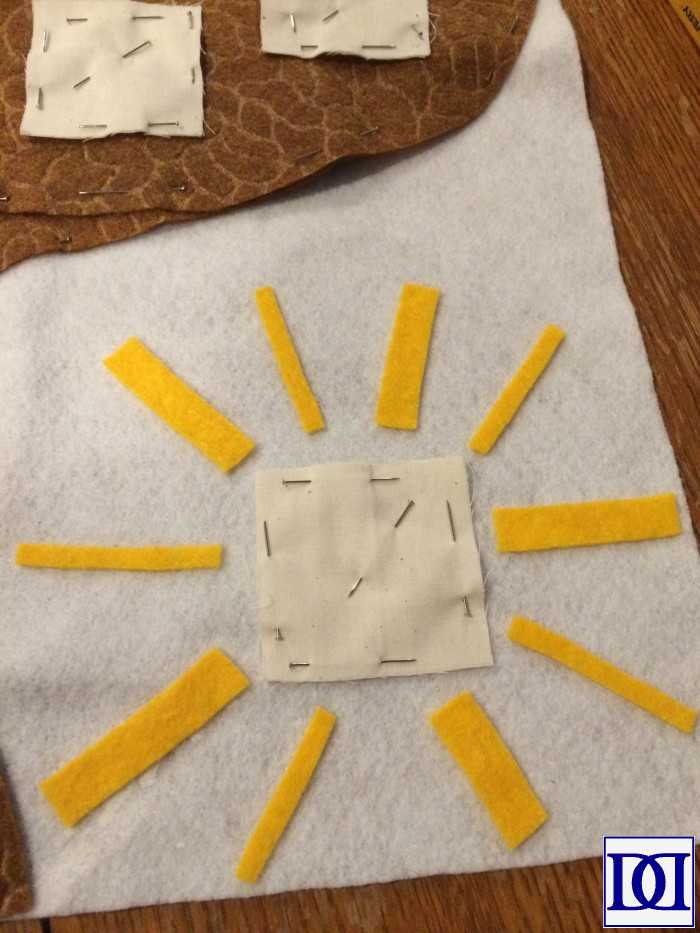
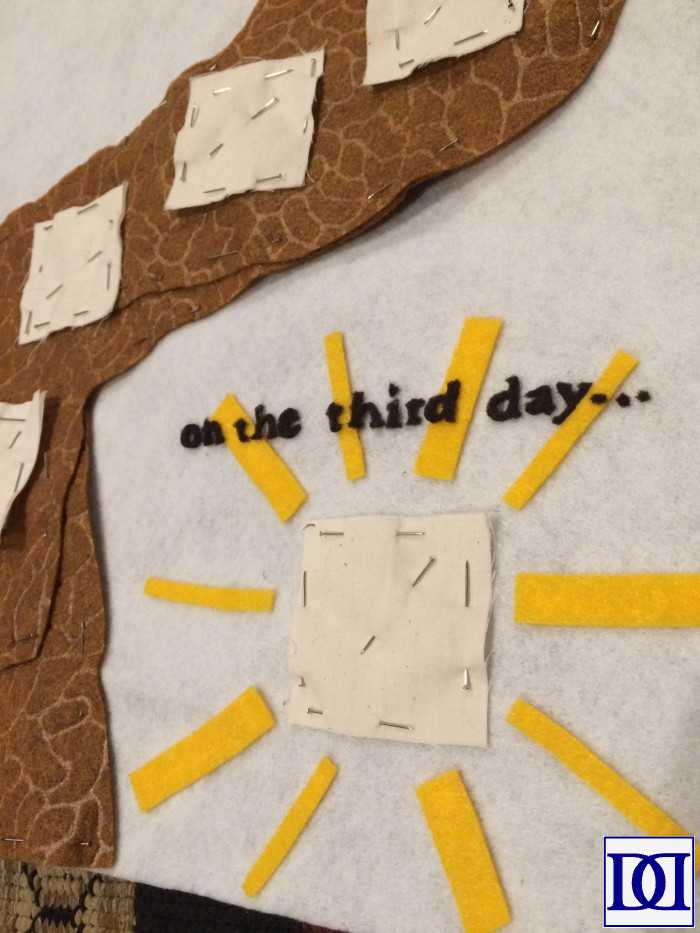
(4) If desired, cut small pieces of yellow felt and create a “starburst” for the 15th station.
(5) Sew squares on around 3 sides along “path,” making 15 small pockets. Draw roman numerals onto pockets.
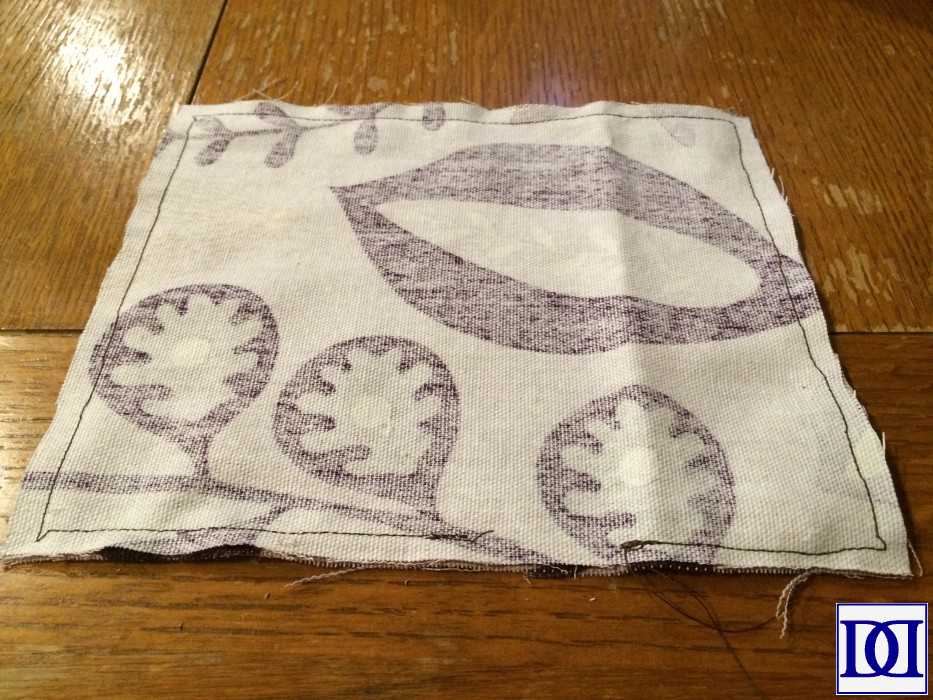
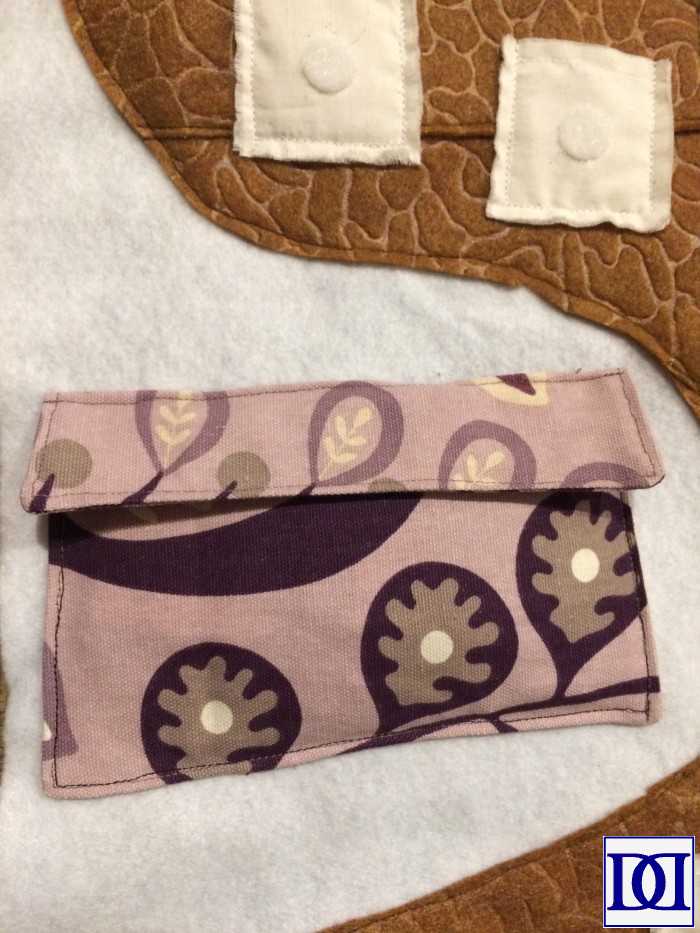
(6) Cut scrap fabric to 12″ x 14″.
(a) Fold in half, right sides together. Sew around, leaving a small opening.
(b) Turn right side out, sew around outside.

(c) Fold down 2″ and sew along fold, making an envelope shape.
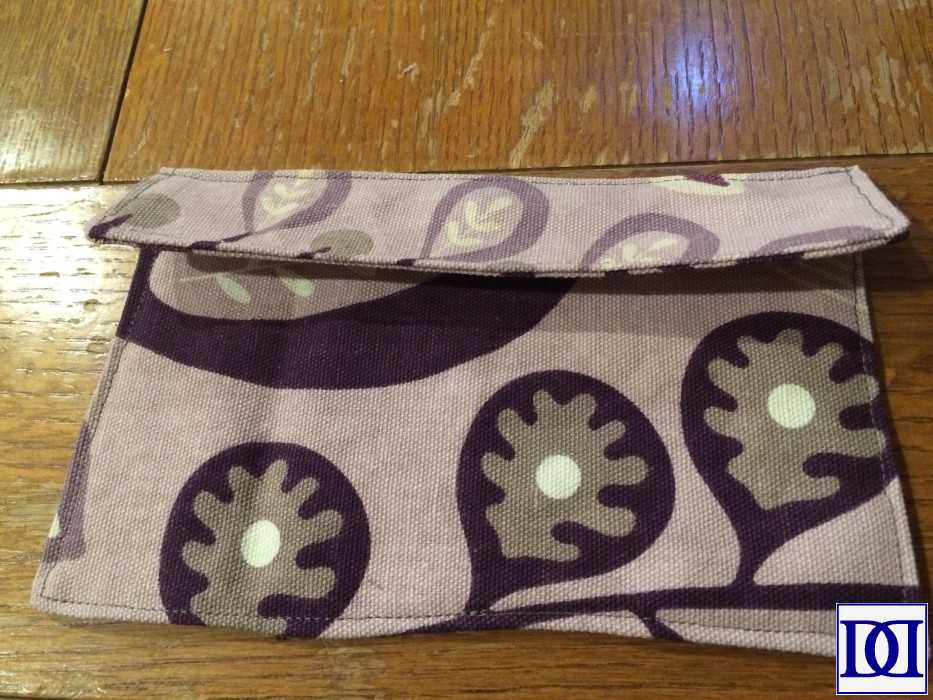
(d) Cut slit under the 2″ fold, making a pocket. Sew rough edges of slit inside pocket.
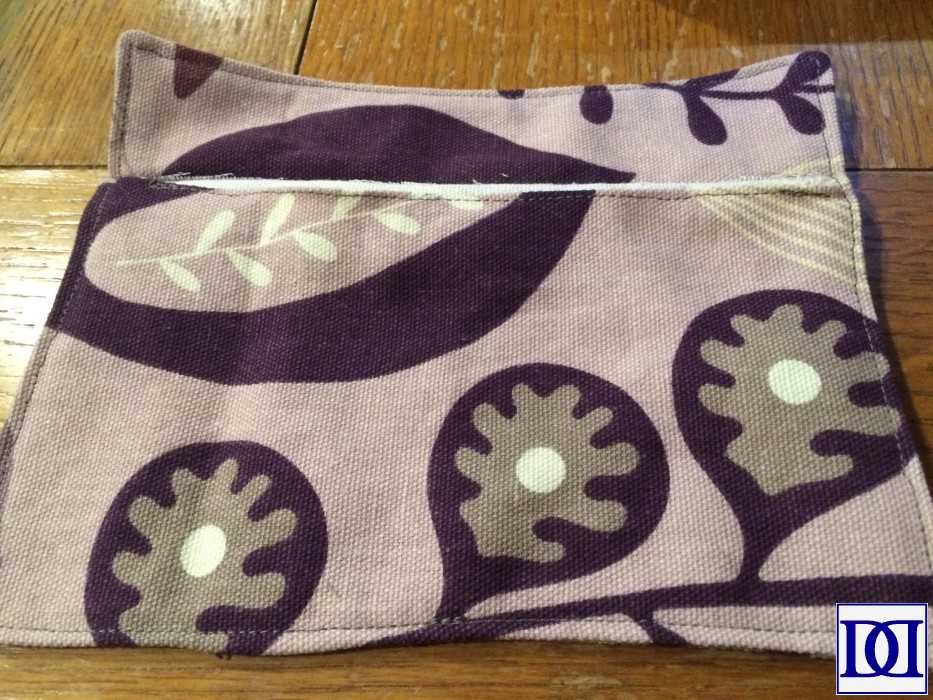
(e) Attach to white felt by sewing along edges, leaving envelope flap unattached.
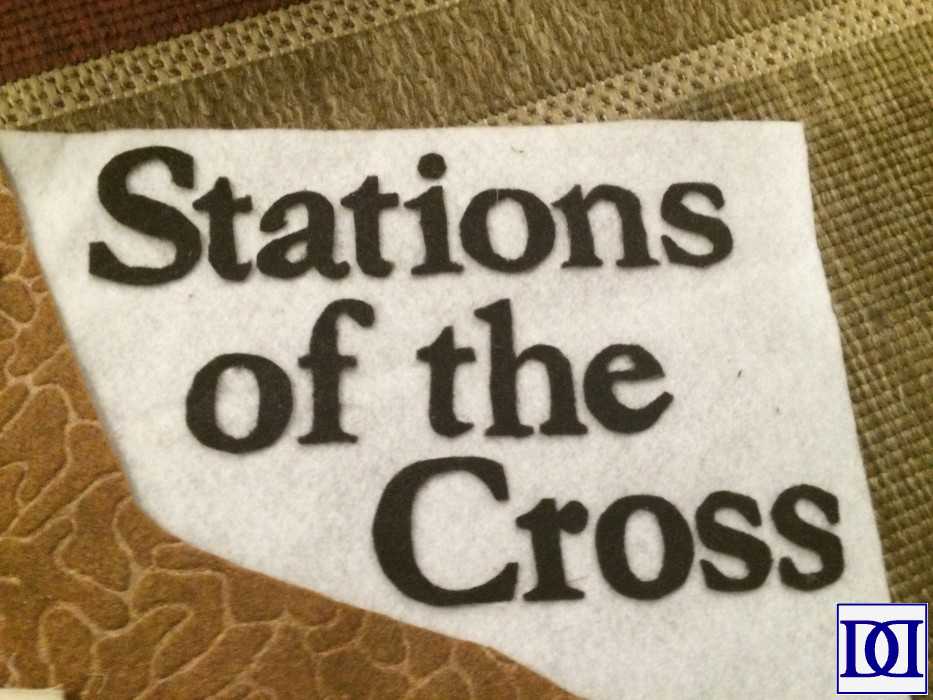
(7) Cut felt in letters “Stations of the Cross” (Garamond font, size 165) and “on the third day” (Garamond font, size 60). Adhere to white felt with felt glue.
(8) Prepare articles for Stations
(a) Cut brown leather ribbon to desired size.
(b) Cut tips off of toothpicks and hot glue in the shape of a cross. Add brown thread to cover glue.
(c) Cut white fabric to desired shape; cover ends with fray check; draw face of Jesus.

(d) Cut “oatmeal” felt in a smock shape and adhere brown ribbon.
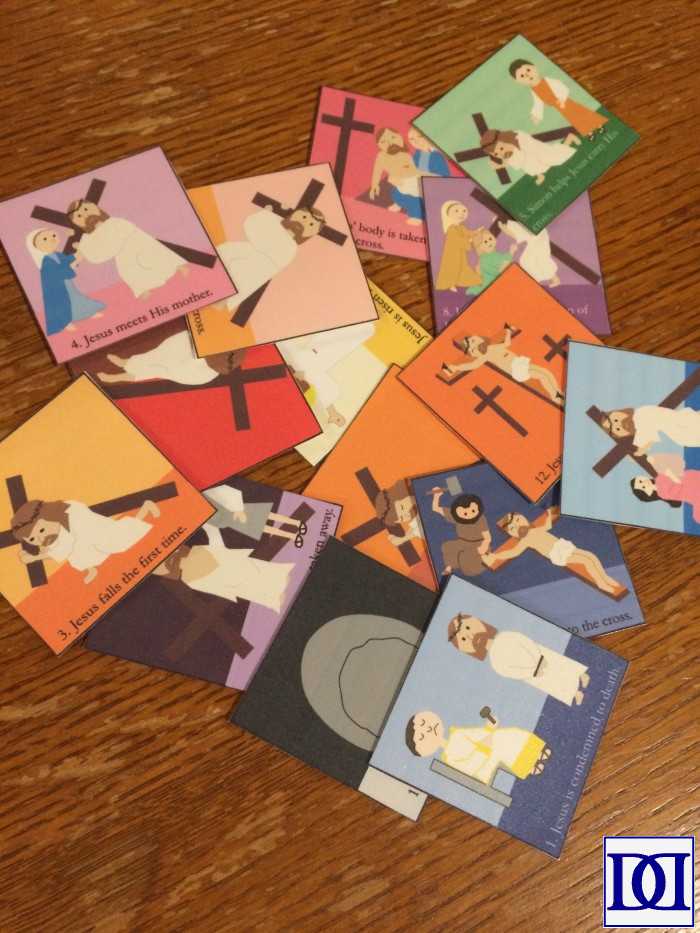
(9) Print Stations cards on cardstock. Cut out and laminate. Hot glue prickly half of velcro to cards.
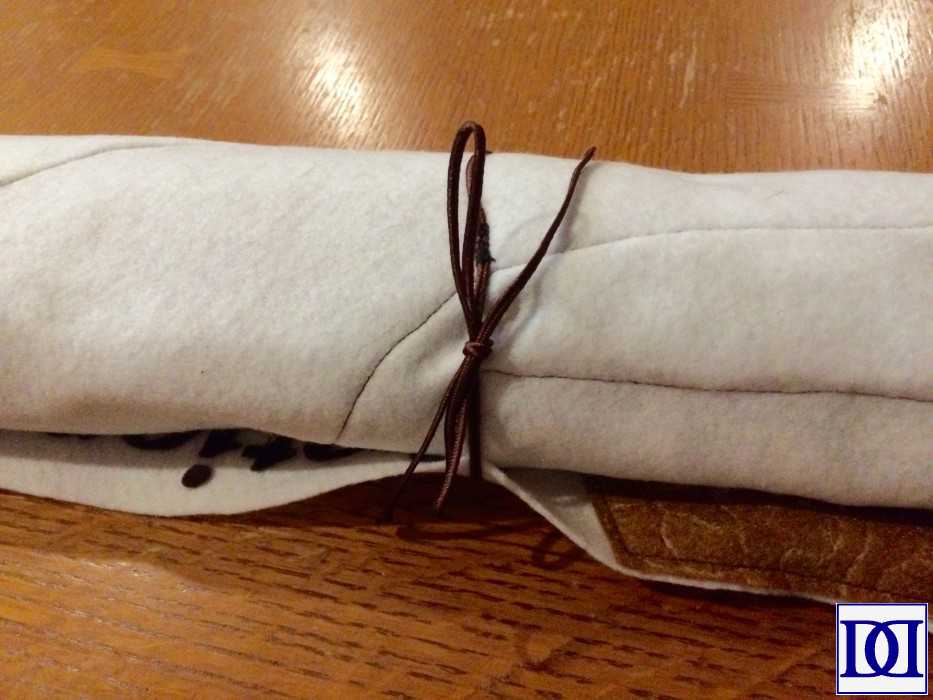
We’ve rolled the mat to bring with us to church or a walk through the Stations:
AUTHOR’S NOTE: If you’d like to be able to tie the mat closed, sew a long ribbon at the halfway point onto the back of the mat. When you roll the mat, you’ll be able to tie the ends of the ribbon around and secure with a bow.
We’ve also displayed the Stations in our home for our children to enjoy at their own pace (with an orally-motivated toddler in the house, we removed the chokeable articles):

Leave a Reply