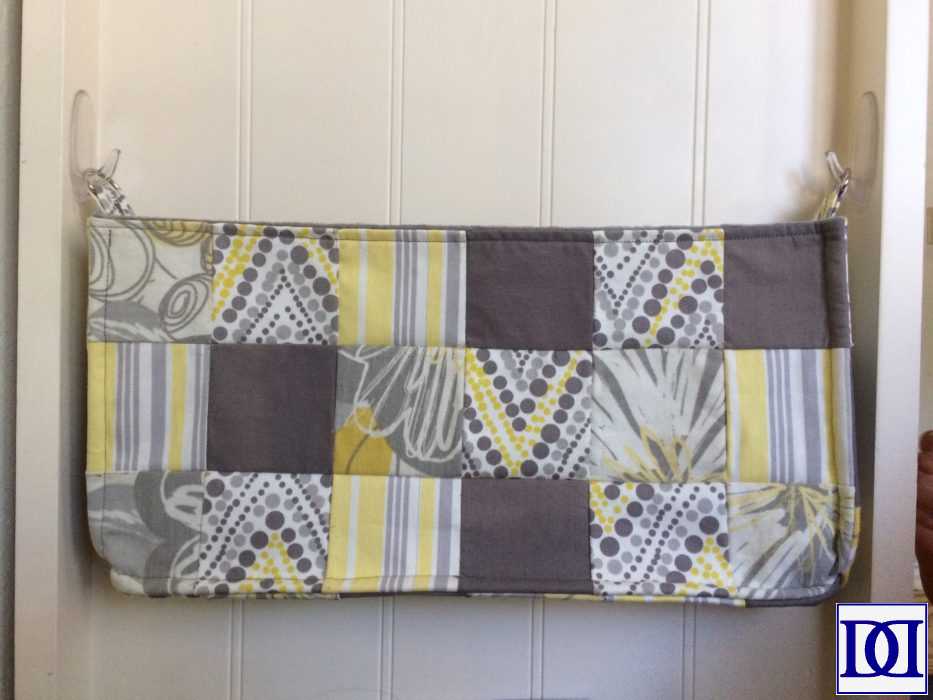
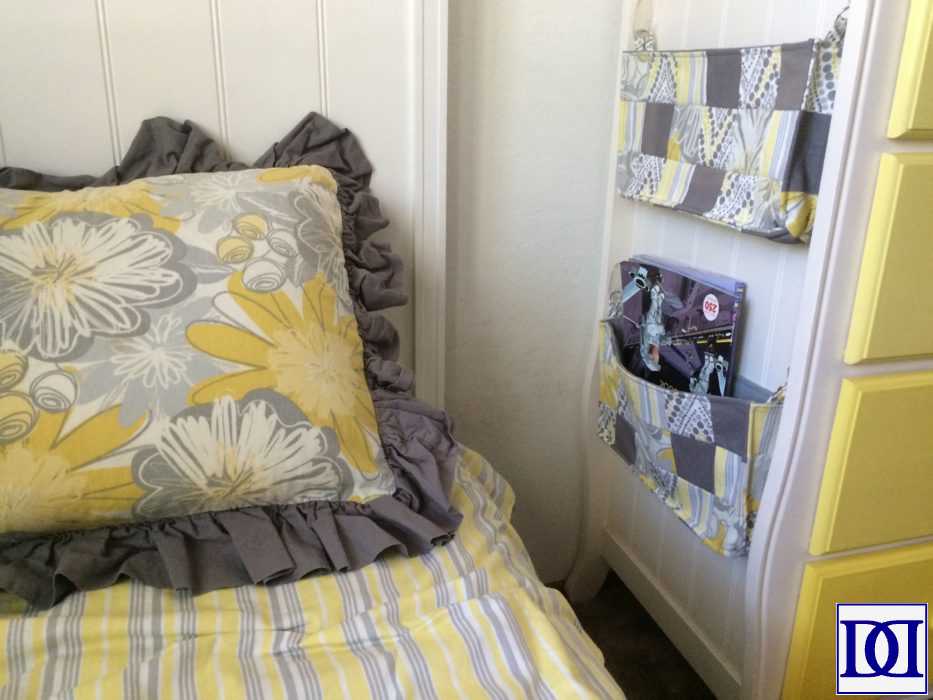
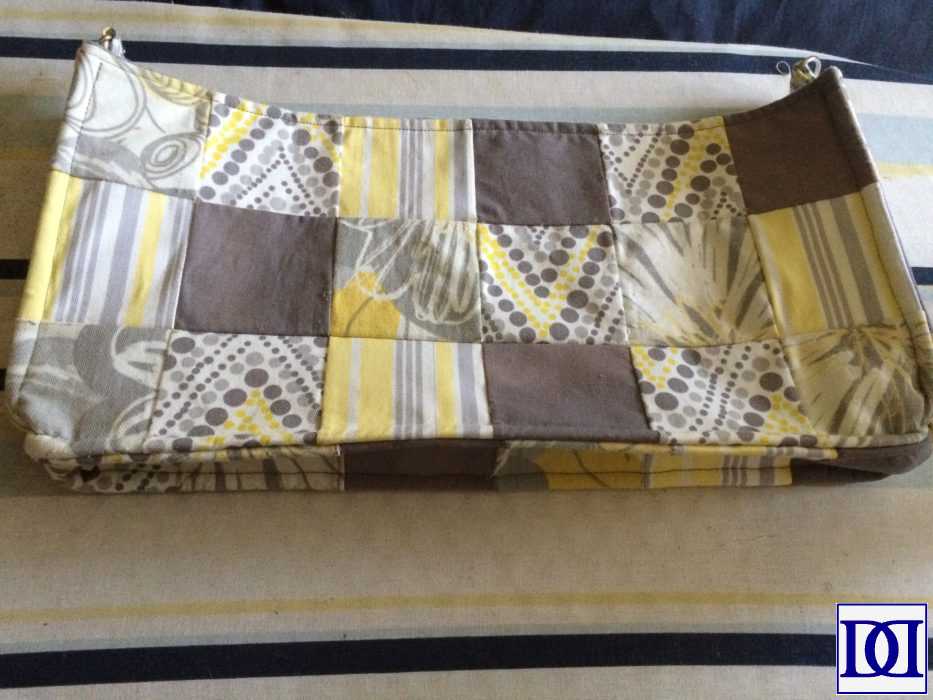
With having my two oldest moving into the same room, I wanted to come up with a way to allow them to store their “treasures” that would be accessible from their bed and also obvious enough that the other sibling would know that it was special. Fortunately, we had a space between the ends of a dresser between the two beds!
I found and modified this tutorial to fit the space and a few of my aesthetic preferences. Here’s what I came up with and how!
What I Used (per bag):
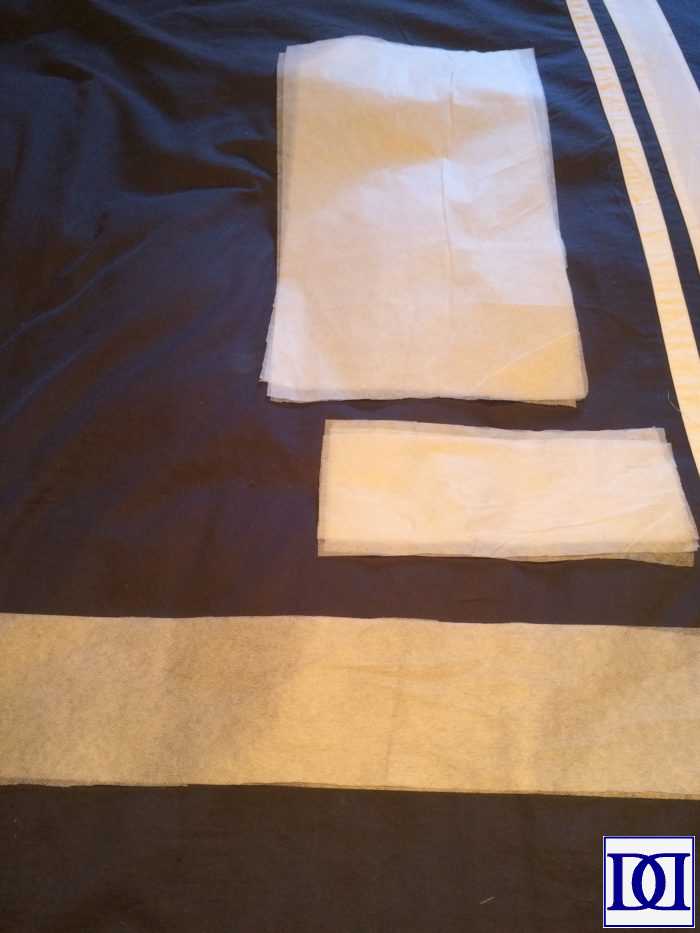
- Pellon 906F 1/2 yd
- Pellon 809 1/4 yd
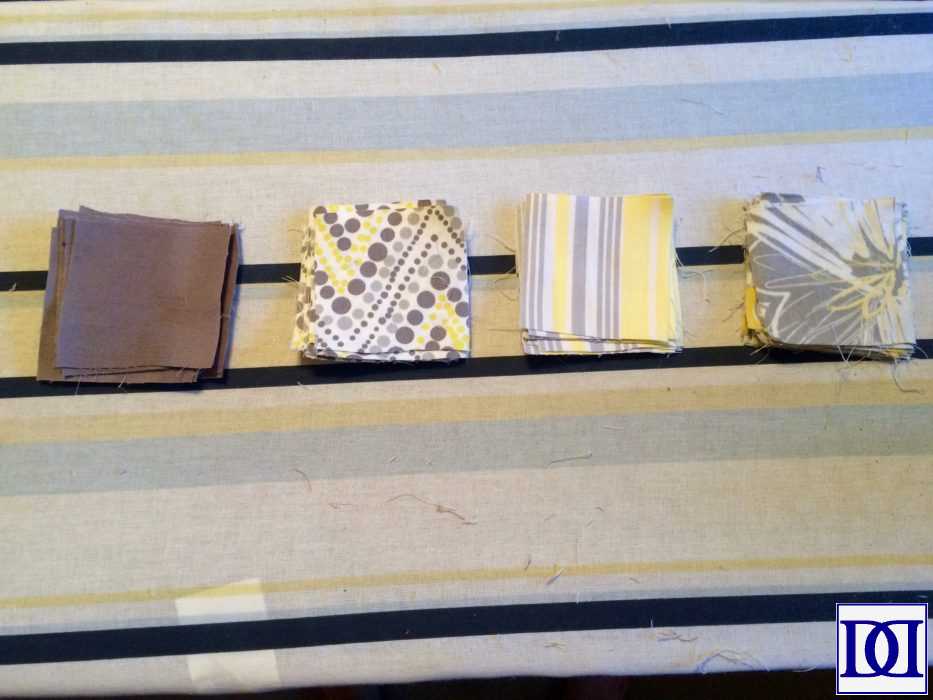
- 30 3″ squares
- 1/4 yd lining fabric
- Thread
- Two 1″ D-rings
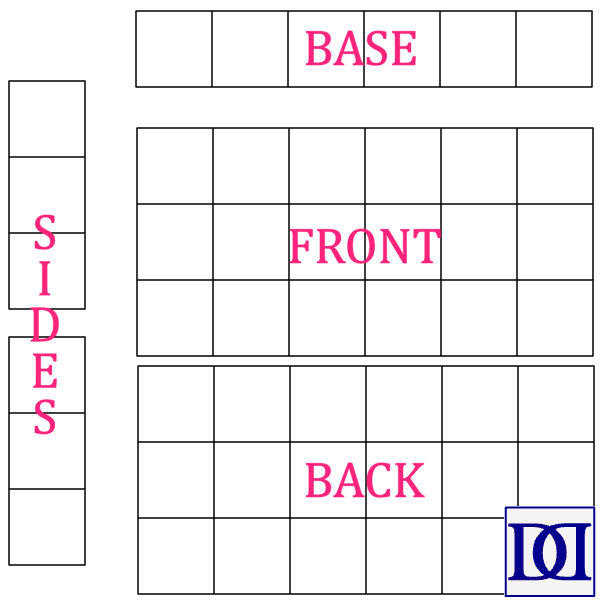
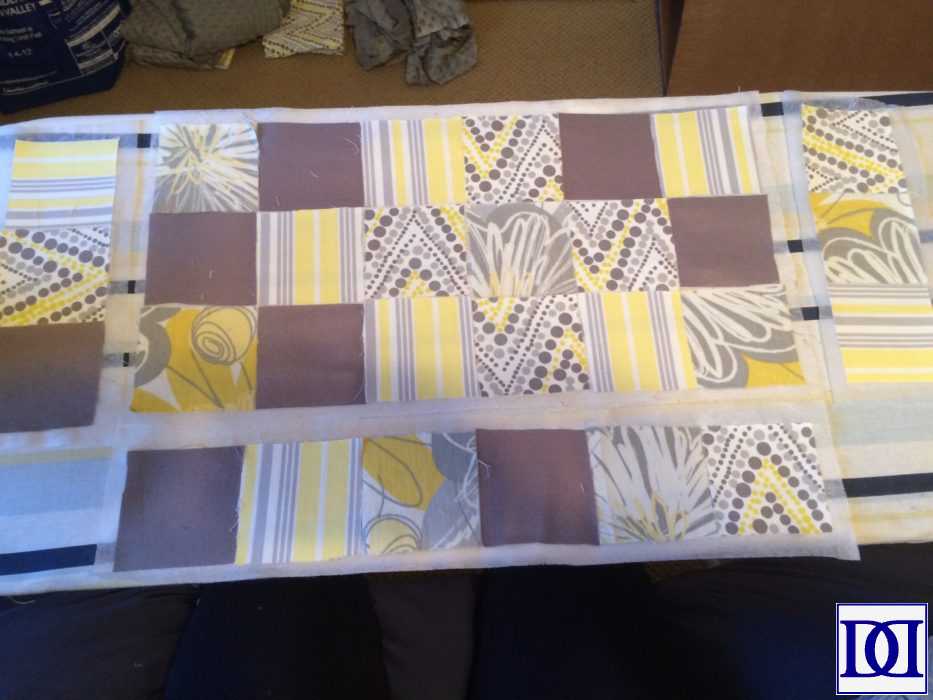
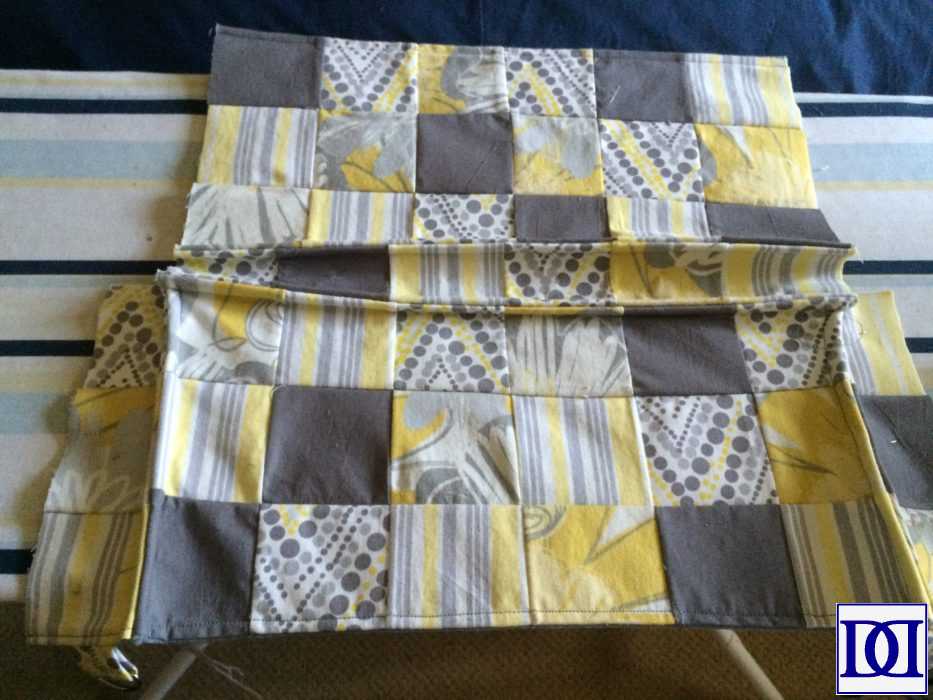
(1) Cut out your desired number of squares and arrange them into the pattern you’d prefer. You’ll want a front/back, two sides, and a base.
(2) Cut the Pellon 906F to match the dimensions of your unfinished pattern pieces with about 1/2″ extra on the ends. For example, when determining the size of the front/back pieces, this is what I did:
Length: six 3″ squares (18″ + 0.5″ + 0.5″ = 19″ total)
Height: three 3″ squares (9″ + 0.5″ + 0.5″ = 10″ total)
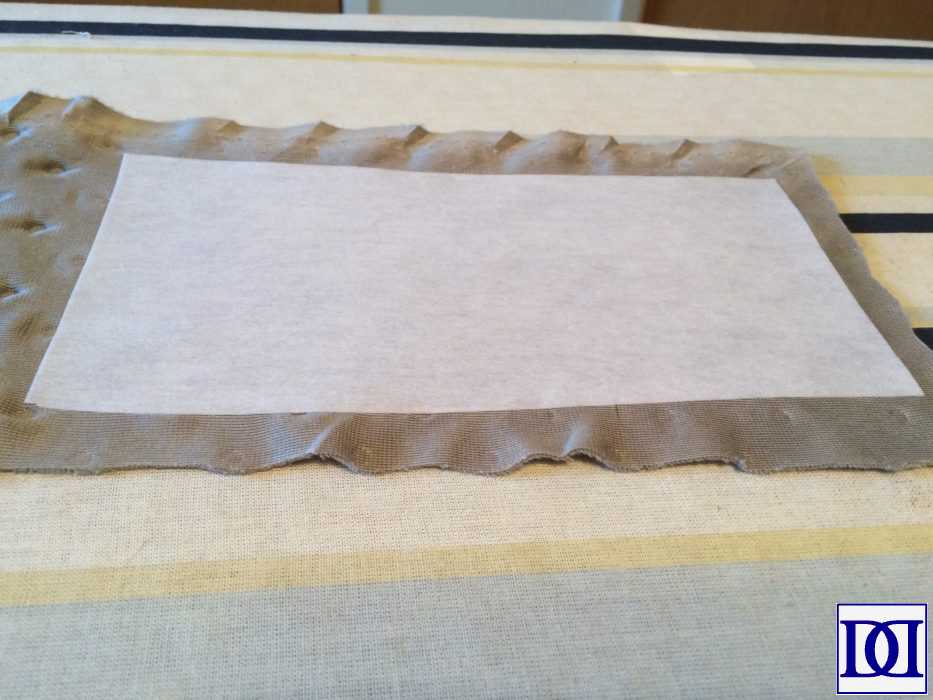
(3) Fuse the Pellon 906F pieces to the squares.
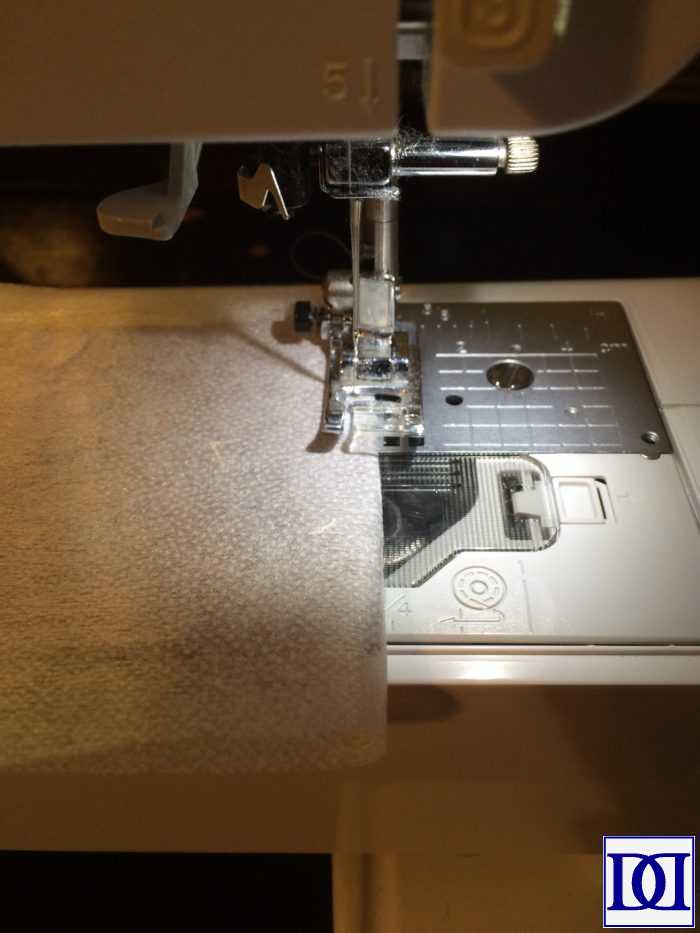
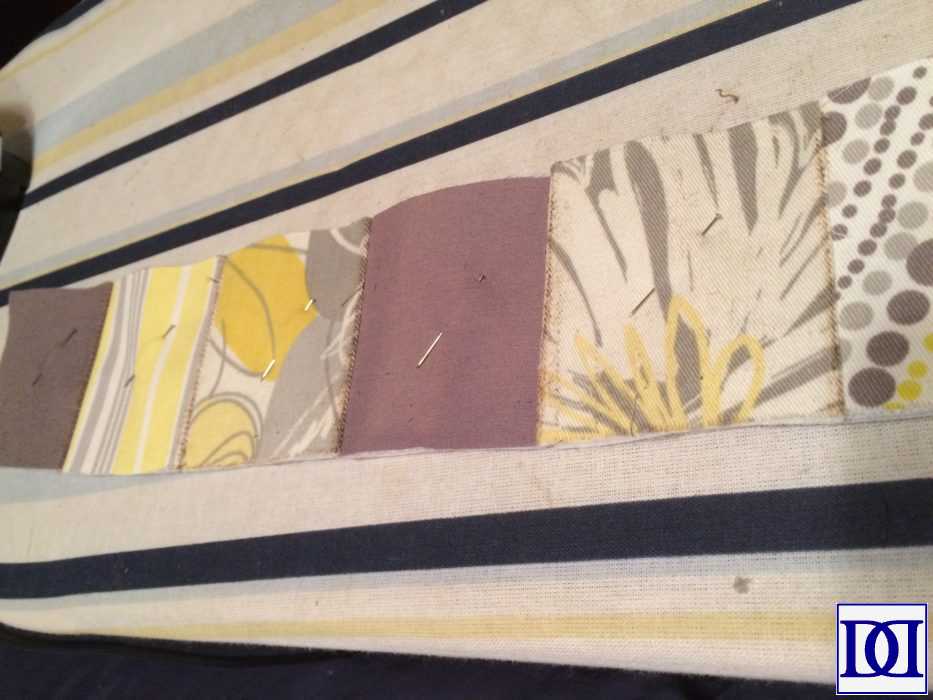
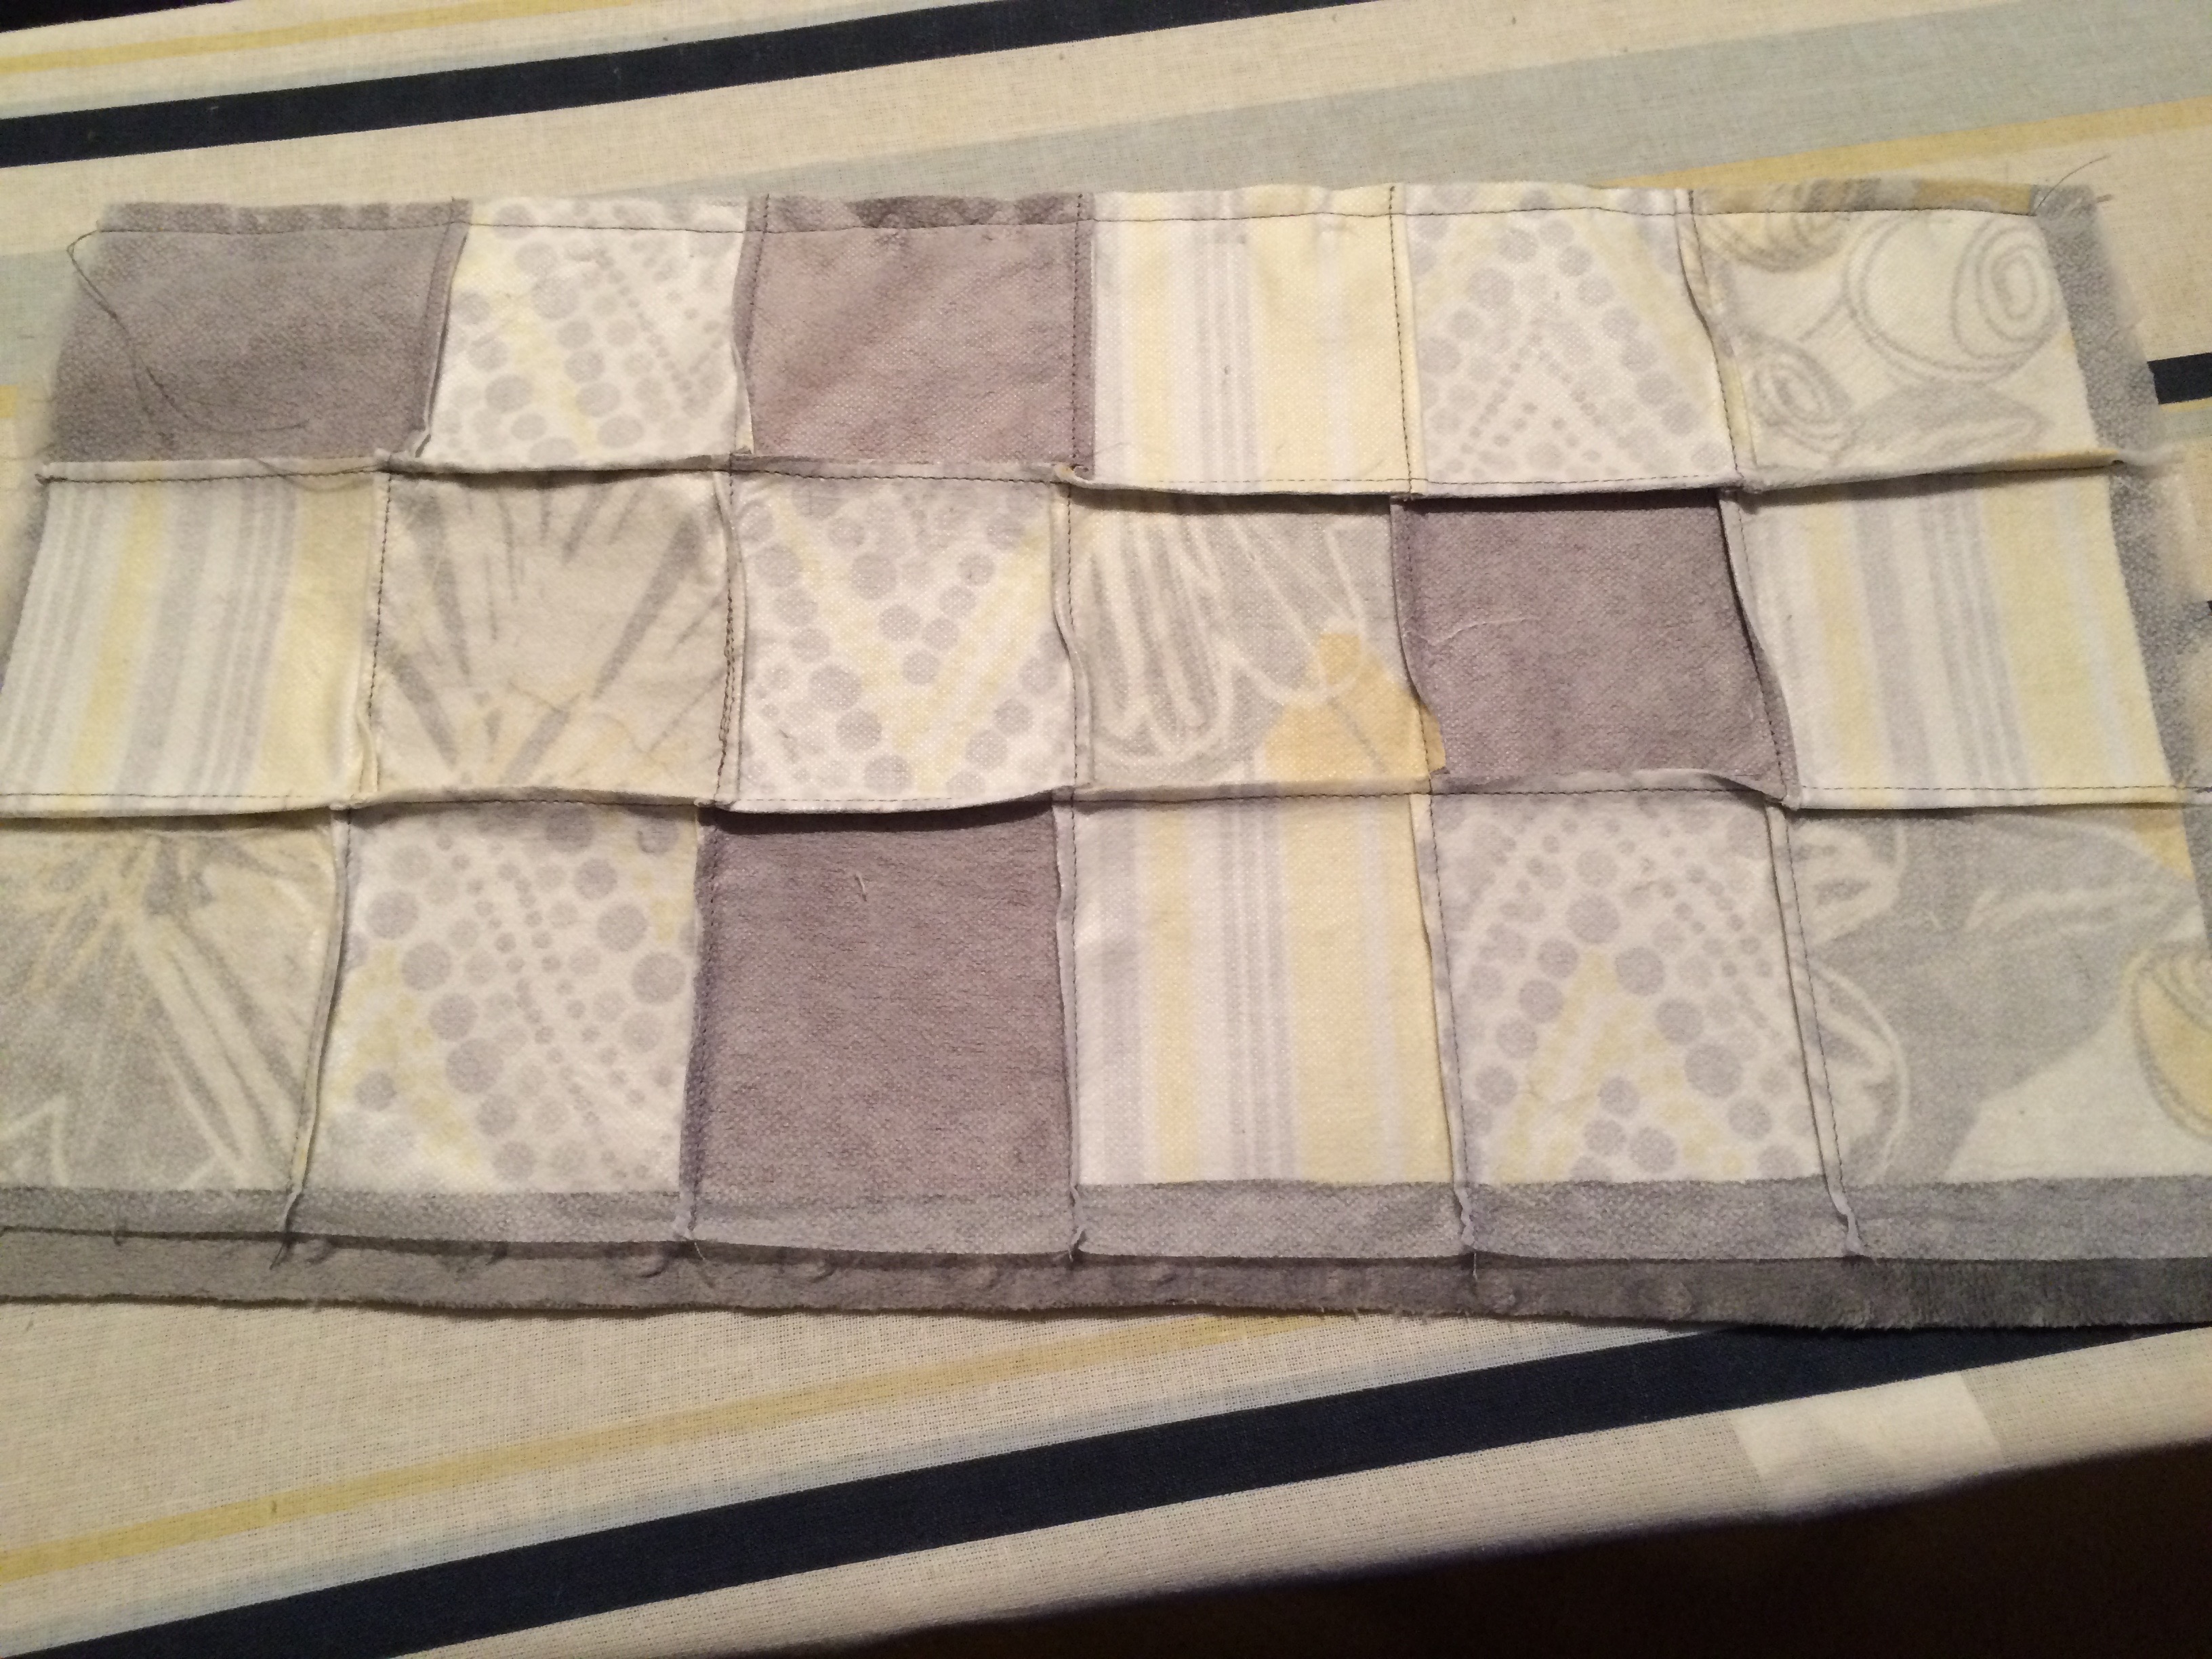
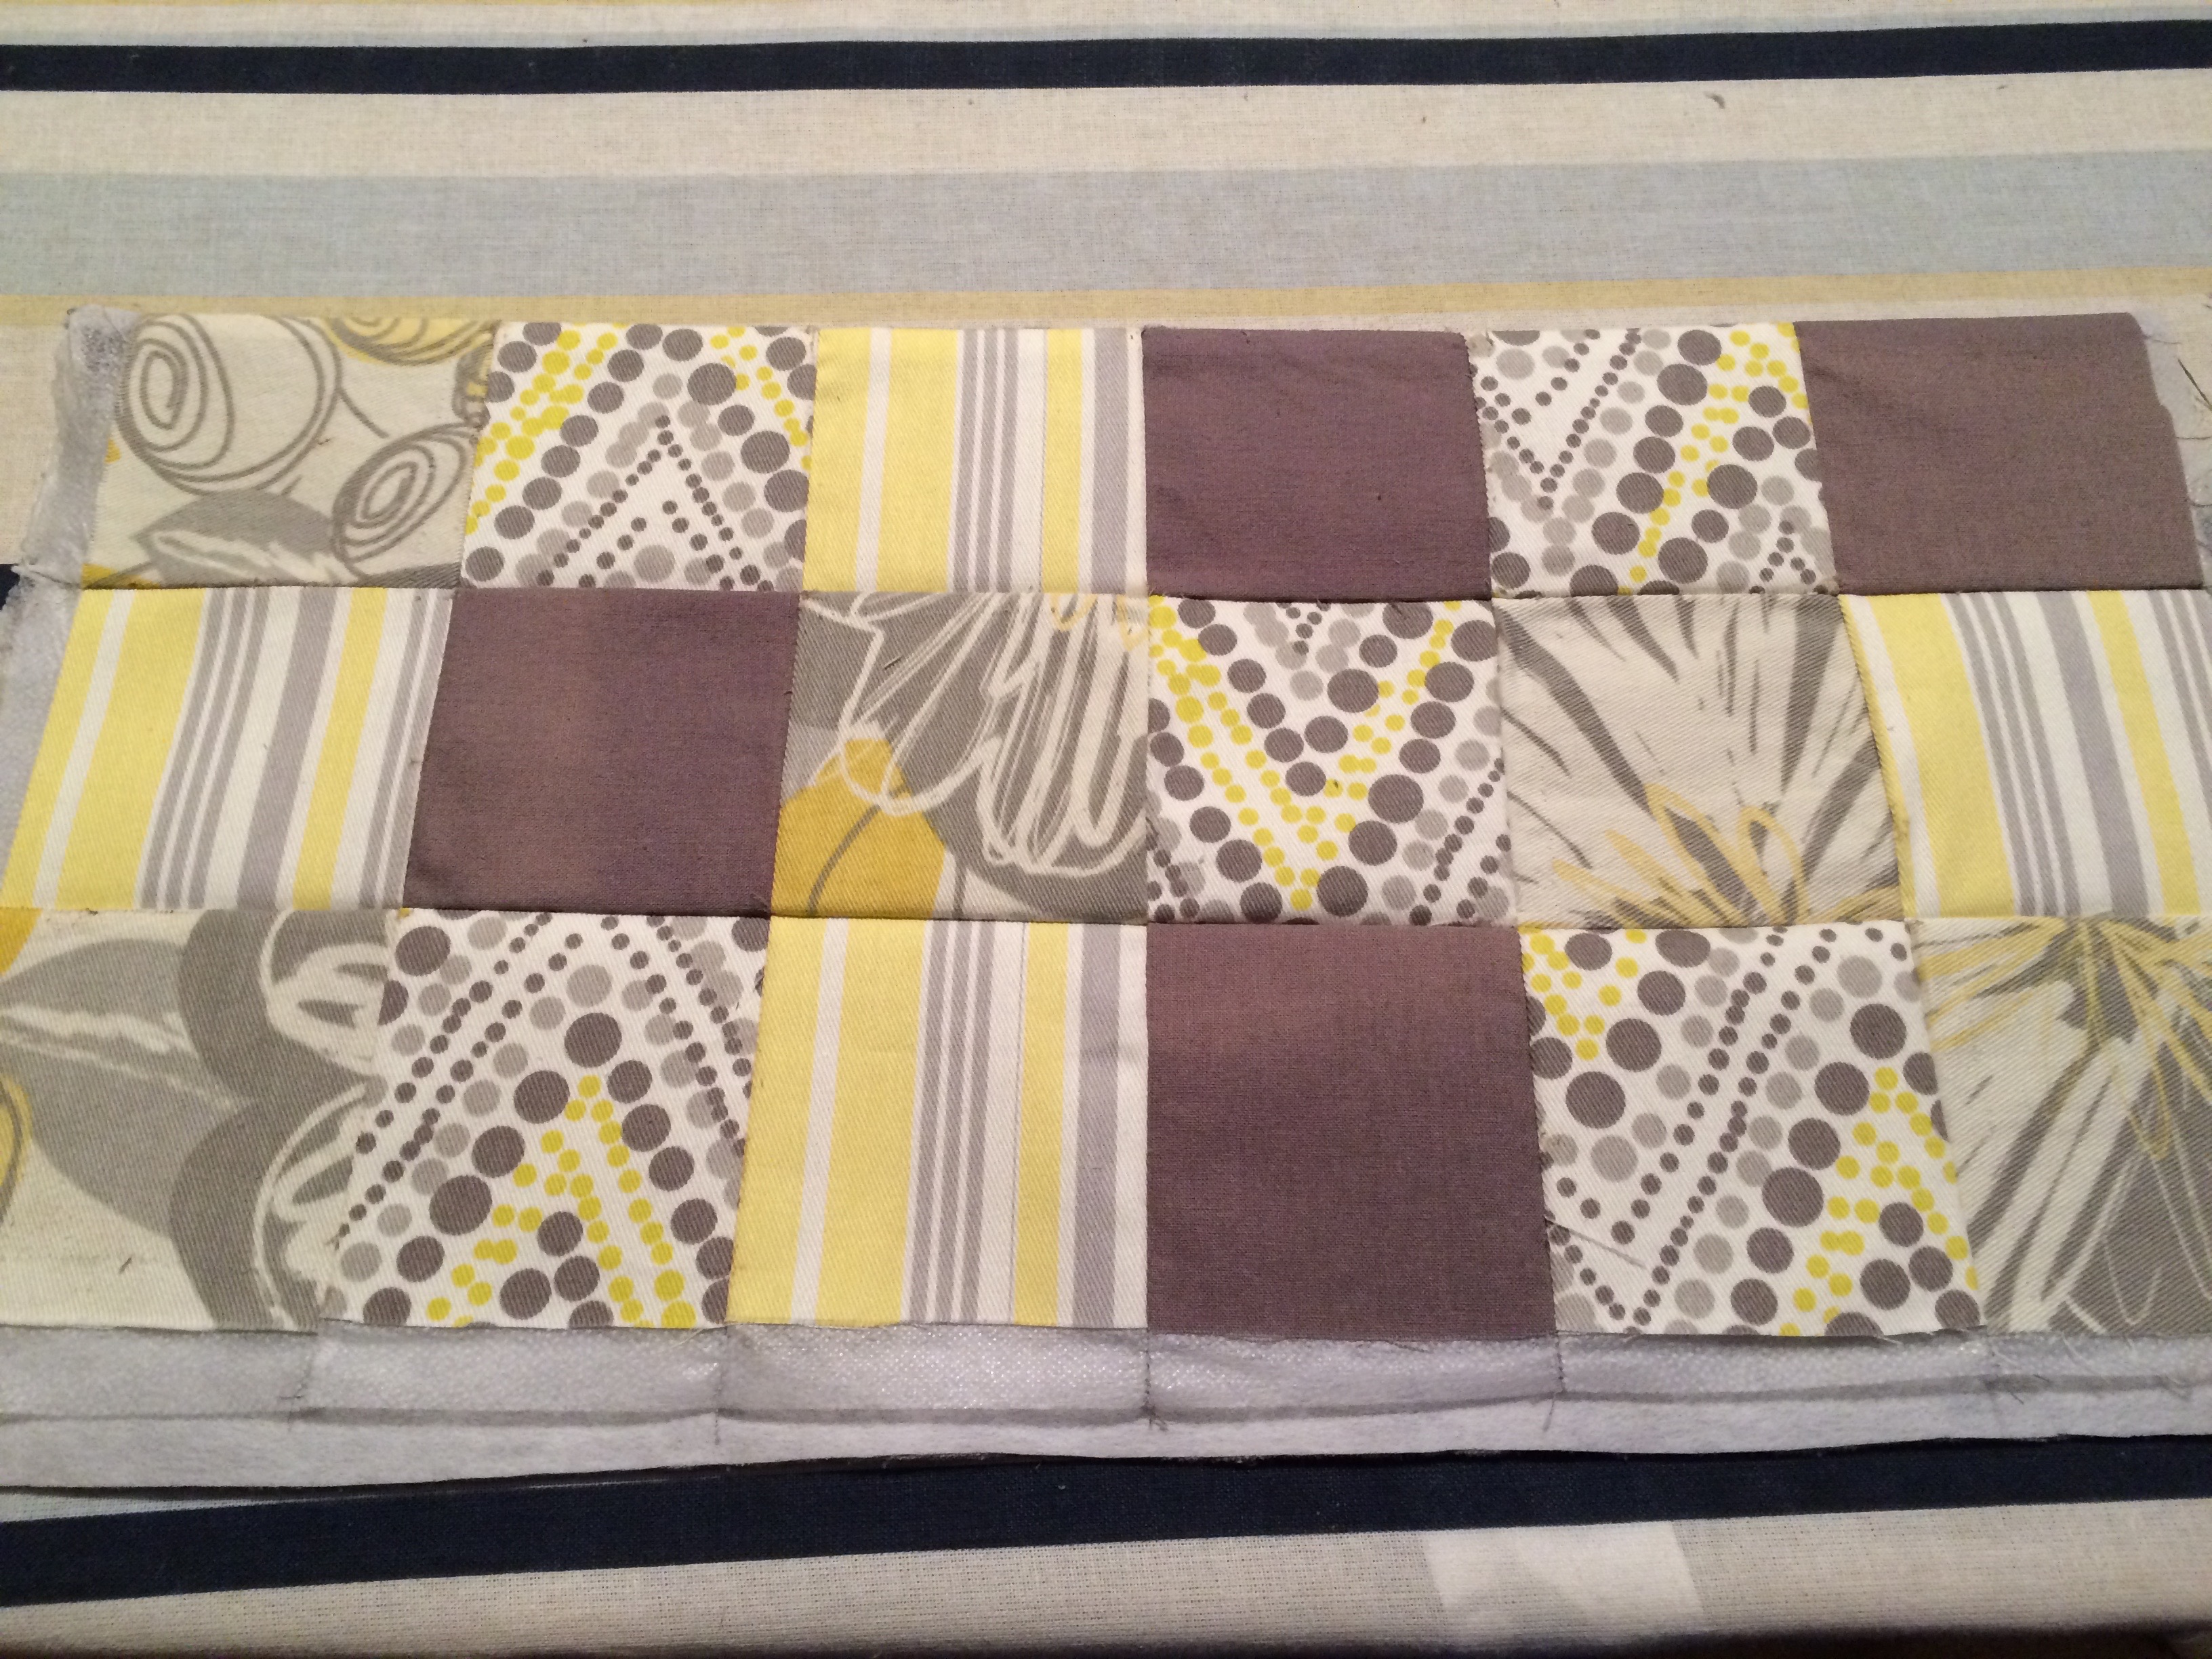
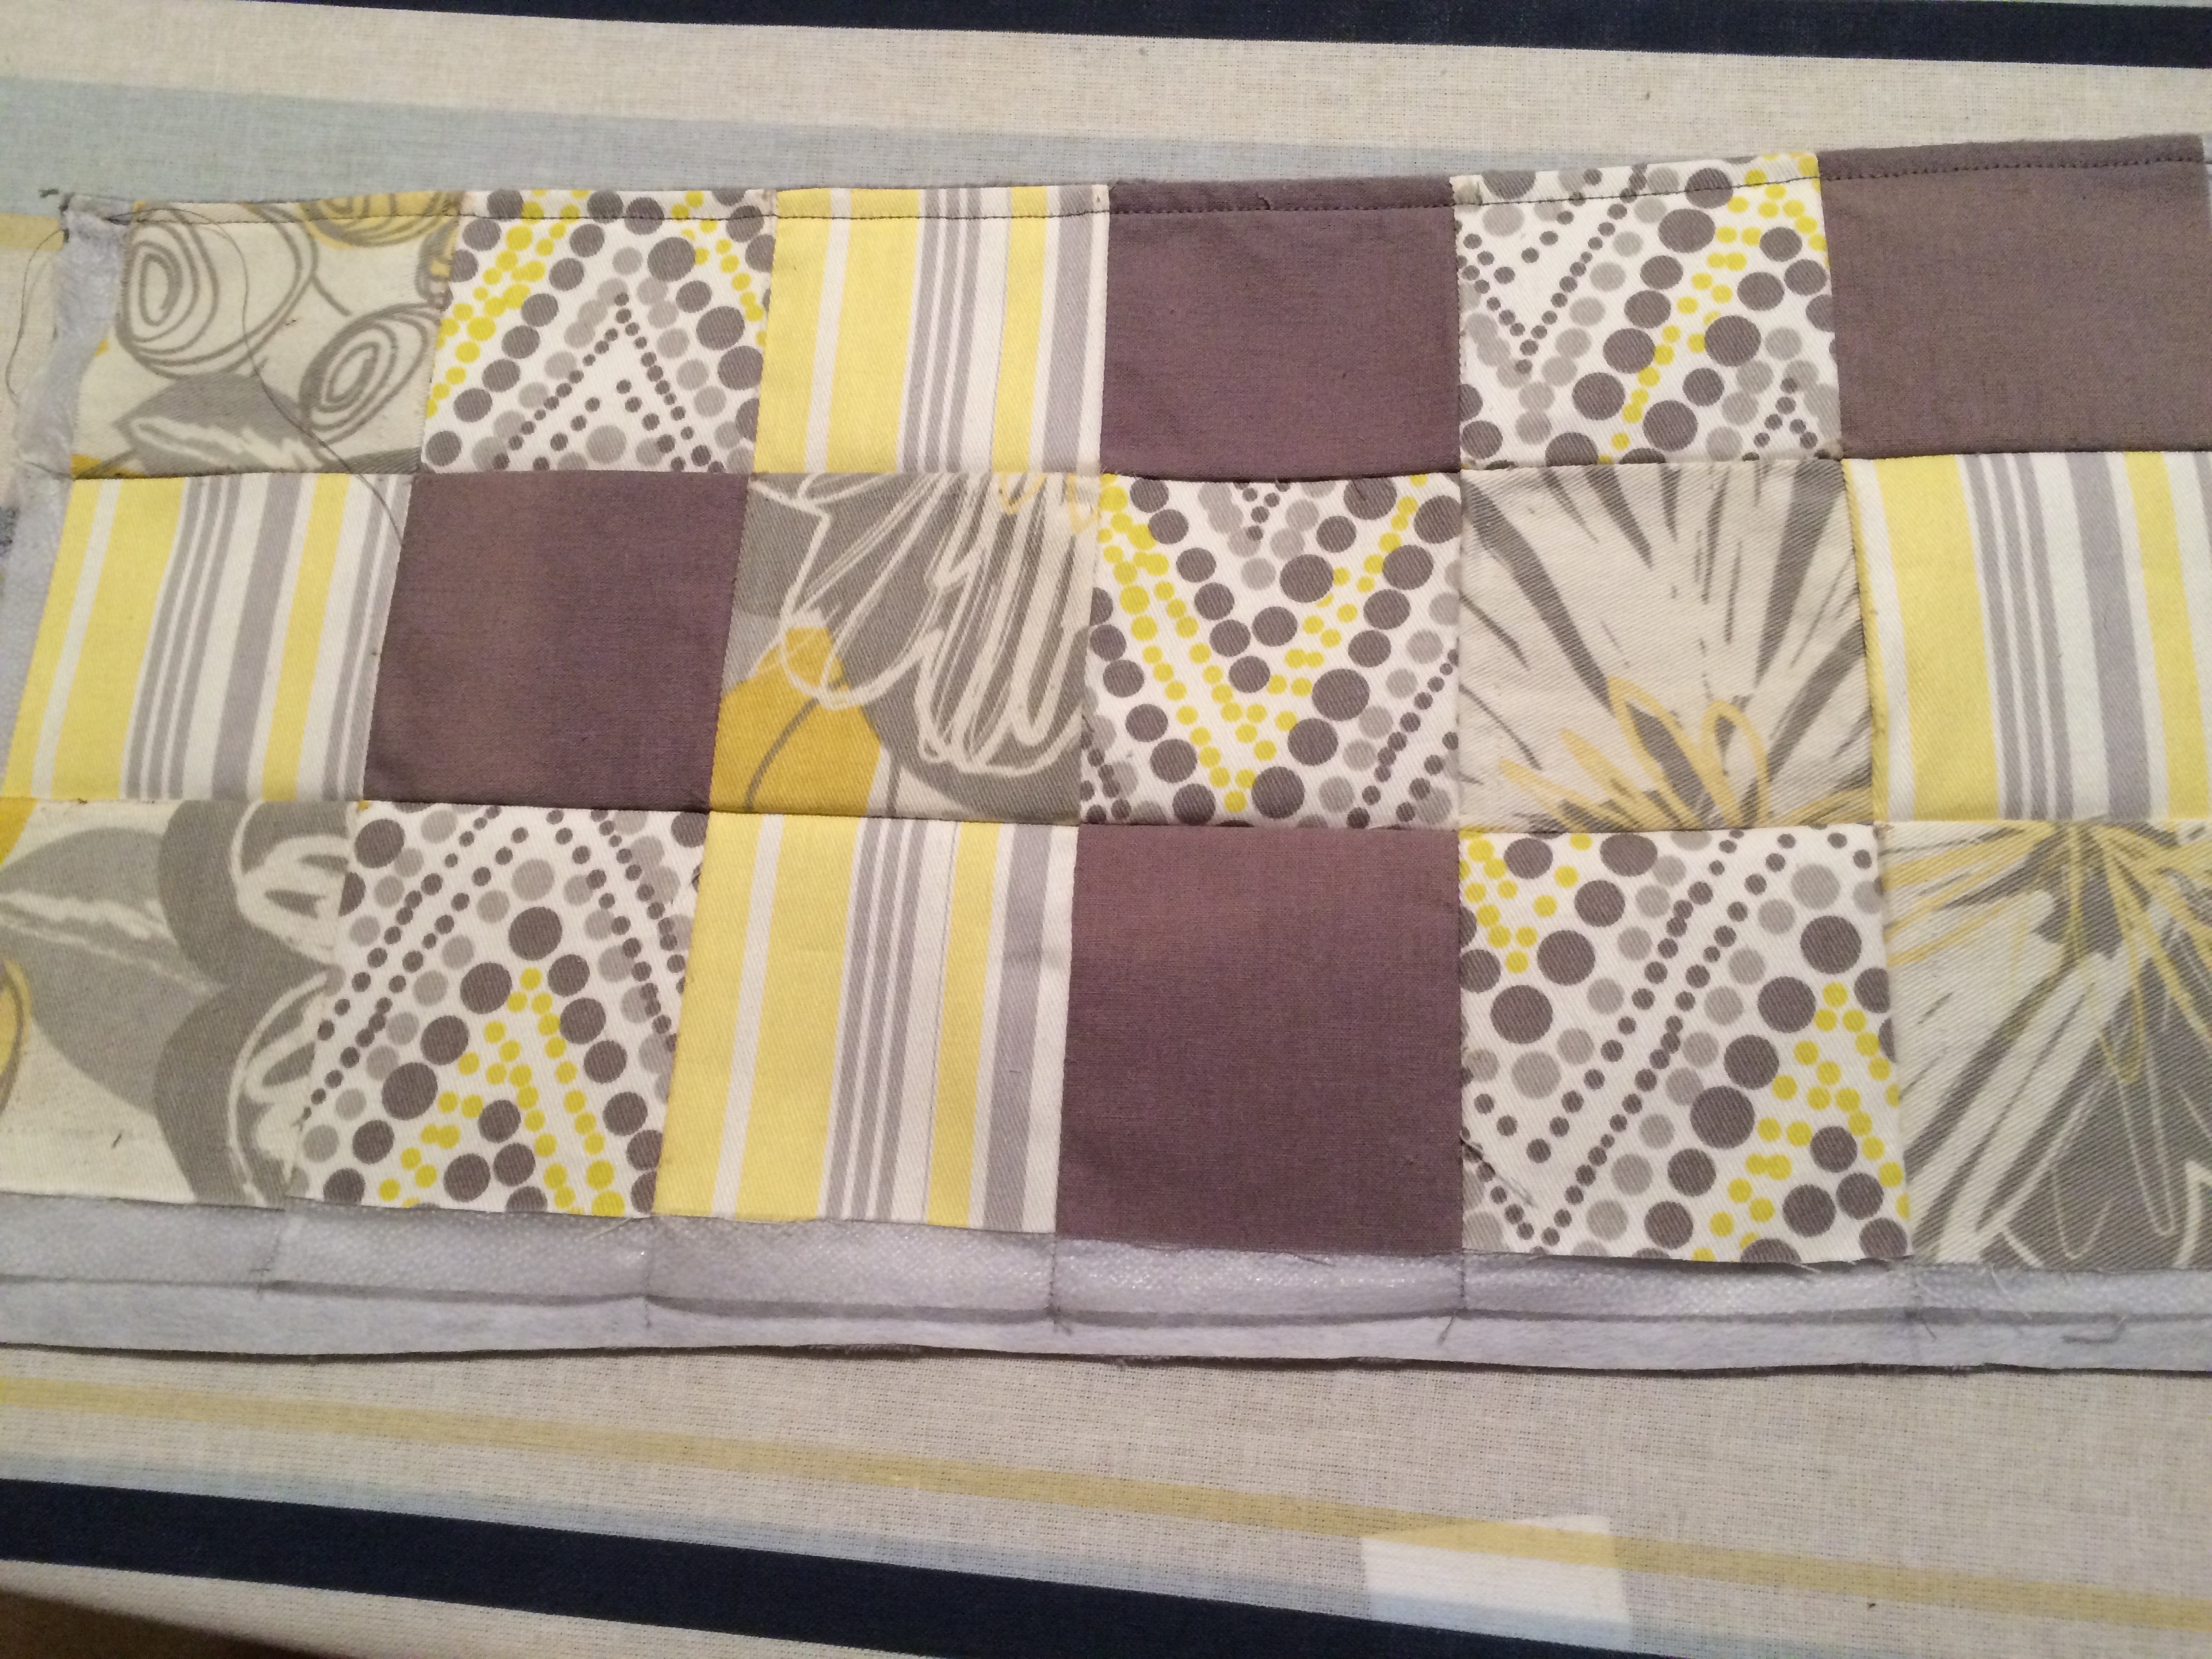
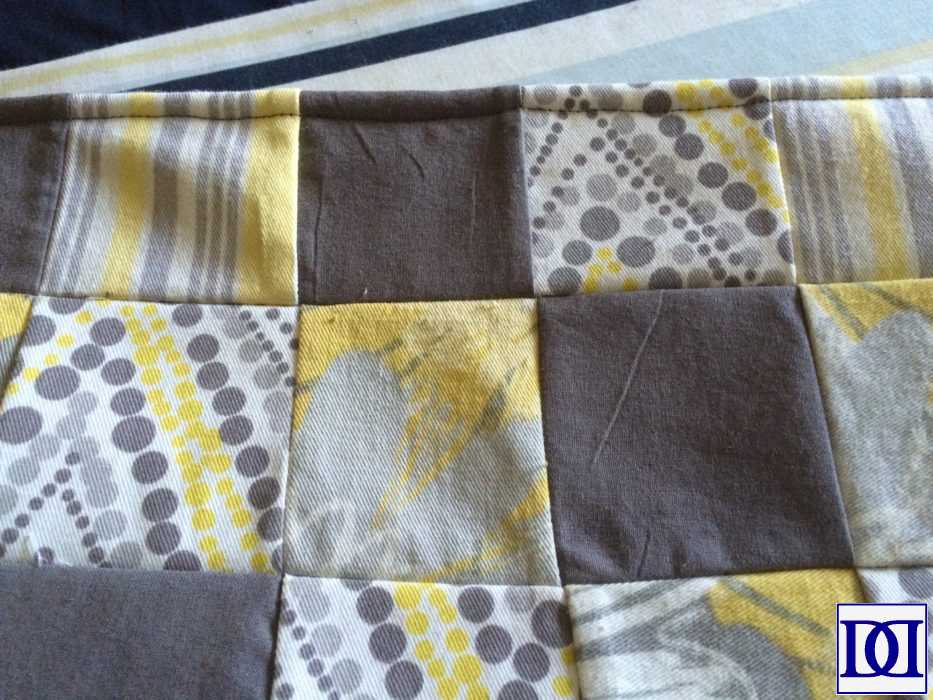
(4) Flip pieces over, fold the squares along the vertical line, and sew with a 1/4″ seam allowance. Repeat for all vertical lines. Snip to the stitching at each square to help nest the seams. Sew along the horizontal lines in the same manner. Press to flatten.
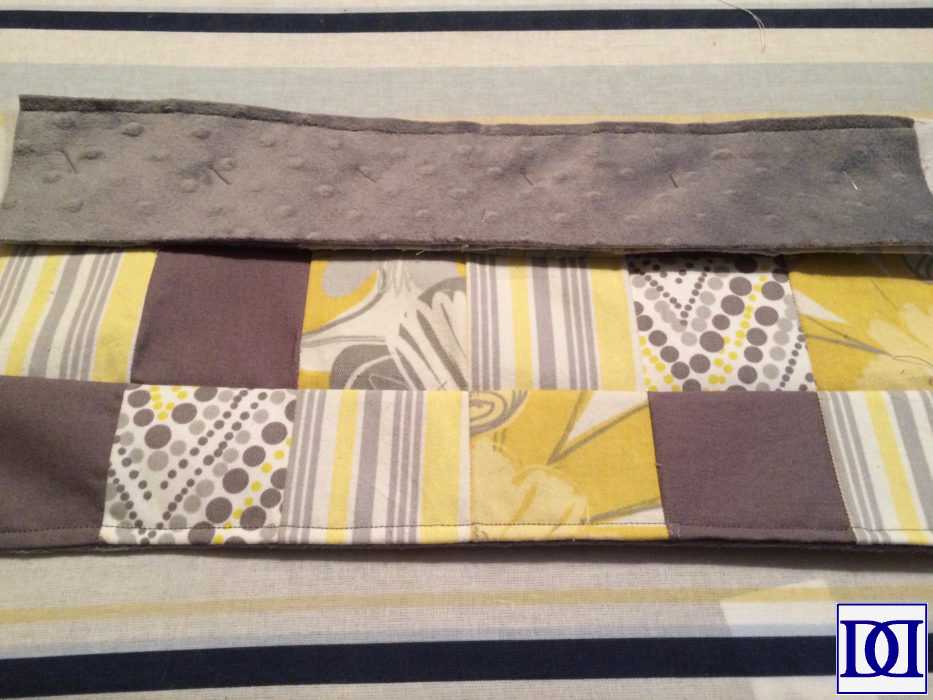
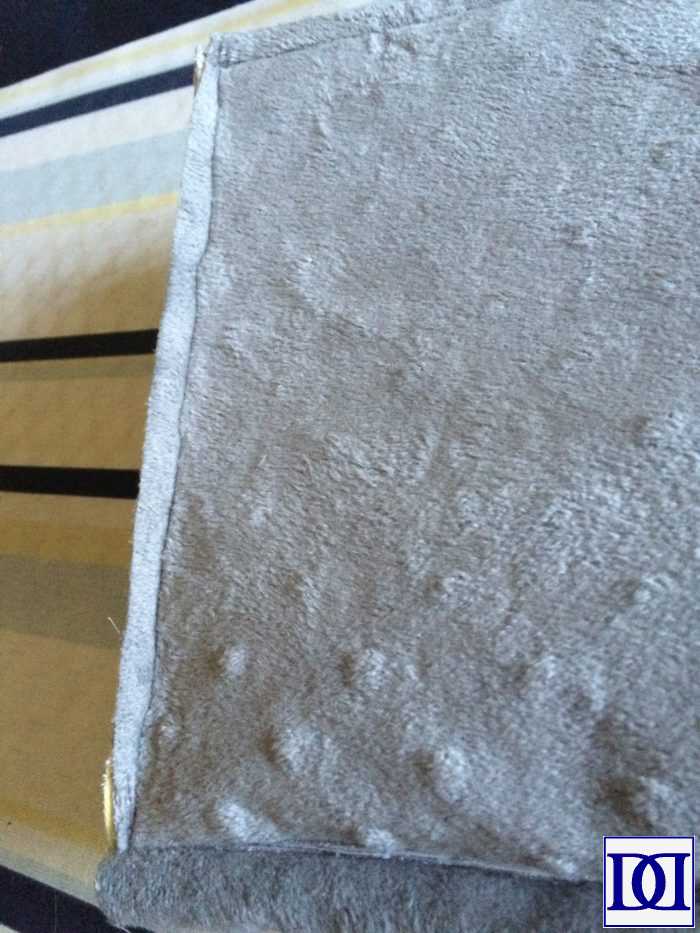
(5) Cut Pellon 809 to match your sewn patchwork pieces. Cut lining fabric to match Pellon 809 and fuse together.
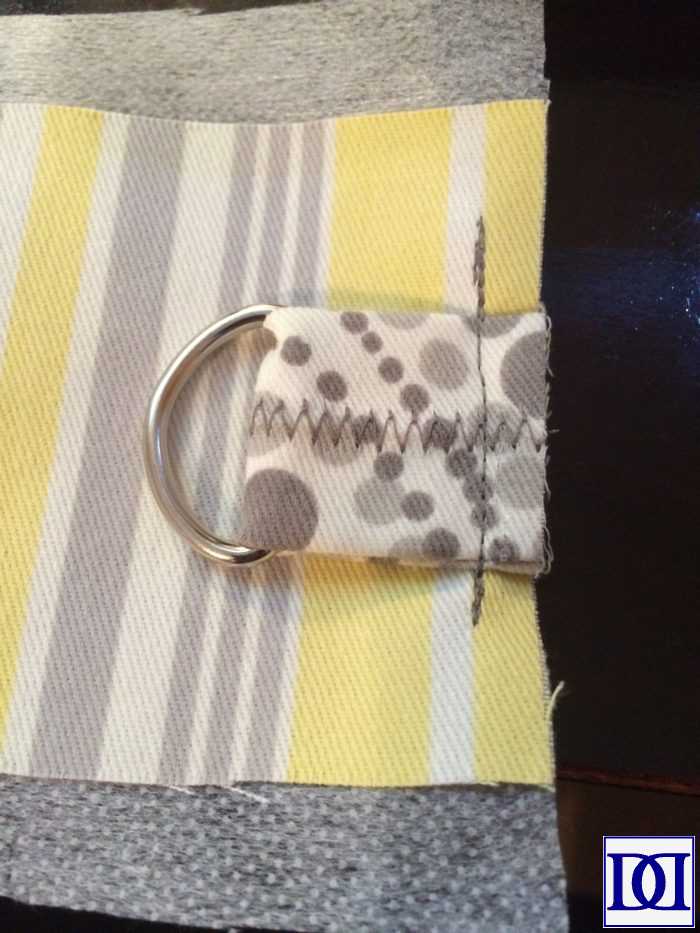
(6) If desired, attach straps. For my project, I took a 2″x 3″ scrap of fabric, folding it into the center and zig-zag stitching to close. Loop strap through D-ring and sew, raw edges together and centered on the top square of the side pieces.
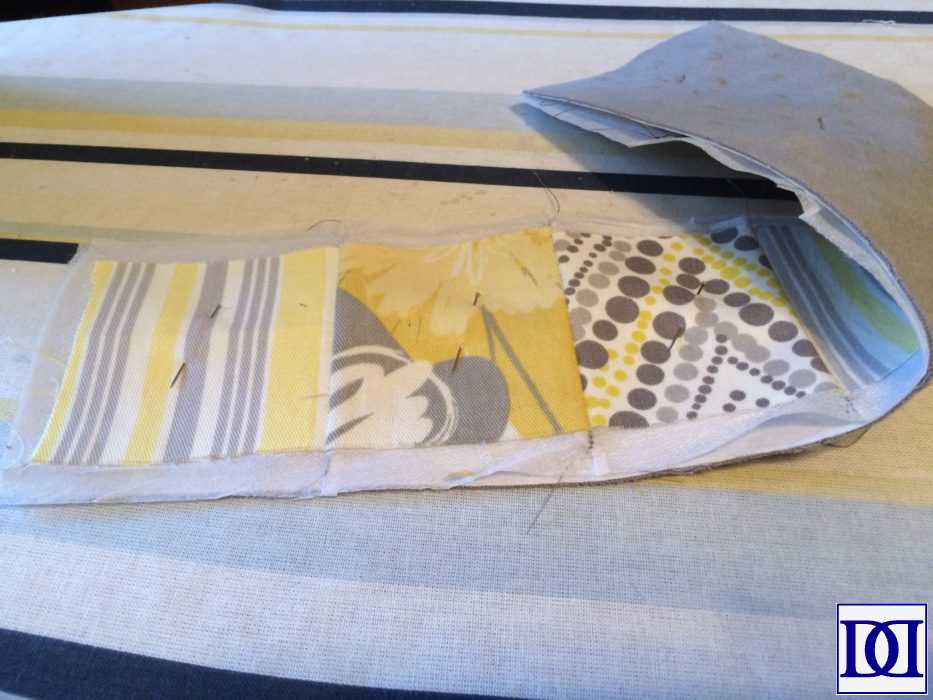
(7) With wrong sides together, pin base patchwork piece to corresponding lining piece. Set aside.
(8) Trim excess Pelon from ALL pieces down to the patchwork squares.
(9) With right sides together, sew patchwork pieces (other than the base piece) to corresponding lining pieces at the top seam.
(10) Fold piece open, wrong sides together. Press.
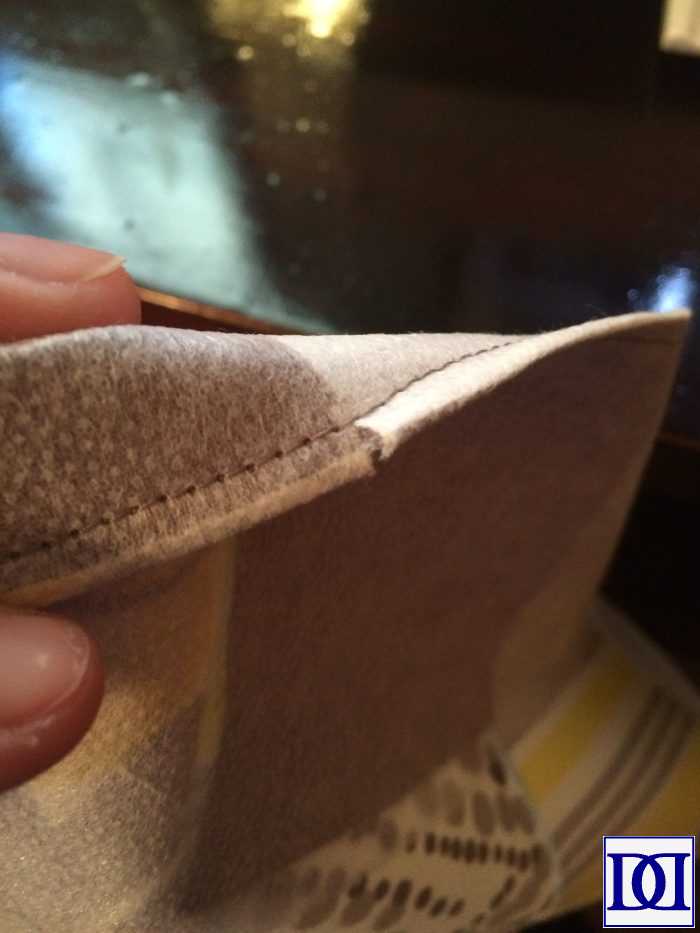
(11) Sew with a 1/4″ seam allowance along top seam.
(12) Place pinned base piece to front piece along the seam, right sides together. Sew with a 1/4″ seam allowance.
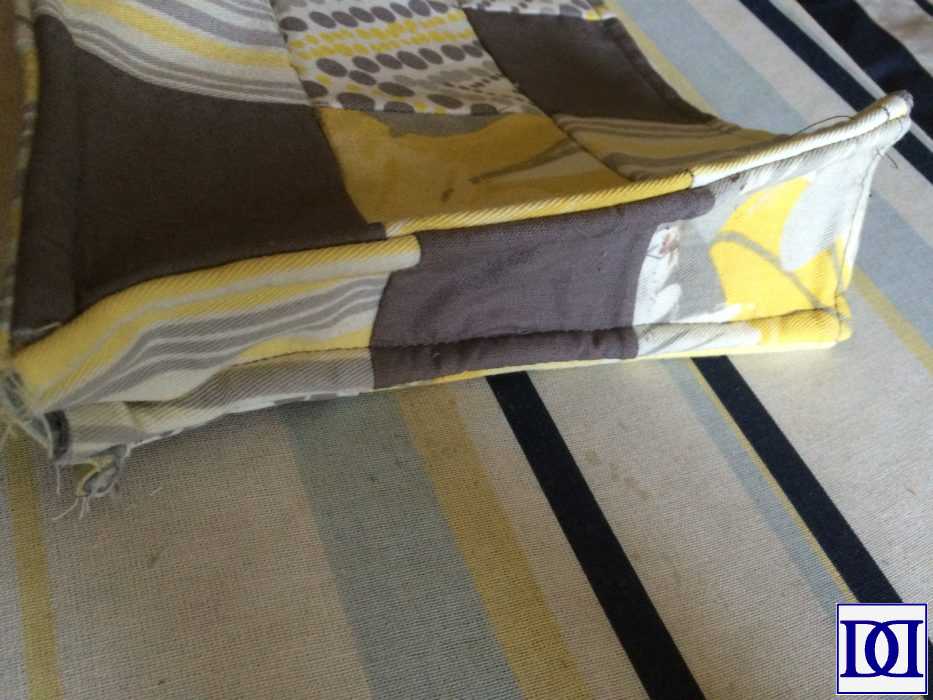
(12) Fold pieces, wrong sides together and press. Sew along pressed seam with a 1/4″ seam allowance.
(13) Sew back piece to the bottom piece in the same manner. Sew side pieces to front piece in the same manner.
(14) Turn project inside-out and sew side pieces to back piece with a 1/4″ seam allowance and a 1/4″ seam allowance along the pressed seam on the right side of the project (same as previous sewing pieces).
(15) Turn project inside-out and align raw edges of bottom piece and side piece at the corners. Sew together. Repeat for other side.
Now all that’s left is attaching it to the wall or, in our case, the dresser!

Leave a Reply