As silly as it may sound, I LOVE working with cardboard. After moving fairly frequently in early childhood, I have definite fond memories of creating forts and other objects out of our used moving boxes, and I love watching kids’ imaginations run free, both with the space of boxes themselves and also with what they can color/create themselves on the cardboard.
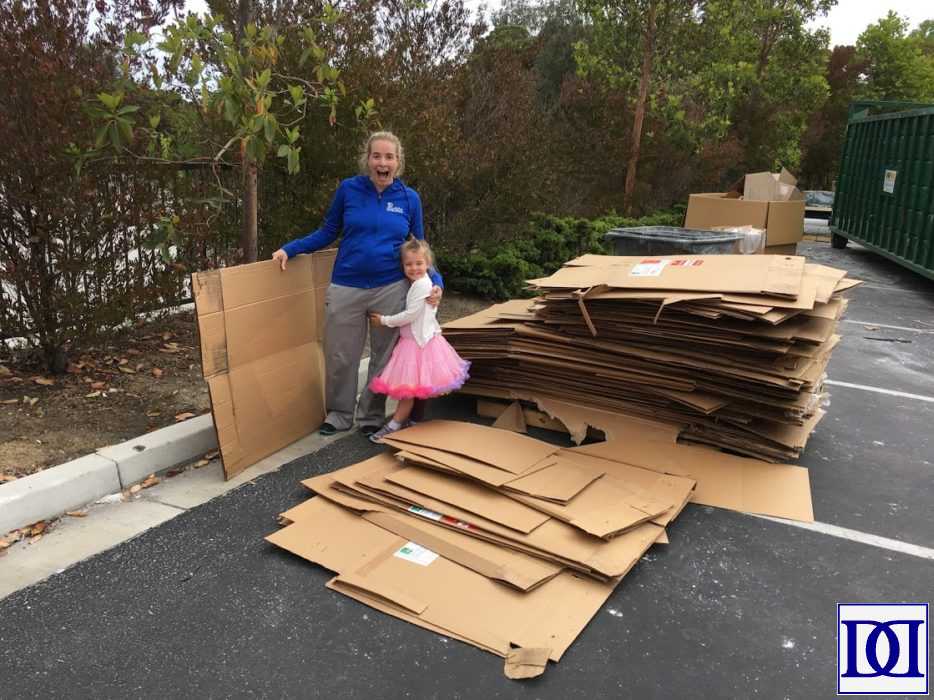
With that in mind, for the past few years, I have tried to create a large-ish scale cardboard object for my kids’ birthday parties. Thanks to my kids’ varying interests, I usually have a unique theme or narrative to work with, and thanks to amazing neighbors and some dumb luck, I have been able to find ample large boxes to play with myself!
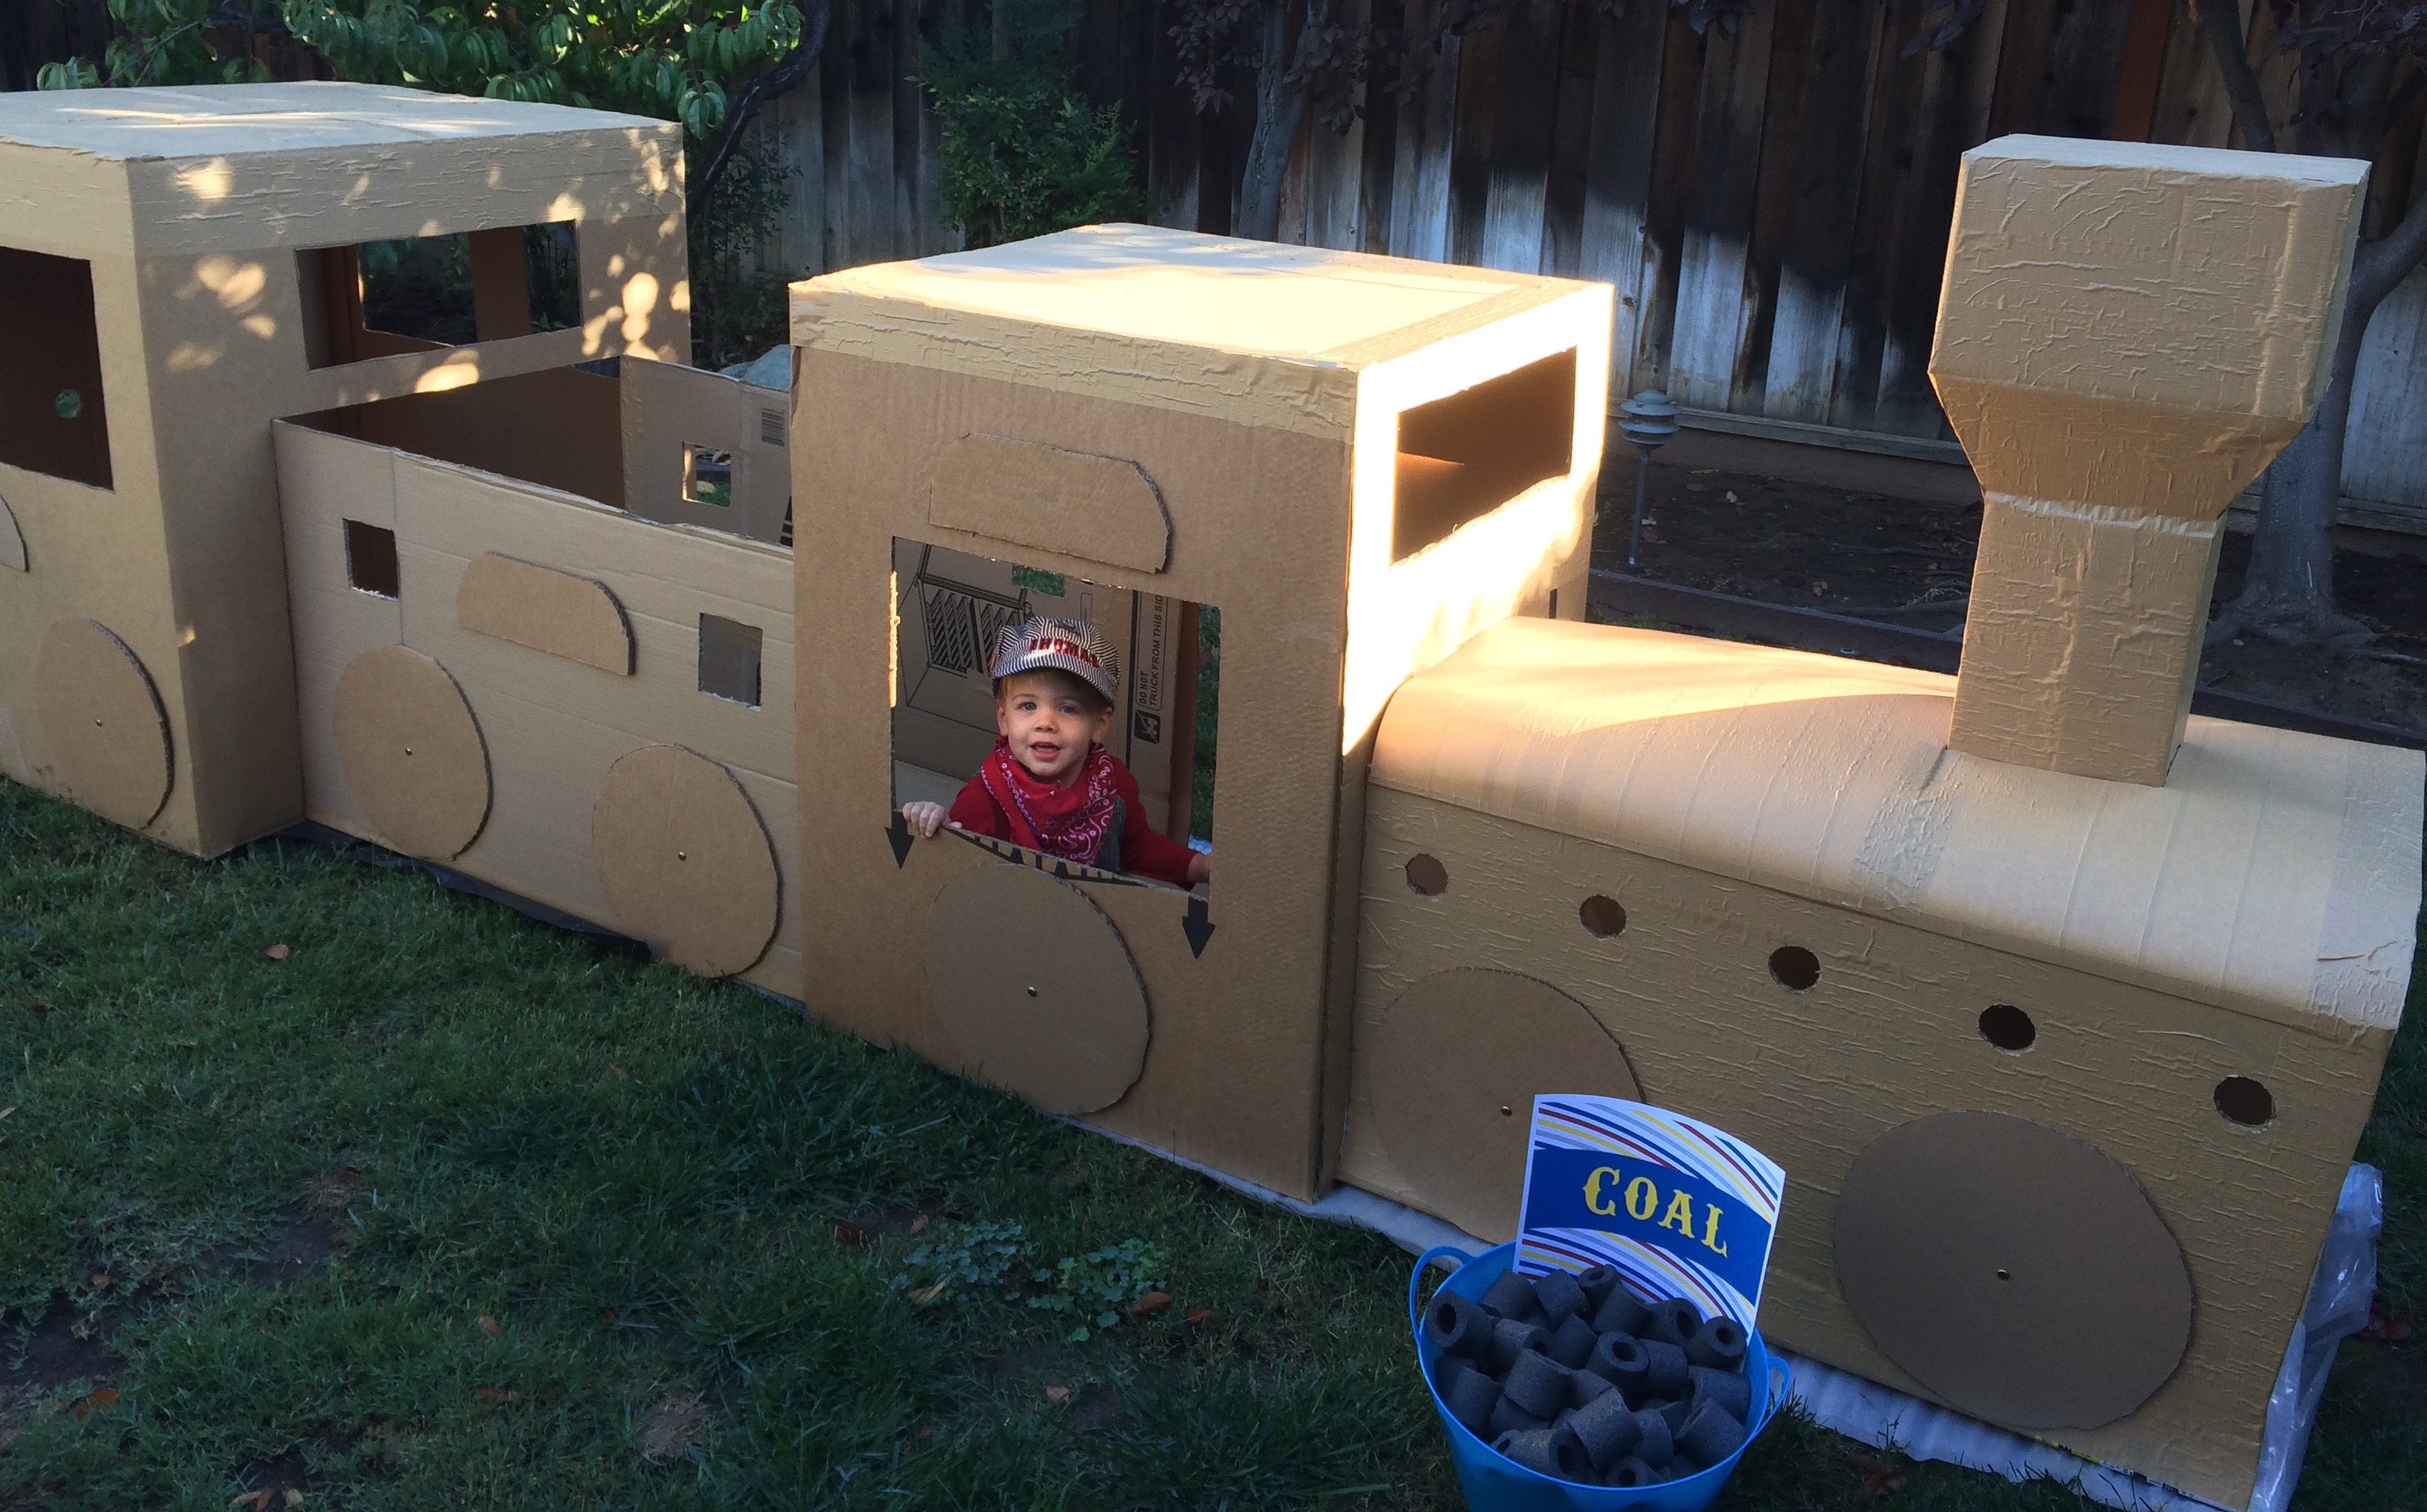
For my son’s second birthday party, I wanted to create a large scale train that would fit multiple children easily at one time but would be small enough to potentially bring inside after the party (we were imminently expecting a new baby, and I thought it would be good to give my older children a new “play zone” during the upheaval of the last couple of weeks of pregnancy and first few weeks of a new family member).
Unfortunately, due to the nature of boxes, it’s difficult to give an exact tutorial on how to build your own (it’s rather unlikely that you find EXACTLY the same boxes that I did). That being said, here are my tips!
What I used:
- 4 large-ish boxes (2 furniture boxes, wine cooler box, water heater box)
- 2 smaller boxes for the smoke stack (one narrower and long and the other more square-ish)
- Ram board tape
- OPTIONAL
- Fasteners
- Poster board
- Plastic caps
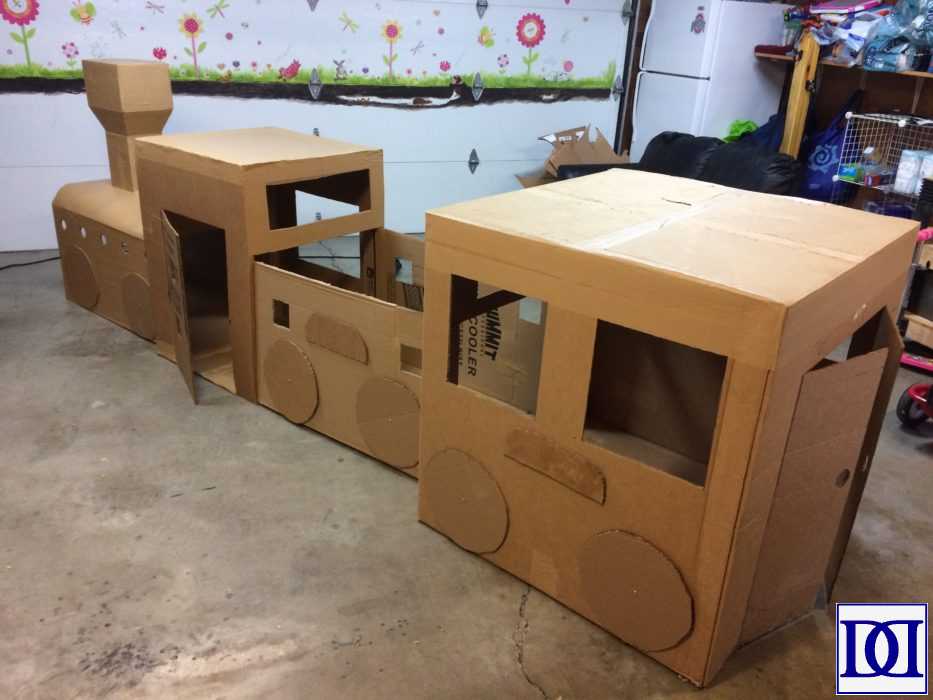
(1) Decide how you would like your train to appear. A good rule of thumb for the engine is to have a square-ish box for the cab and a long, shorter box for the boiler. As for the other train cars, take a peak at some pictures of real trains and see what you can do with what you have (windows, doors, openings, etc).
(2) When you’ve decided how you’d like to construct your train, I’d recommend dismantling your boxes and flipping them inside out (so that any markings appear on the inside. This will make your train appear more aesthetically pleasing on the outside.
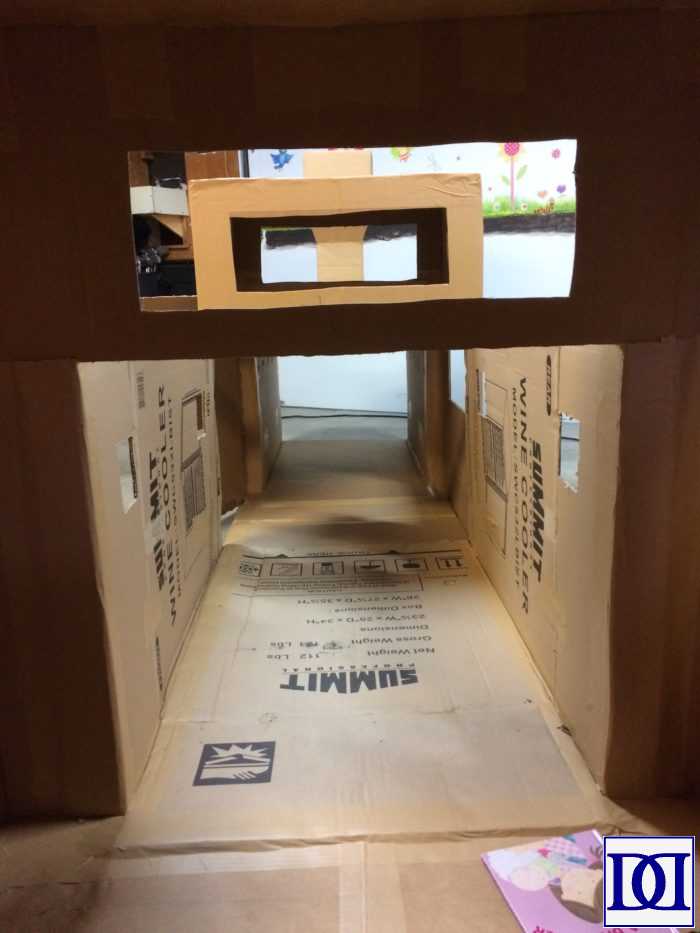
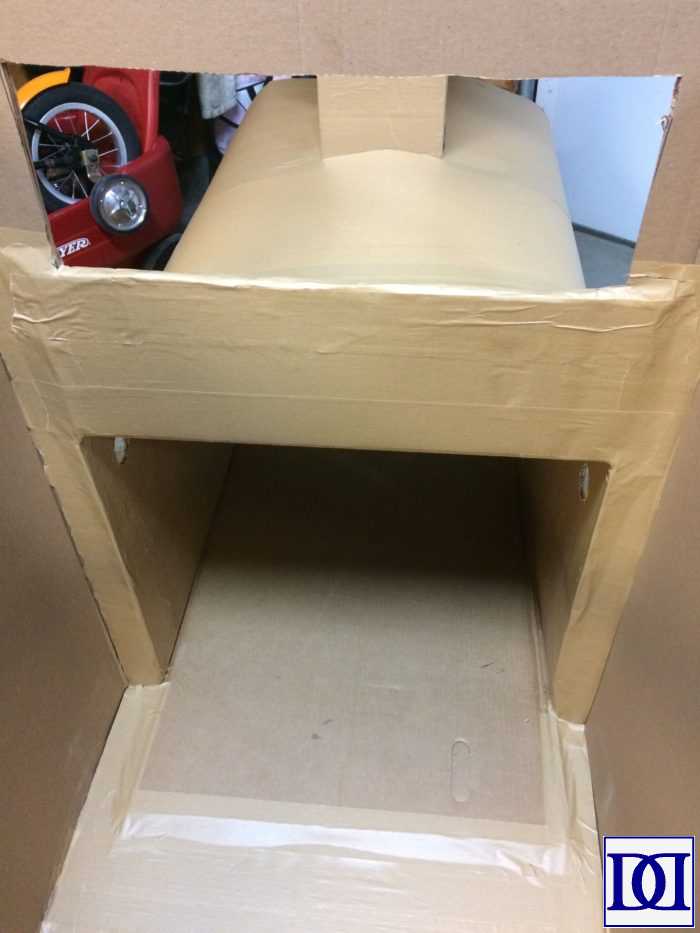
(3) When combining boxes, cut your openings slightly larger than necessary so that you can slide one box inside of another. Cut the edges of the inserted box and fold them into the outer box, taping them into place.

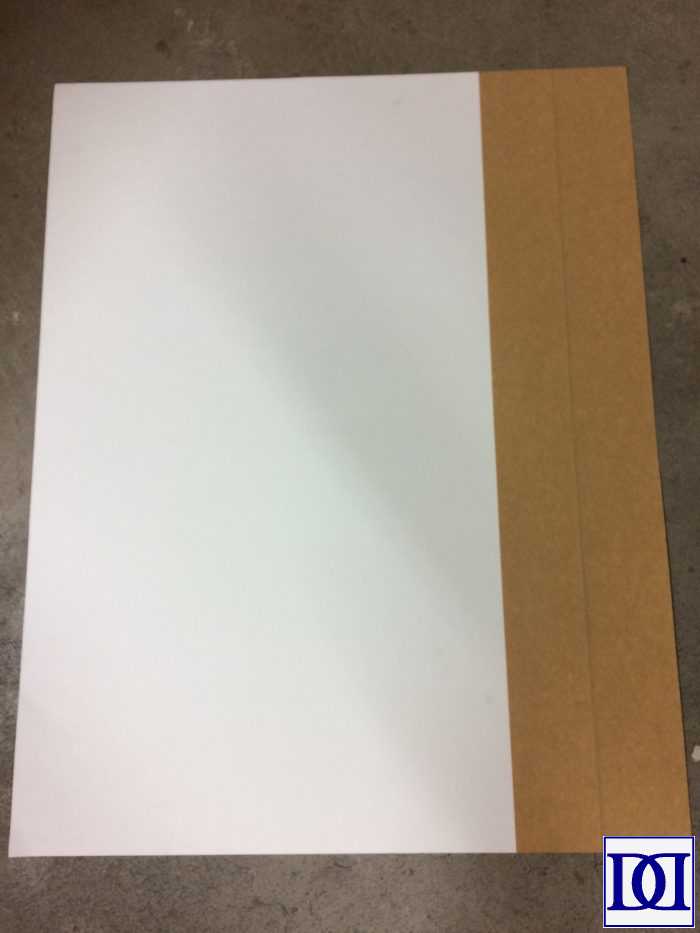
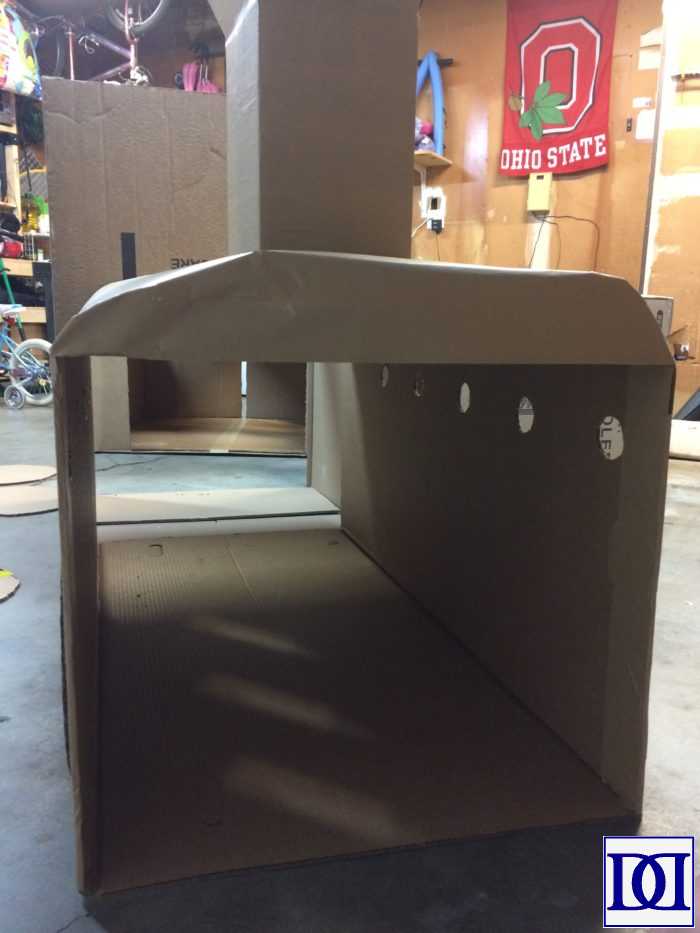
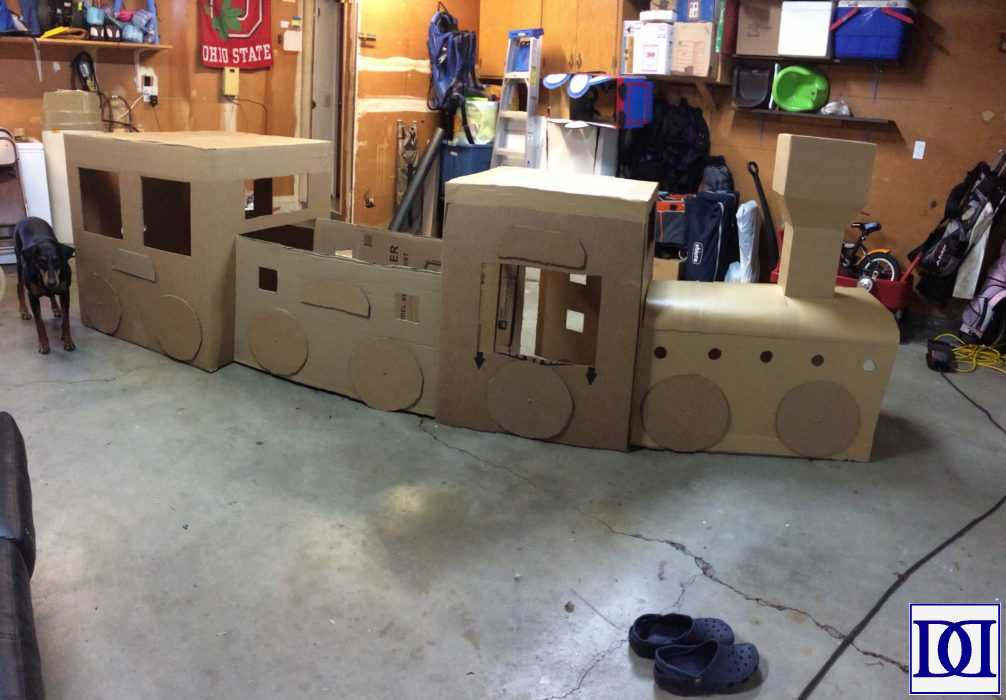
(4) While not necessary, I decided to round the top of my engine piece. To do so, I used 2 pieces of poster board and covered them in ram board tape. I them arced them over my boiler box and taped them into place, stuffing old tape, newspaper, etc between the poster board and box to keep my desired shape. I then covered the front gap with an extra piece of cardboard and sealed it with ram board tape.

(5) The smoke stack was something else that took a bit of time. I opened my smaller square-ish box, and cut down the edges of the flaps on one side to create a half-pyramid shape. I then taped this shape on top of my smaller narrow box and secured it to a hole I cut in the poster board boiler arc.

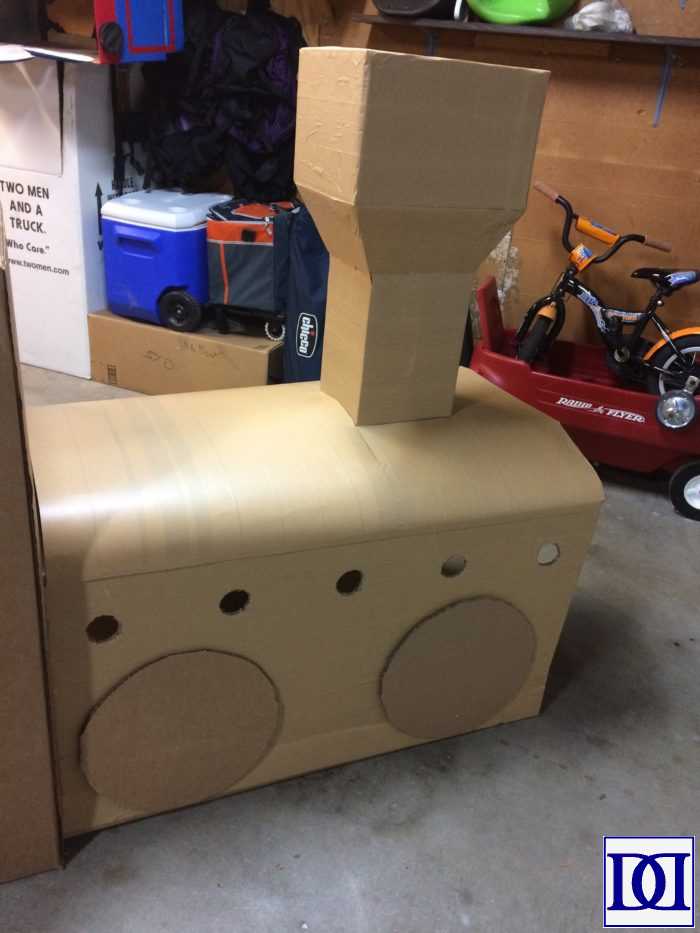
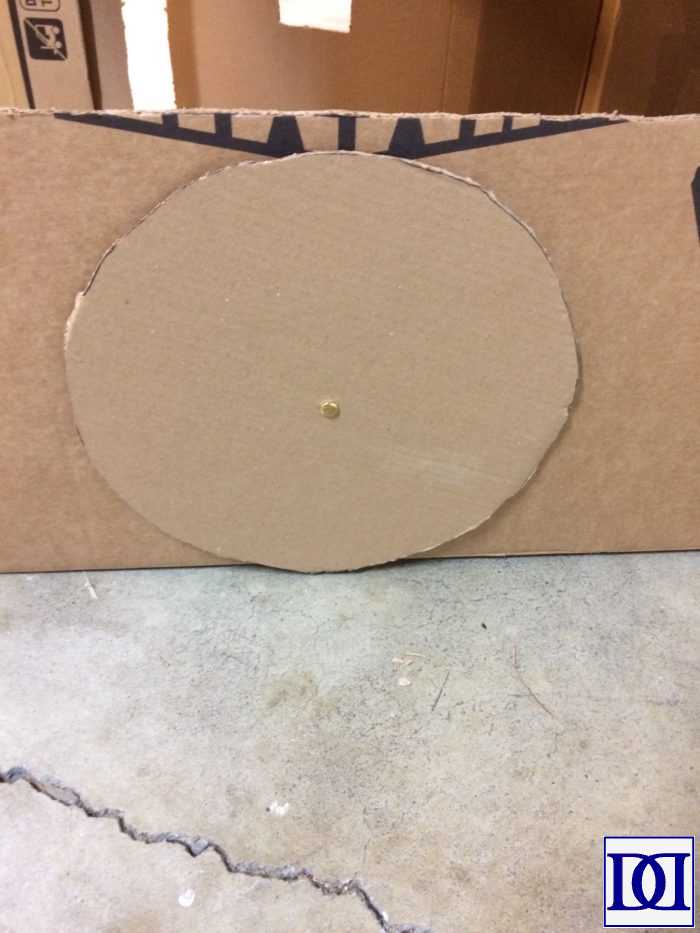
(6) Originally, I had planned on merely taping/gluing the wheels to the engine, but then the first thing my son did when encountering the train was to try and “work” the wheels. Of course, they fell off, my son got upset, and I worked out a great solution: fasteners! I punched the fasteners through the wheels and secured them with ram board tape on the inside of the train.
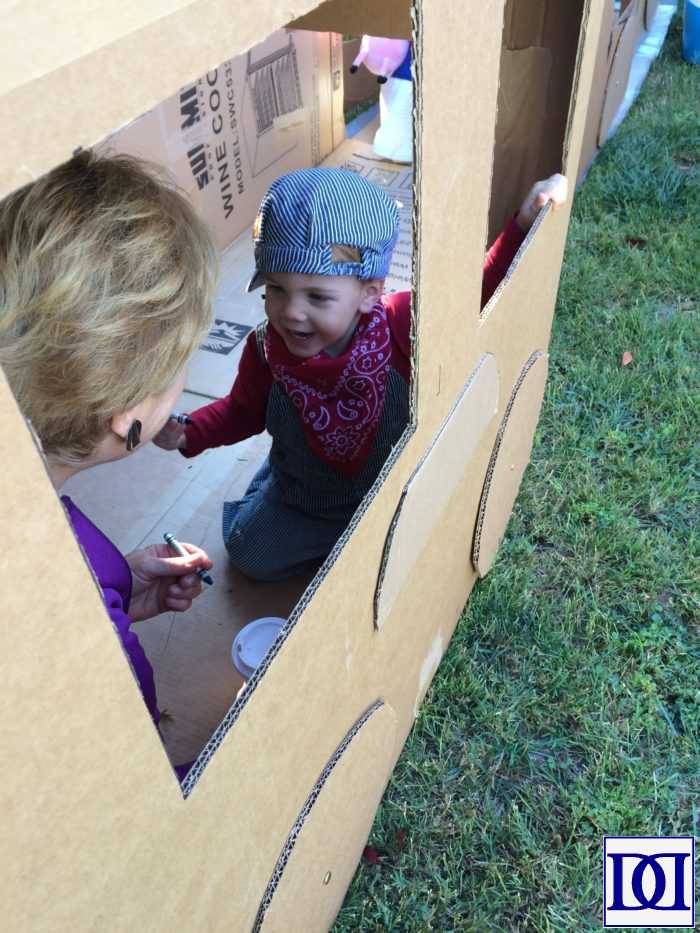
(7) The rest is adding windows and access points. A lot of that work can be done ahead of time, but remember that you may need to add more doors/windows/supports depending on how your kids interact with the train (and how sturdy you want it to be).
For instance, I had intended on closing off the boiler section of the train, thinking that it would be dark enough that no one would want to explore inside. Boy was I wrong! The kids loved racing through the train as if it were one big tunnel.
I also had to reinforce various aspects of my windows with more tape/cardboard. In my desire to make it look “pretty,” I compromised the integrity of one of the boxes under the wear and tear of even 2 kids under 5 (and we were anticipating almost a dozen children for the party), so I quickly reinforced some areas that were less sturdy.
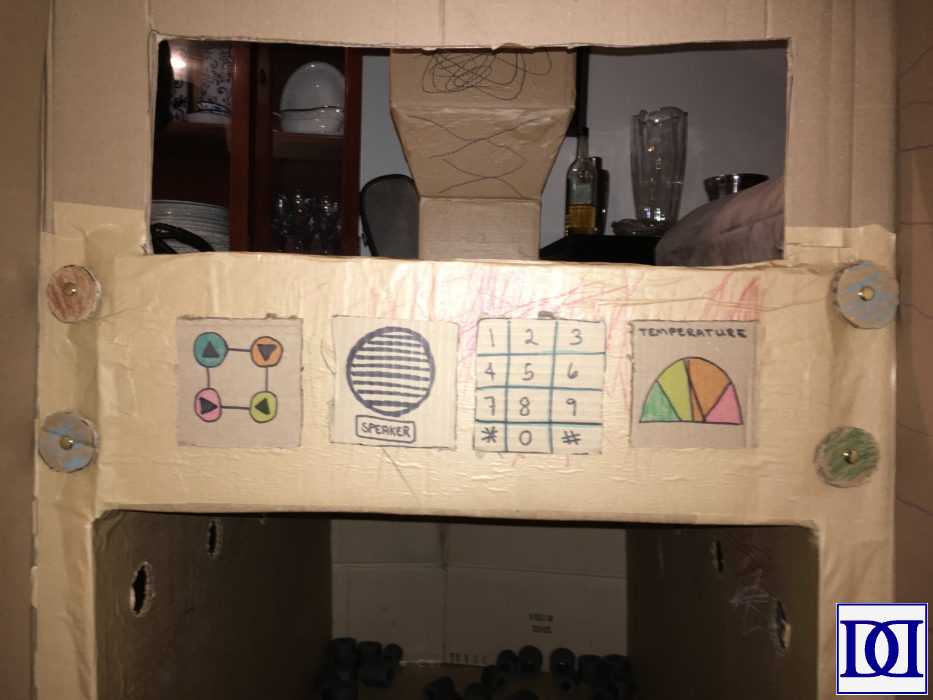
(8) Finally, after the dust settled from the party, and my kids had a chance to color the train extensively, I went ahead and added some “buttons” and “knobs” to the engine cab (and throughout) to add another layer of play to the train. To do this, I kept the circles and squares I punched from the boiler and center car as well as some old plastic caps. We decorated the cardboard pieces and, using the fasteners, “installed” our buttons and knobs.
Leave a Reply