When my daughter was 3 and starting to become very aware of the holidays, I wanted to try to keep Christmas as non-commercialized as possible. For us, that means focusing the holiday around the Nativity and the biblical story. I also wanted to find something that she could interact with to engage both her creativity and intellect. As most parents, I also loved the idea of Advent Calendars as a way to navigate the constant question, “How much longer until Christmas?!”
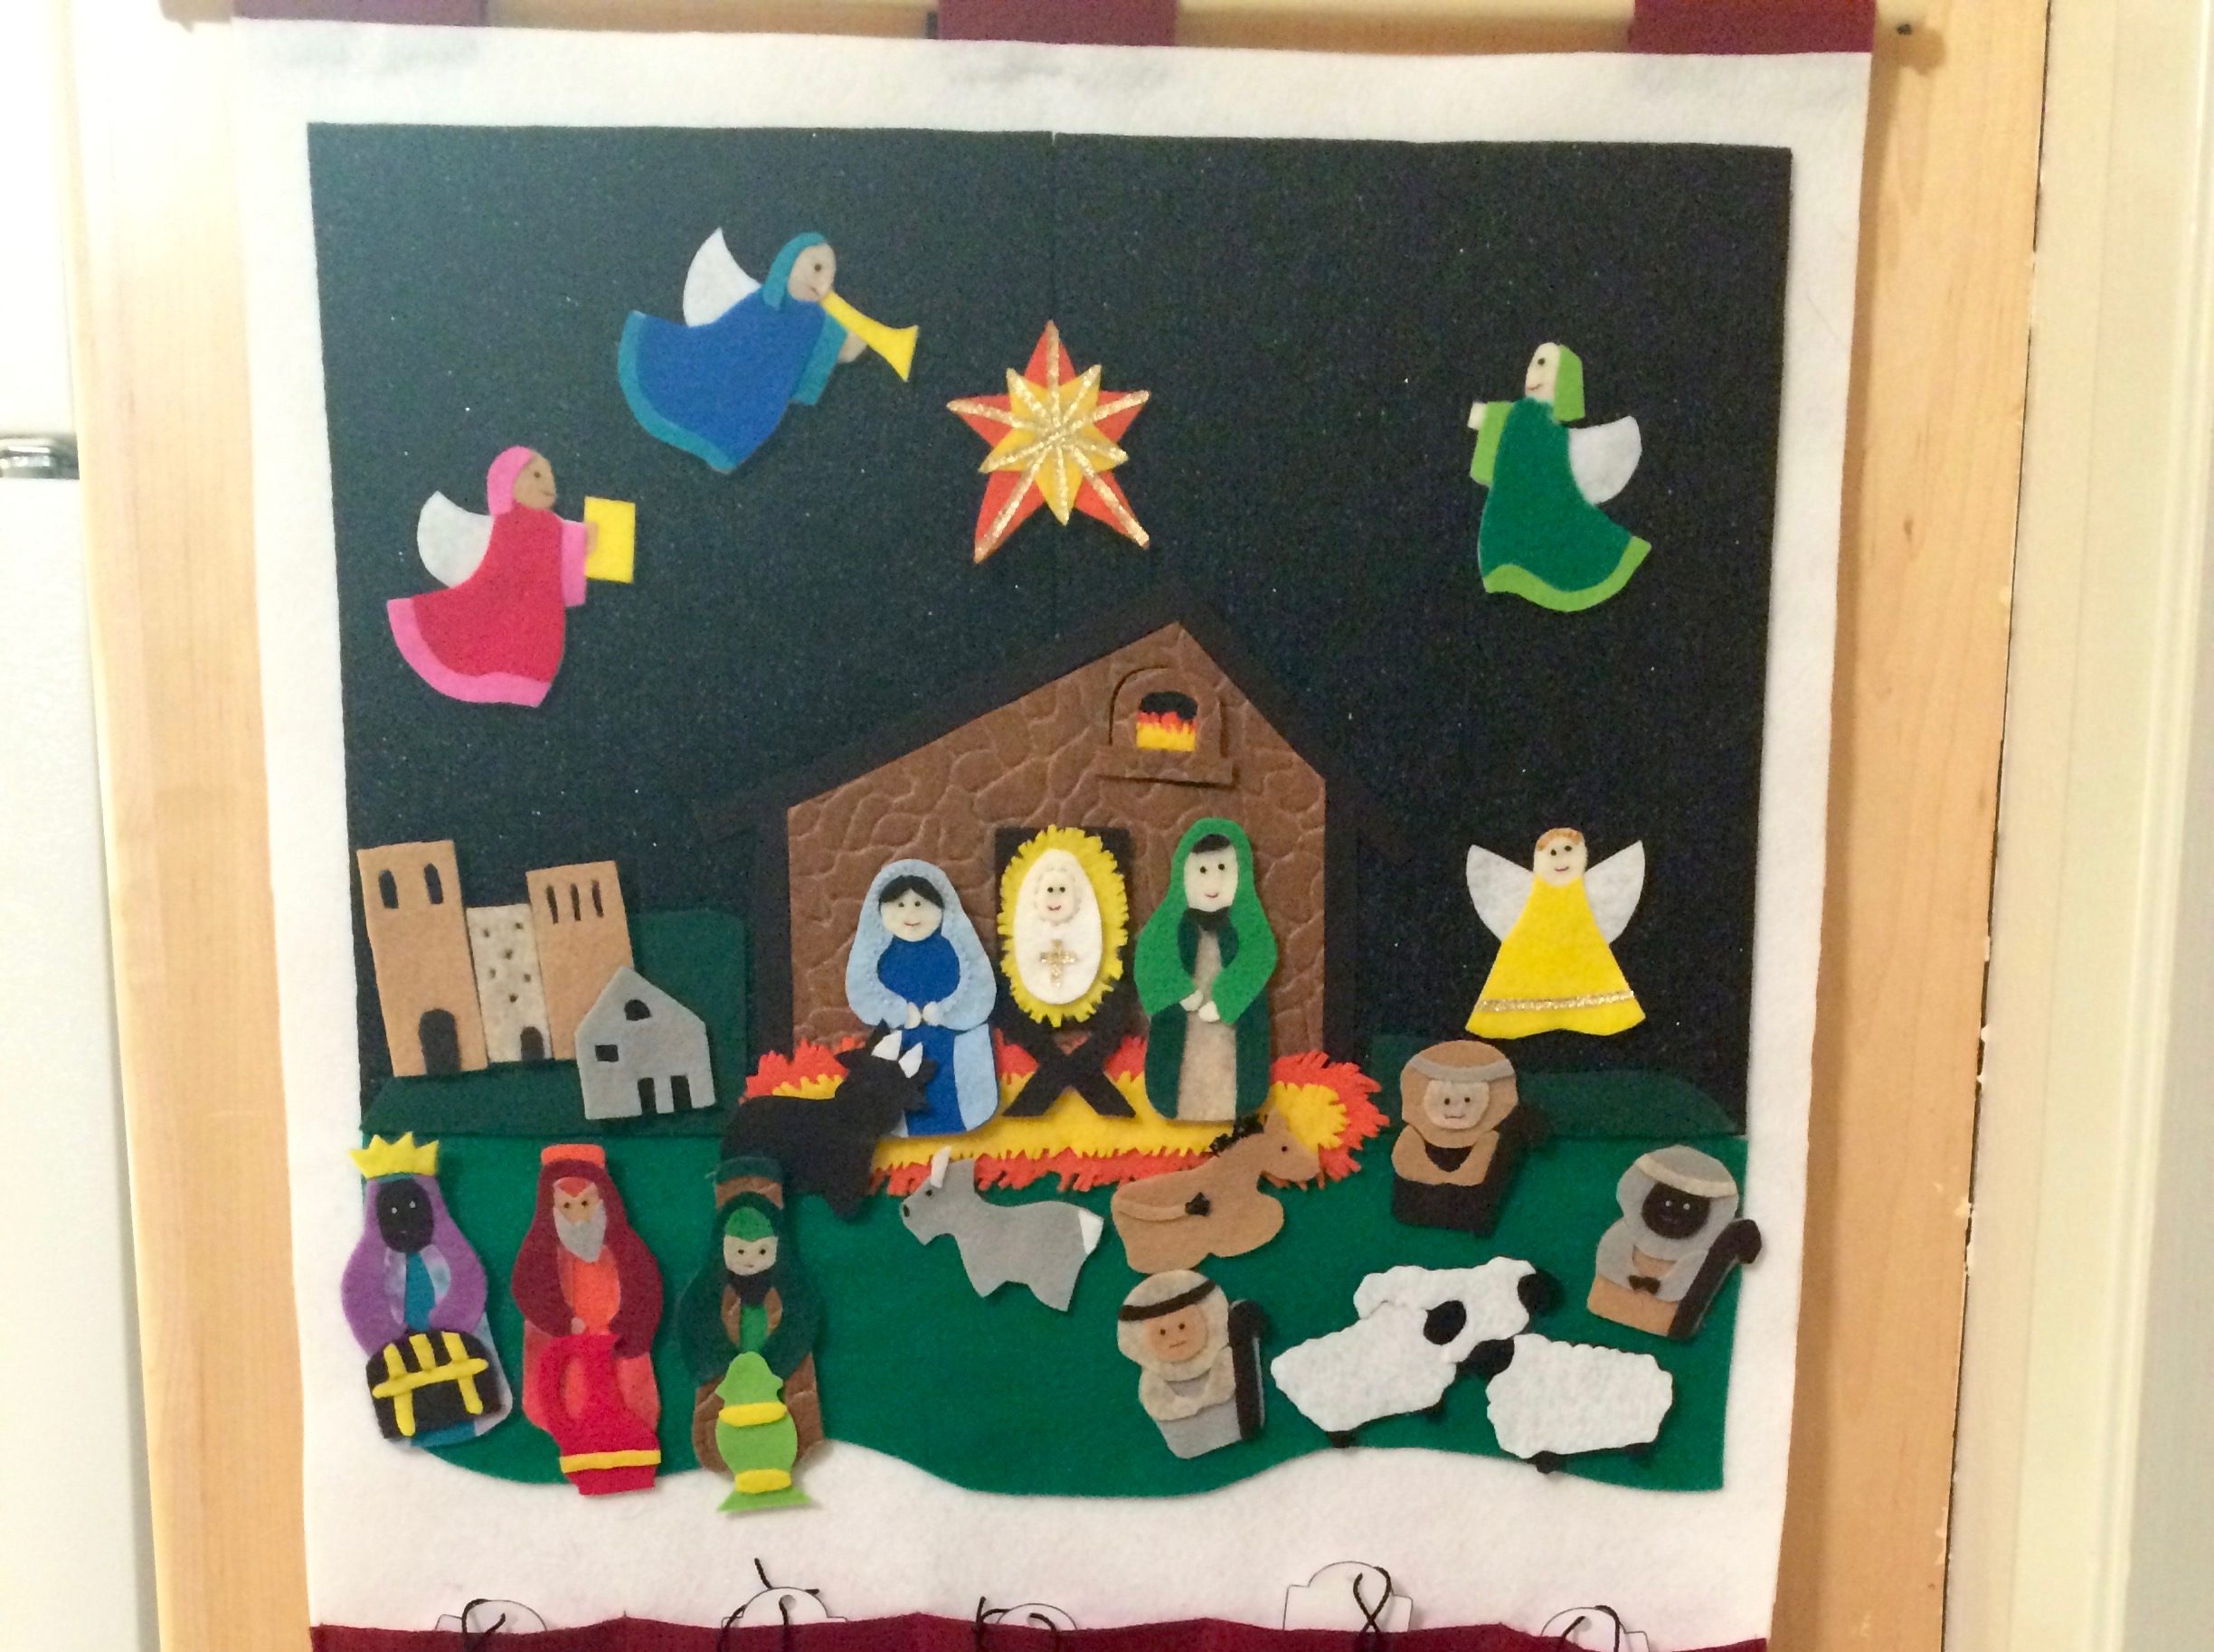
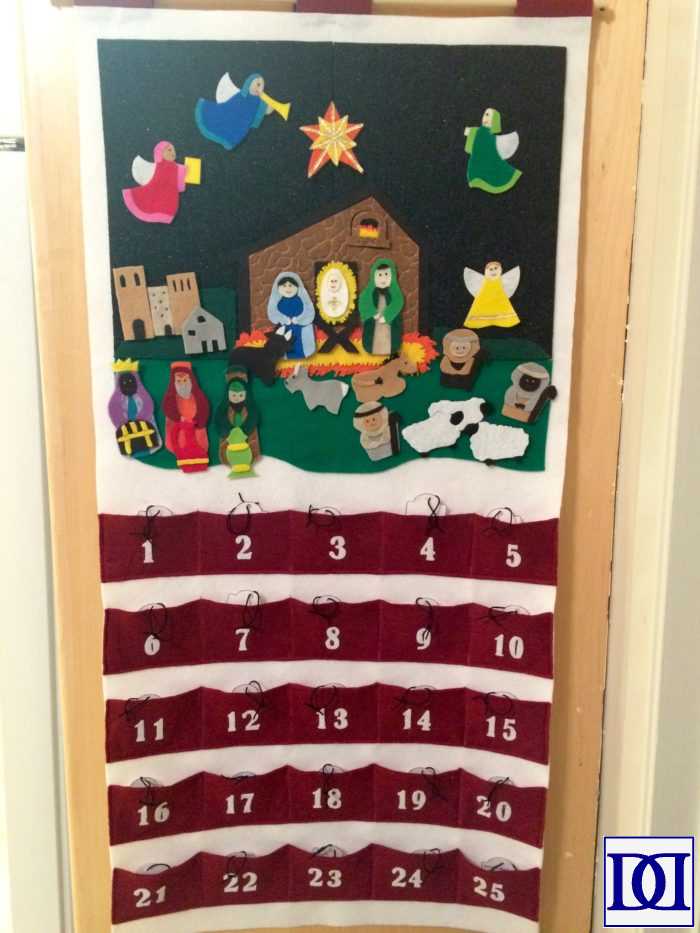
While I don’t have a full tutorial for the individual pieces, here is what I developed, and I hope it sparks your creativity to create something that works for you and your family! It was a labor of love, and I found myself engaging with the Holy Family and their story in a more visceral way than before through the process of creating this Felt Advent Calendar for my kid(s).
What I Used:
- Felt by the yard in
- White (2/3 yard)
- Red (1/2 yard)
- Black (1/3 yard)
- Green felt (1/4 yard)
- I used two different shades of green
- Fusable Pellon (2/3 yard)
- Felt sheets in a variety of colors (I don’t think there is a right/wrong way to do this, but here is what I used)
- Glittery black x2
- Light blue (Mary)
- Giraffe print (stable house)
- Dark brown
- Yellow
- Orange
- Gold ribbon
- Felt glue
- Needle/Thread
- String
- Dowel rod
- Scripture verses (some are quoted scripture while others are paraphrased to fit what I wanted to display in the nativity to best capture the interest of my littles)
- Cardstock
- Adhesive laminating sheets
- Numbers
(1) Cut your white felt and Pellon to 40″ x 20″. Fuse Pellon to felt.
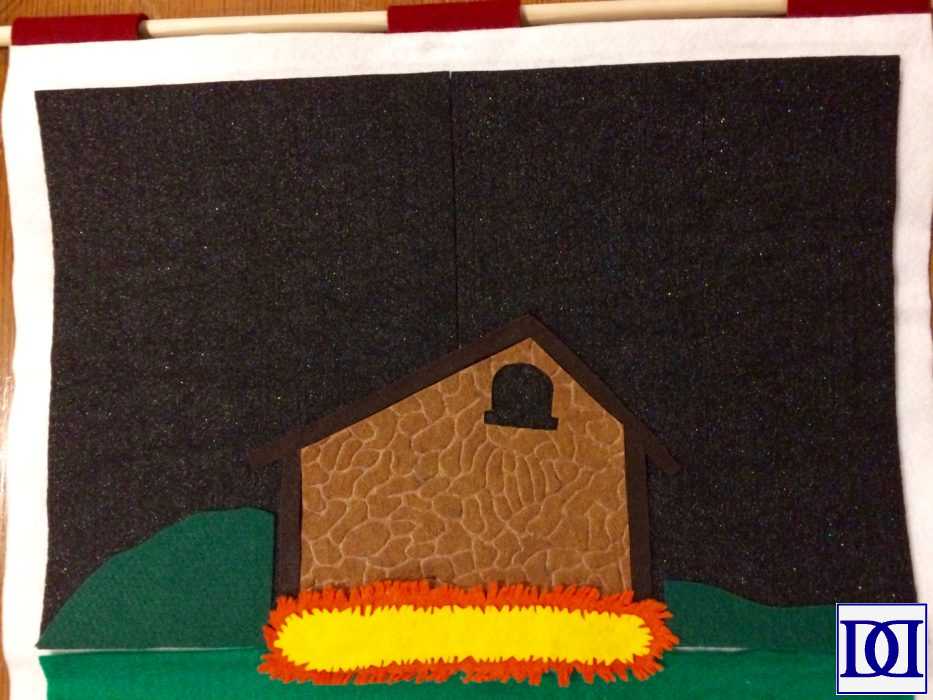
(2) Cut black felt to 20″ x 12″. Glue glittery black felt sheets to black felt piece. Sew combined black pieces to white base.
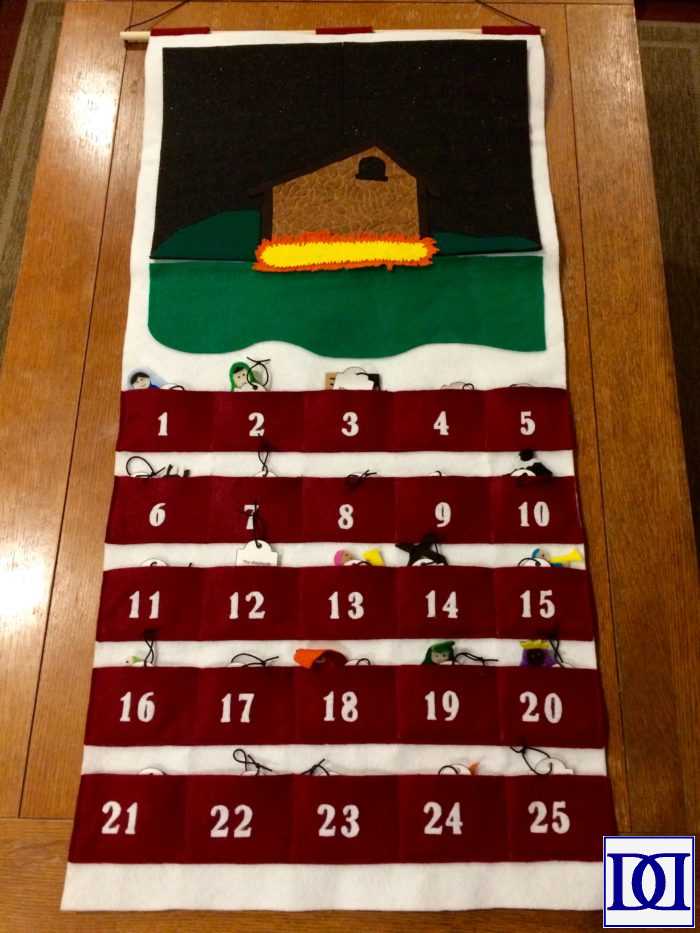
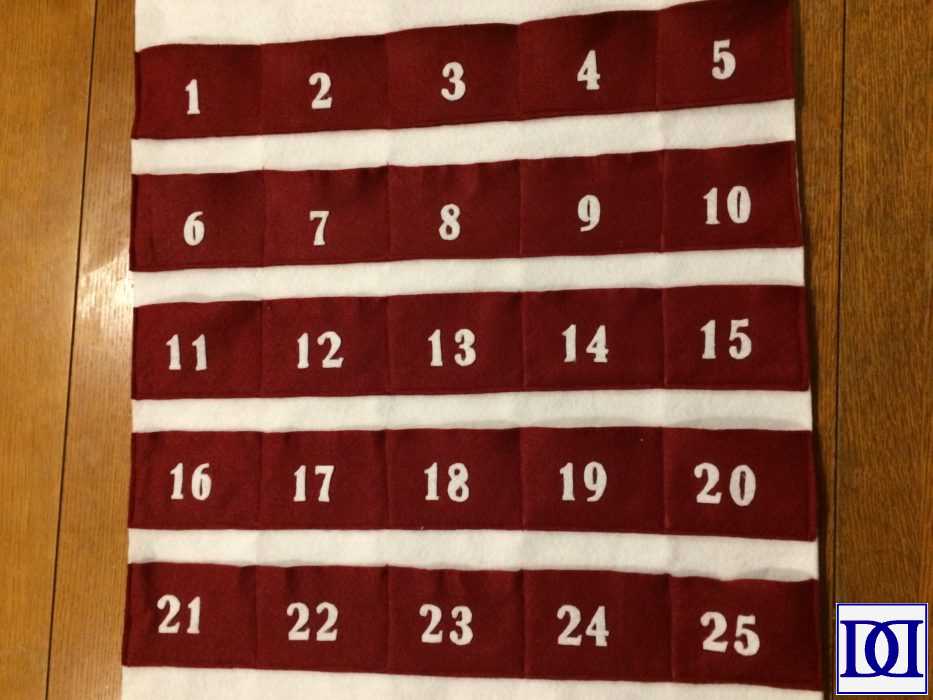
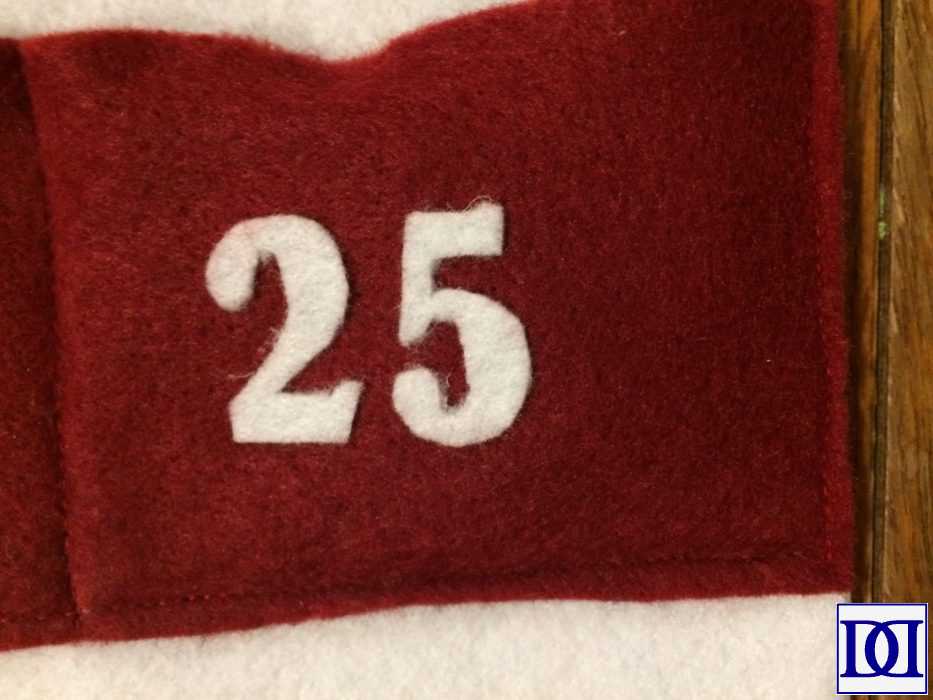
(3) Cut red felt to 5 strips of 20″ x 3″. Starting at the bottom, sew red strips to the white base, allowing for 1″ space between each strip. Sew vertical lines in the strip every 4″, giving you 5 pockets per strip. Cut out numbers from white felt and glue to coordinating pockets.
If you do this step before proceeding, you will have a good idea of how much space your can allot to the green felt.
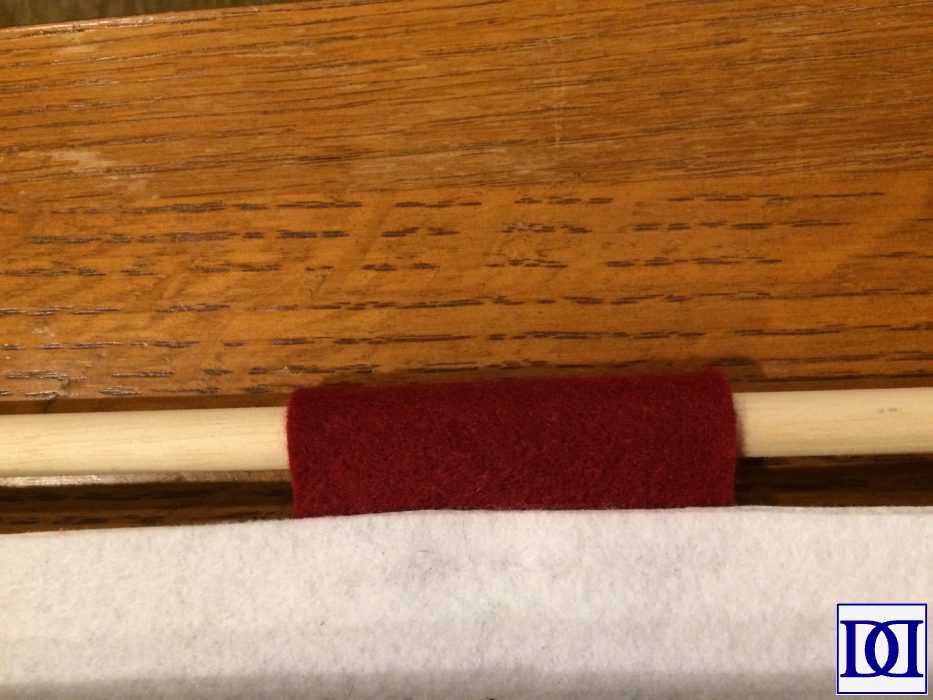
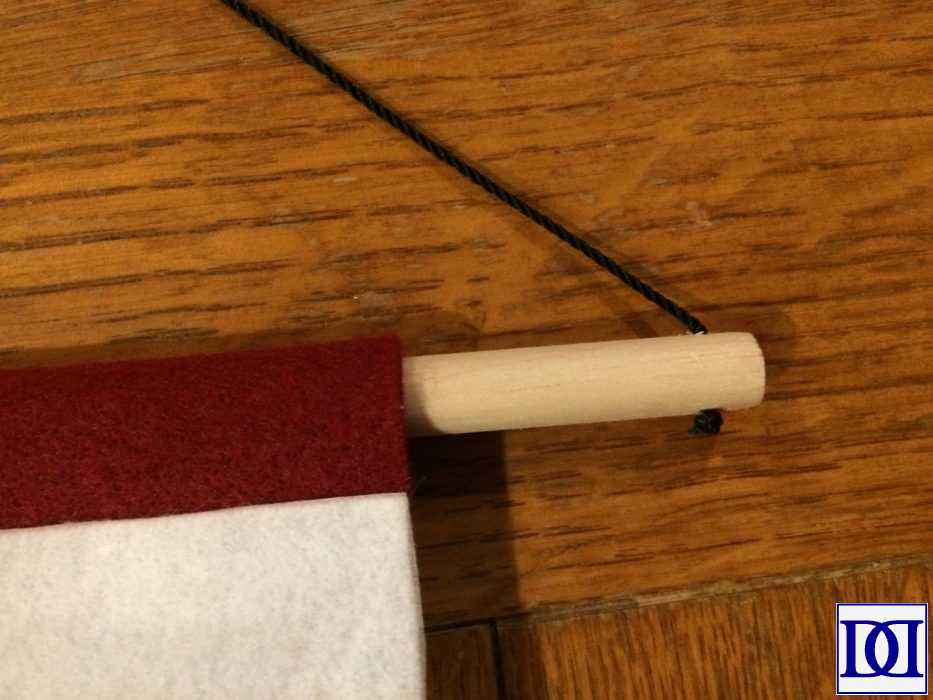
(4) Cut 3 strips of remnant red felt (3″ x 3″), fold in half, and sew ends to the white base, creating loops. Drill a small hole in each end of your dowel rod and attach a string/ribbon/thread for hanging.
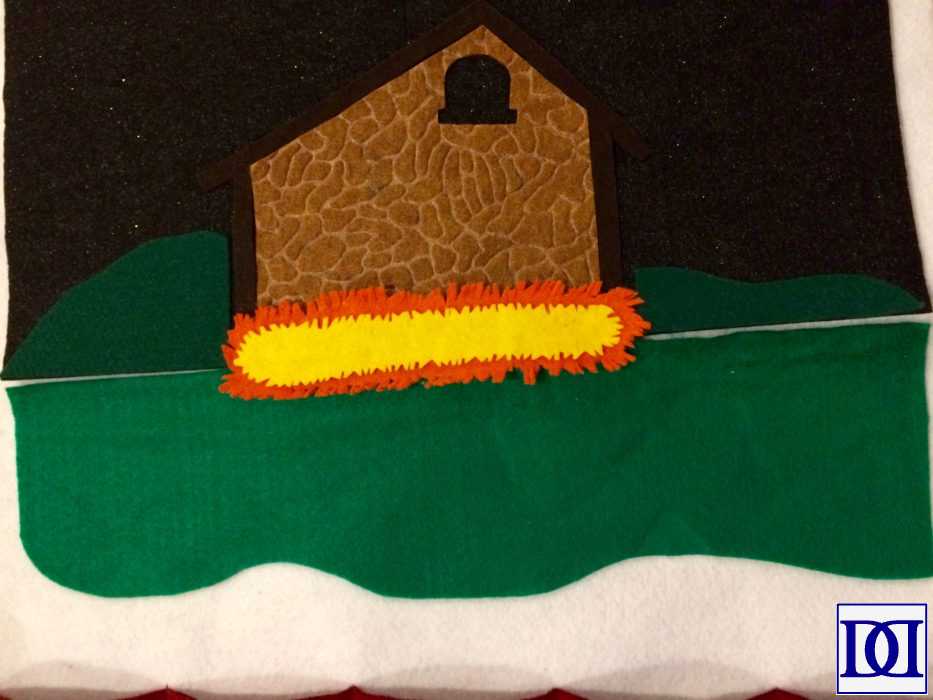
(5) Cut green felt to desired shapes and sew to the base (dark on the black felt and light on the white felt if using two different shades).
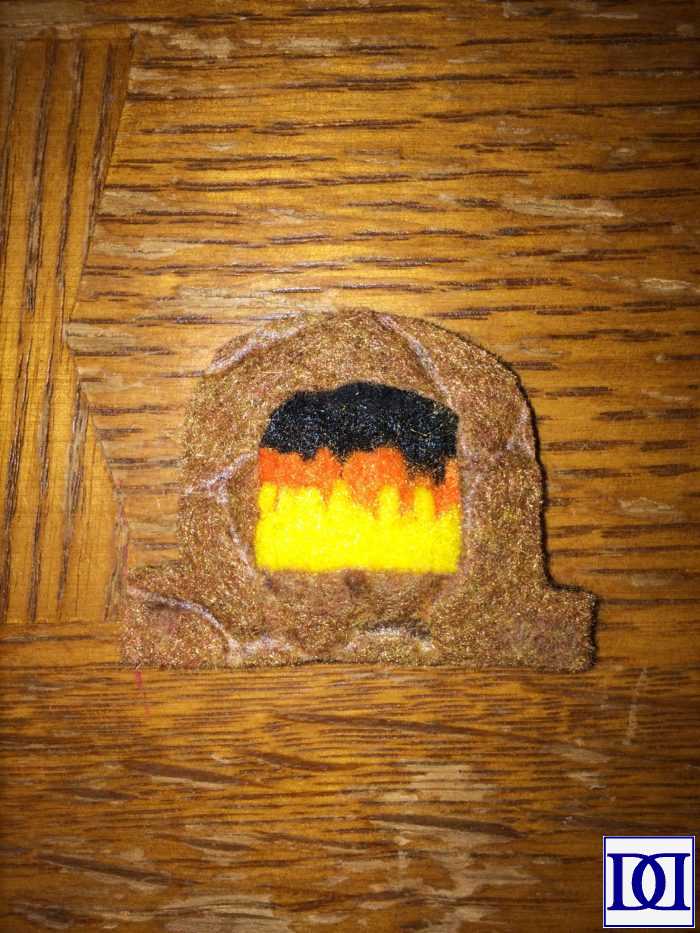
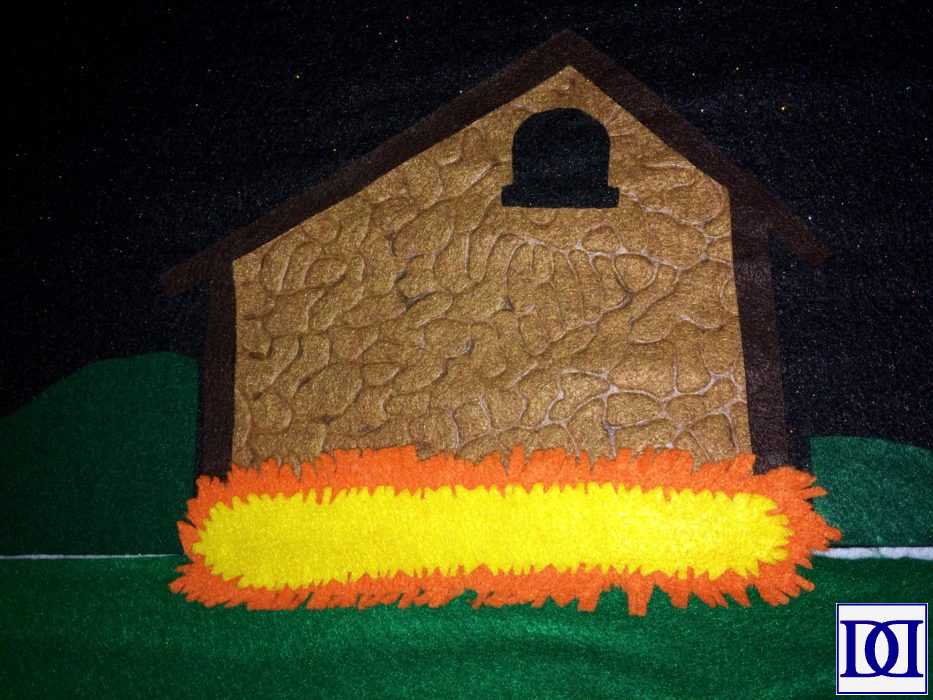
(6) Cut rough house shape out of felt (I used giraffe print here), allowing for a window opening. Cut eaves out of dark brown. Cut “hay” out of orange and yellow. Glue house/eaves to the black felt and use “hay” to cover the line between the green felts.
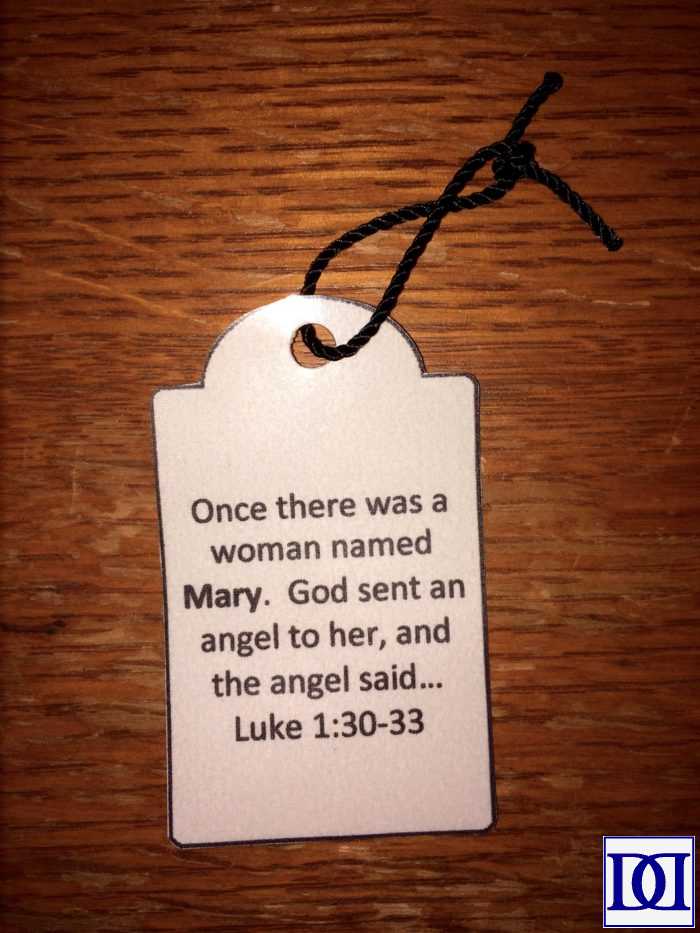
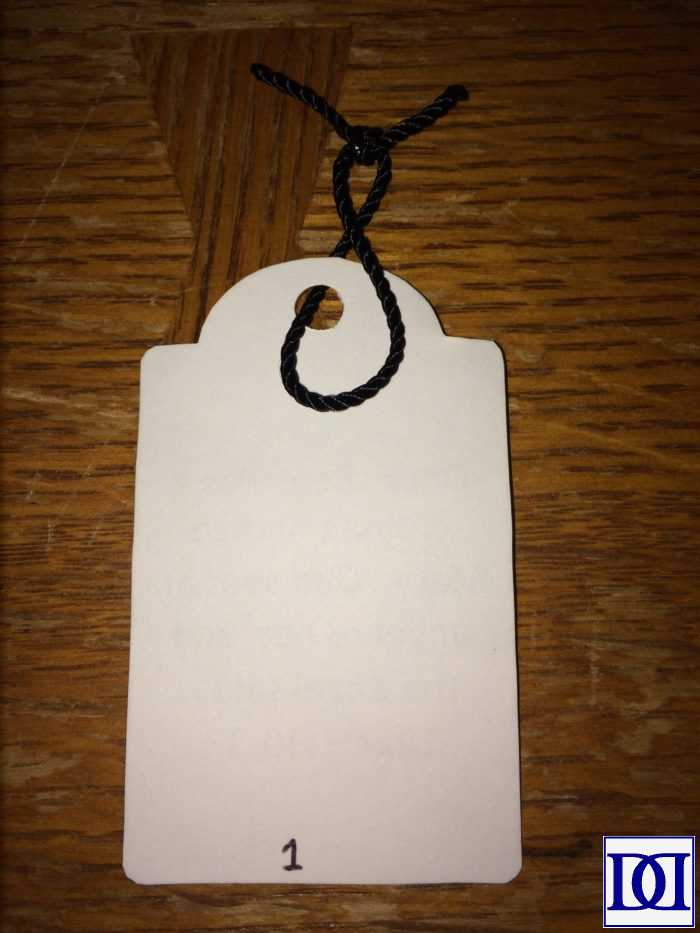
(7) Cut out each scripture verse and loop string/ribbon/thread to the center hole if desired. If desired, laminate the paper to make it a bit more durable. I also wrote where the verse occurred in my sequence of dates for quick reference when re-pocketing.
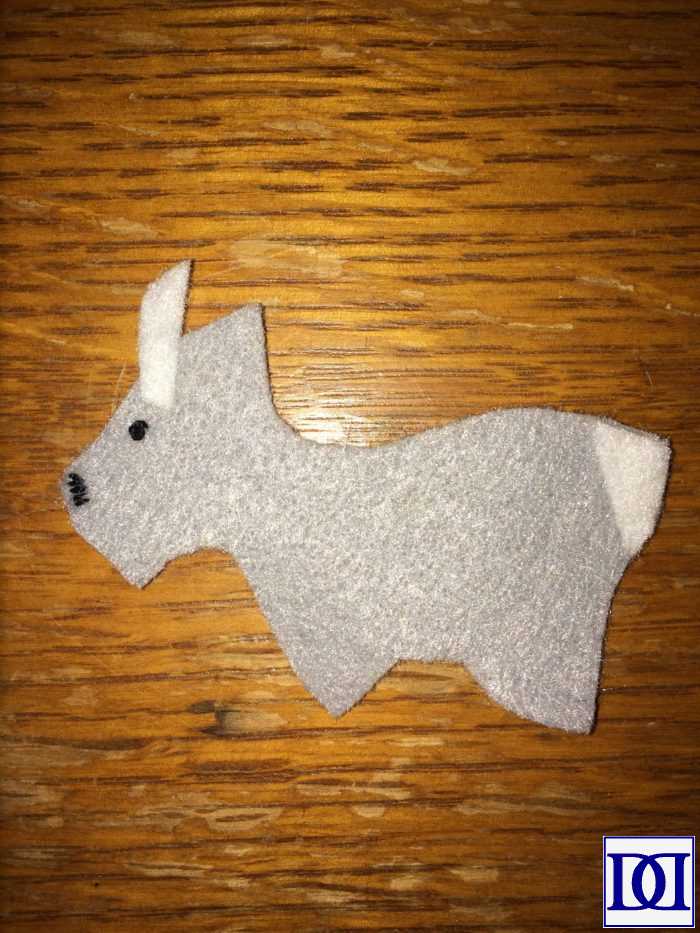
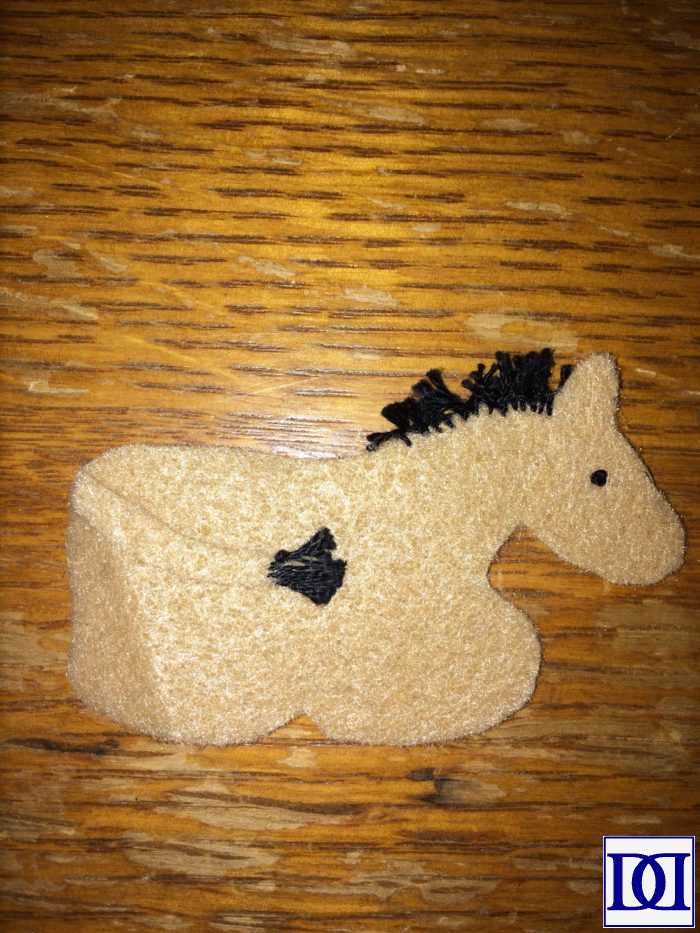
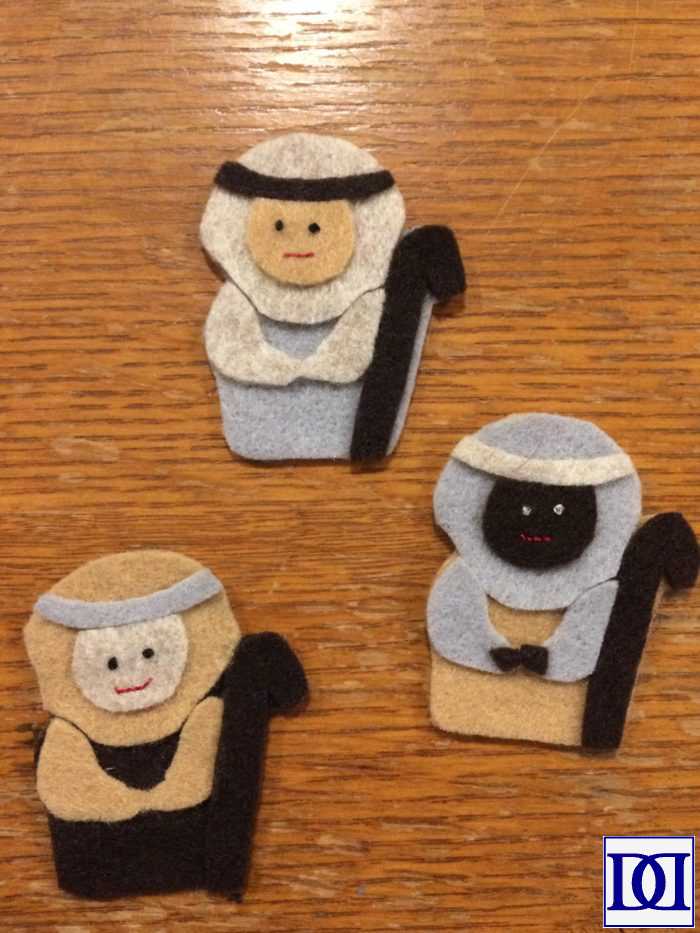
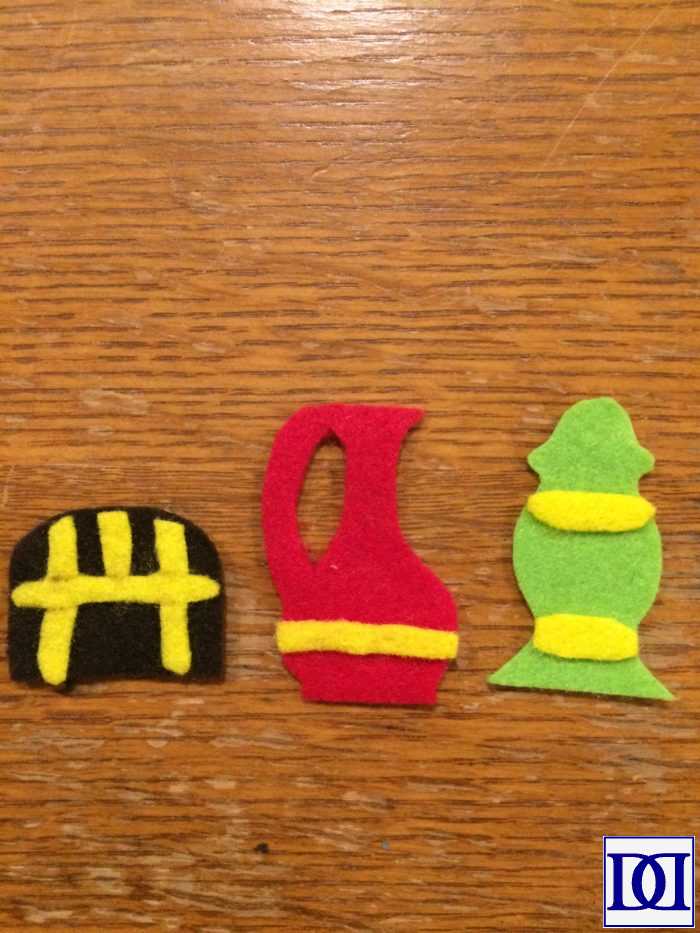
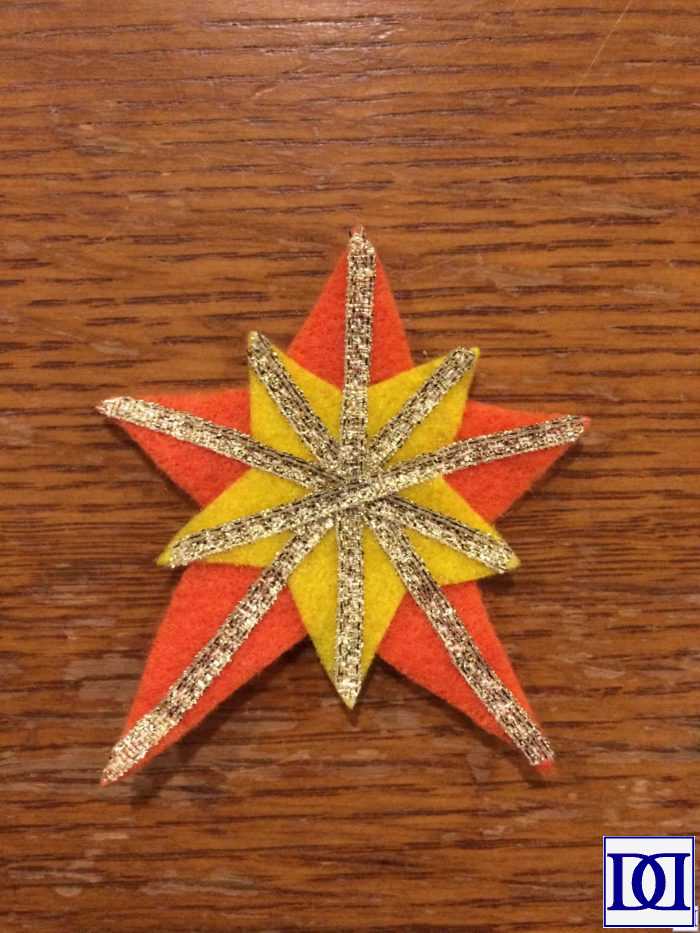
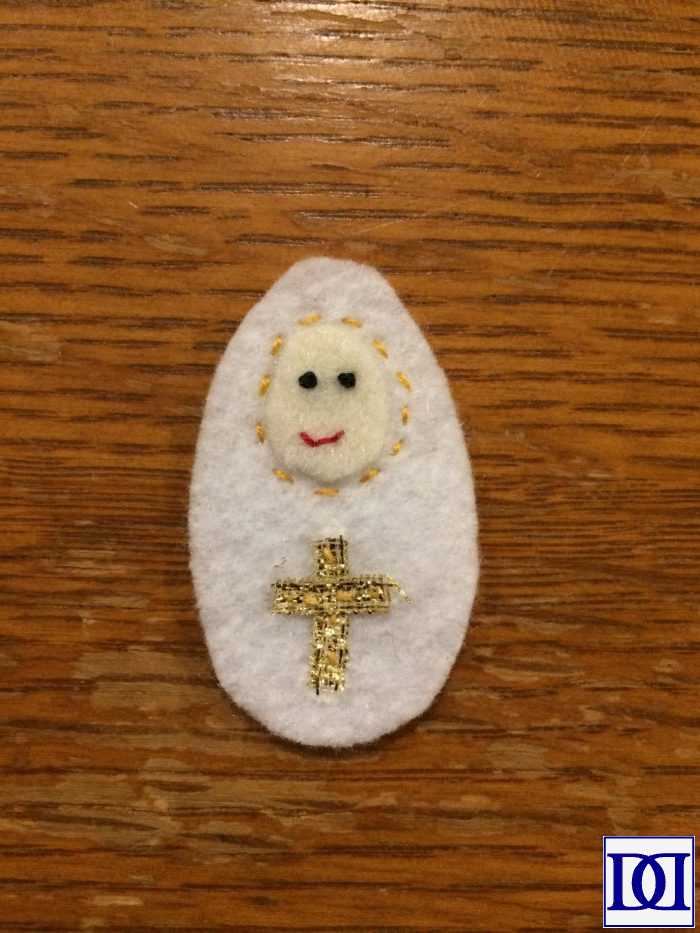
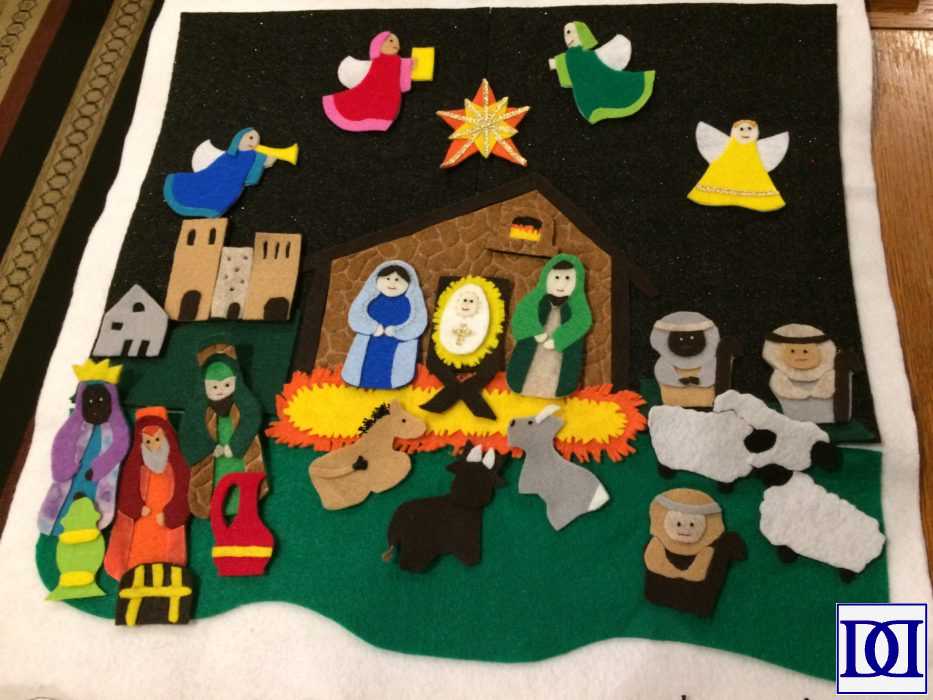
(8) Design and cut out items for each day/scripture. As you’re making your individual items, make sure they will all fit on the space you have available for them.
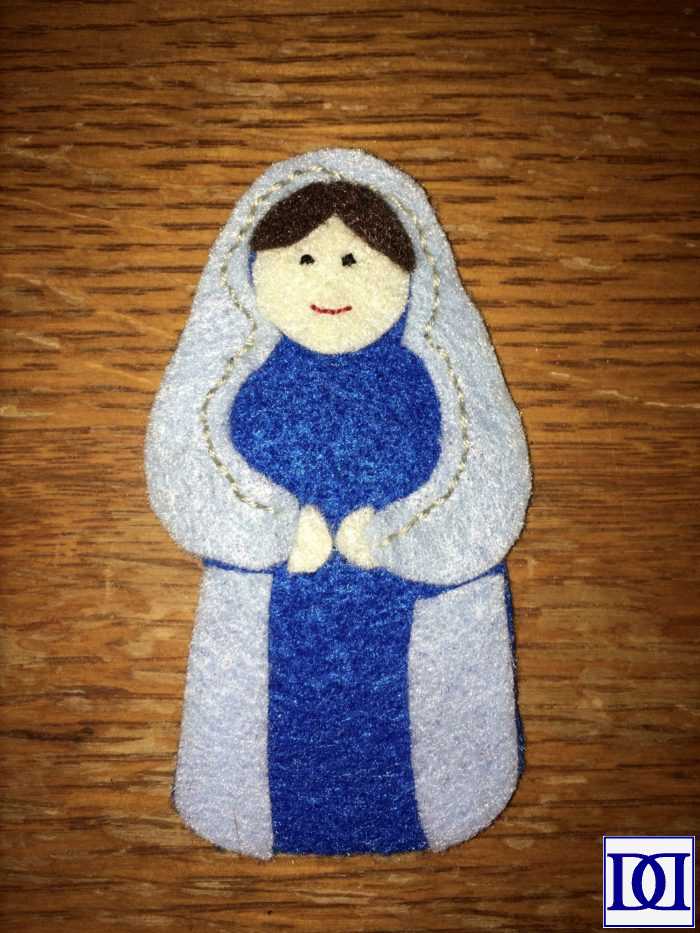
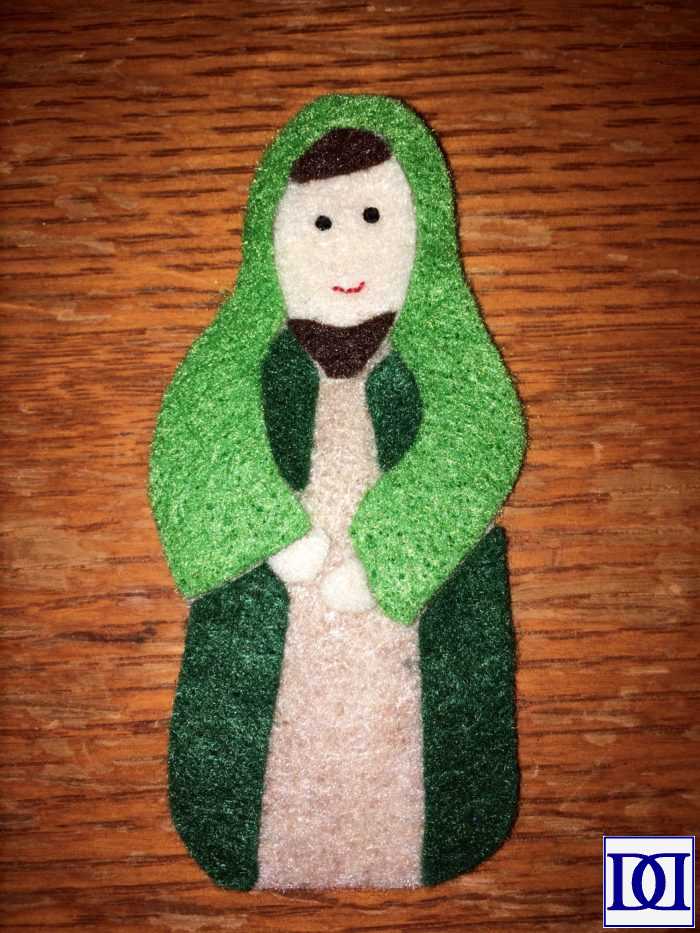
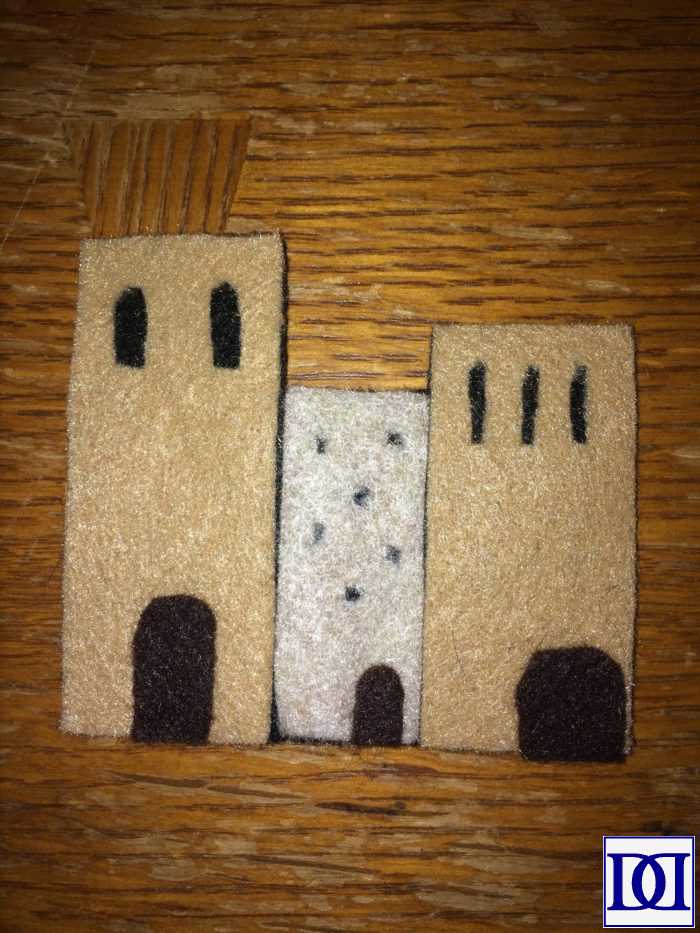
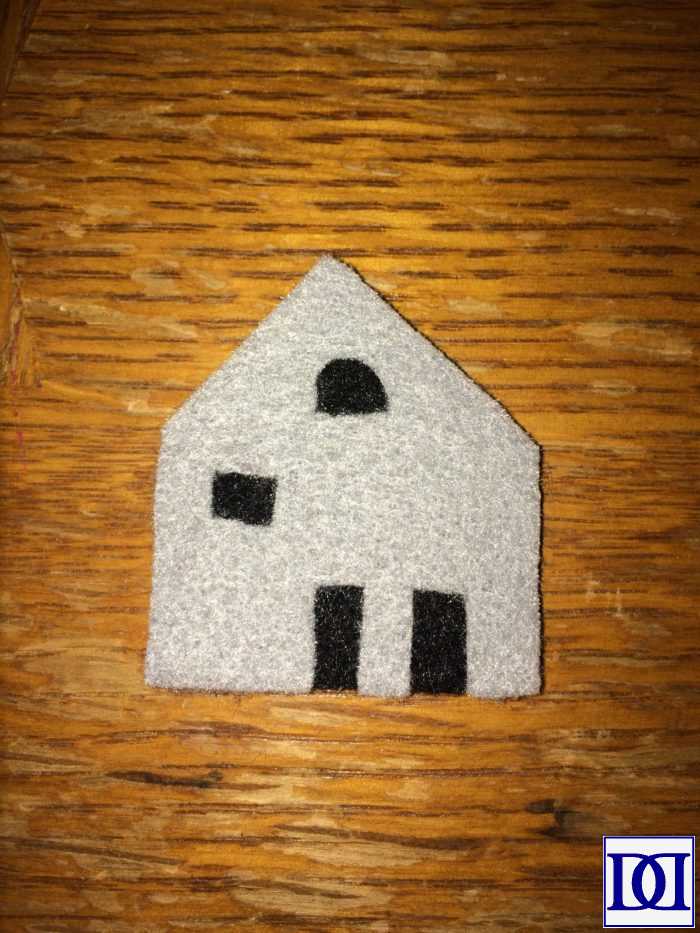
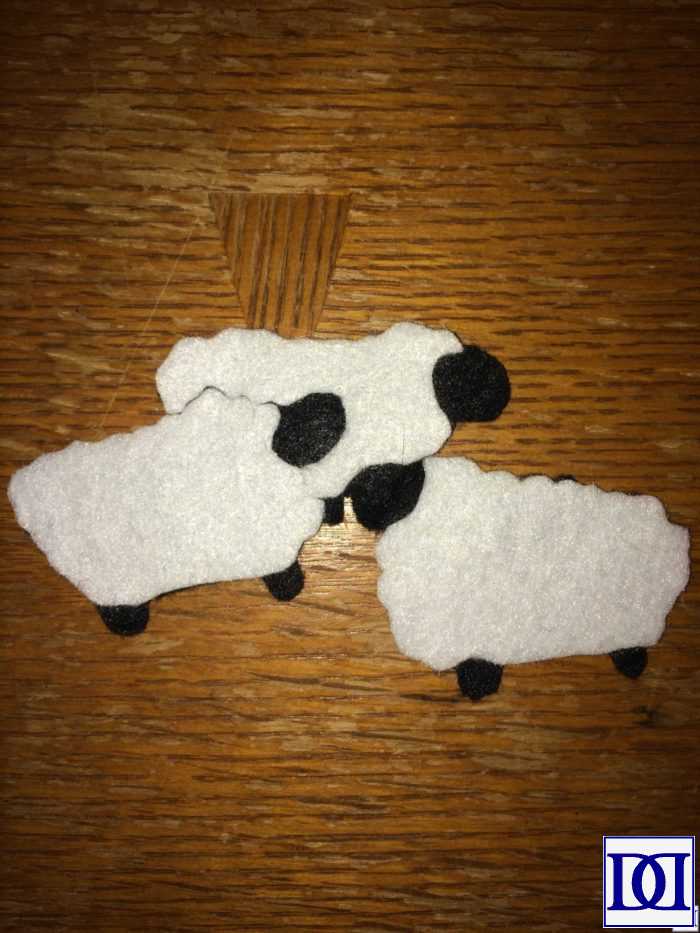
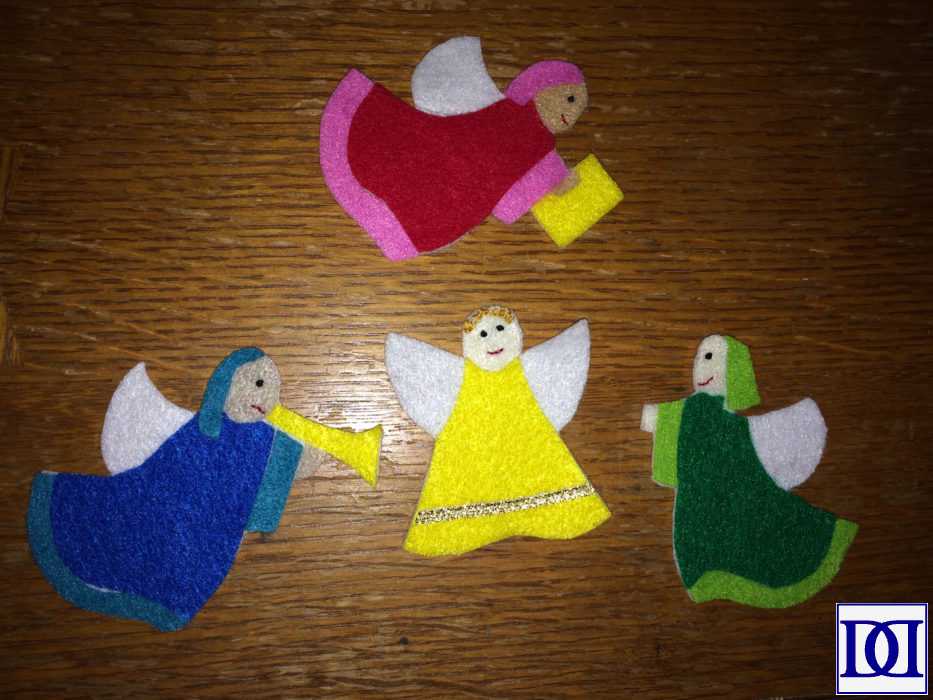
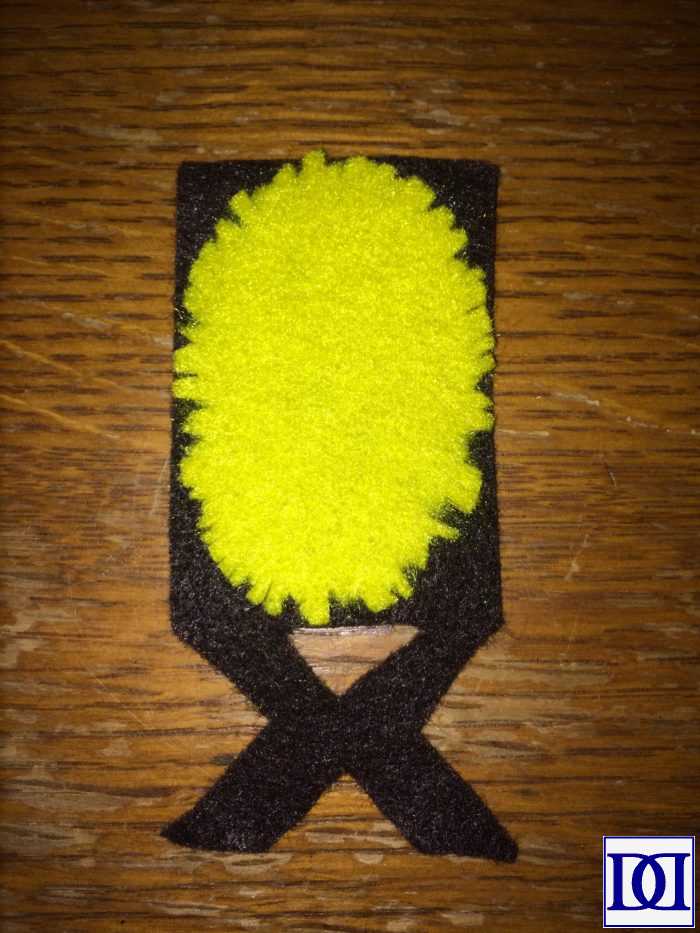
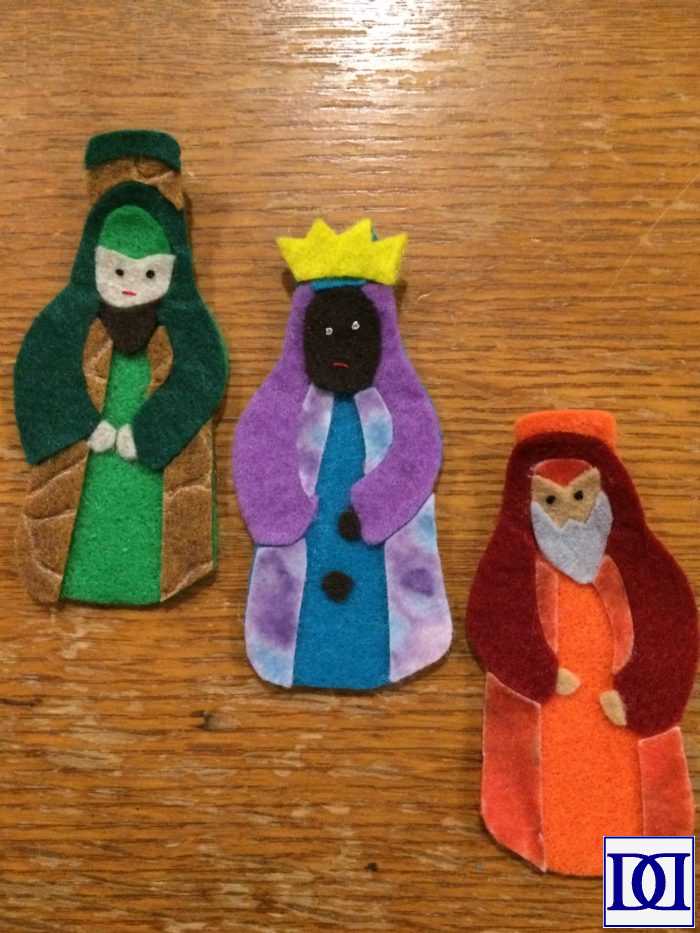
I will add some templates for these guys at a later date, but here are pictures to give you a basic idea of how they came together. I recommend designing what you want on paper and then cutting out segments to use as a guide for cutting the felt.

Leave a Reply