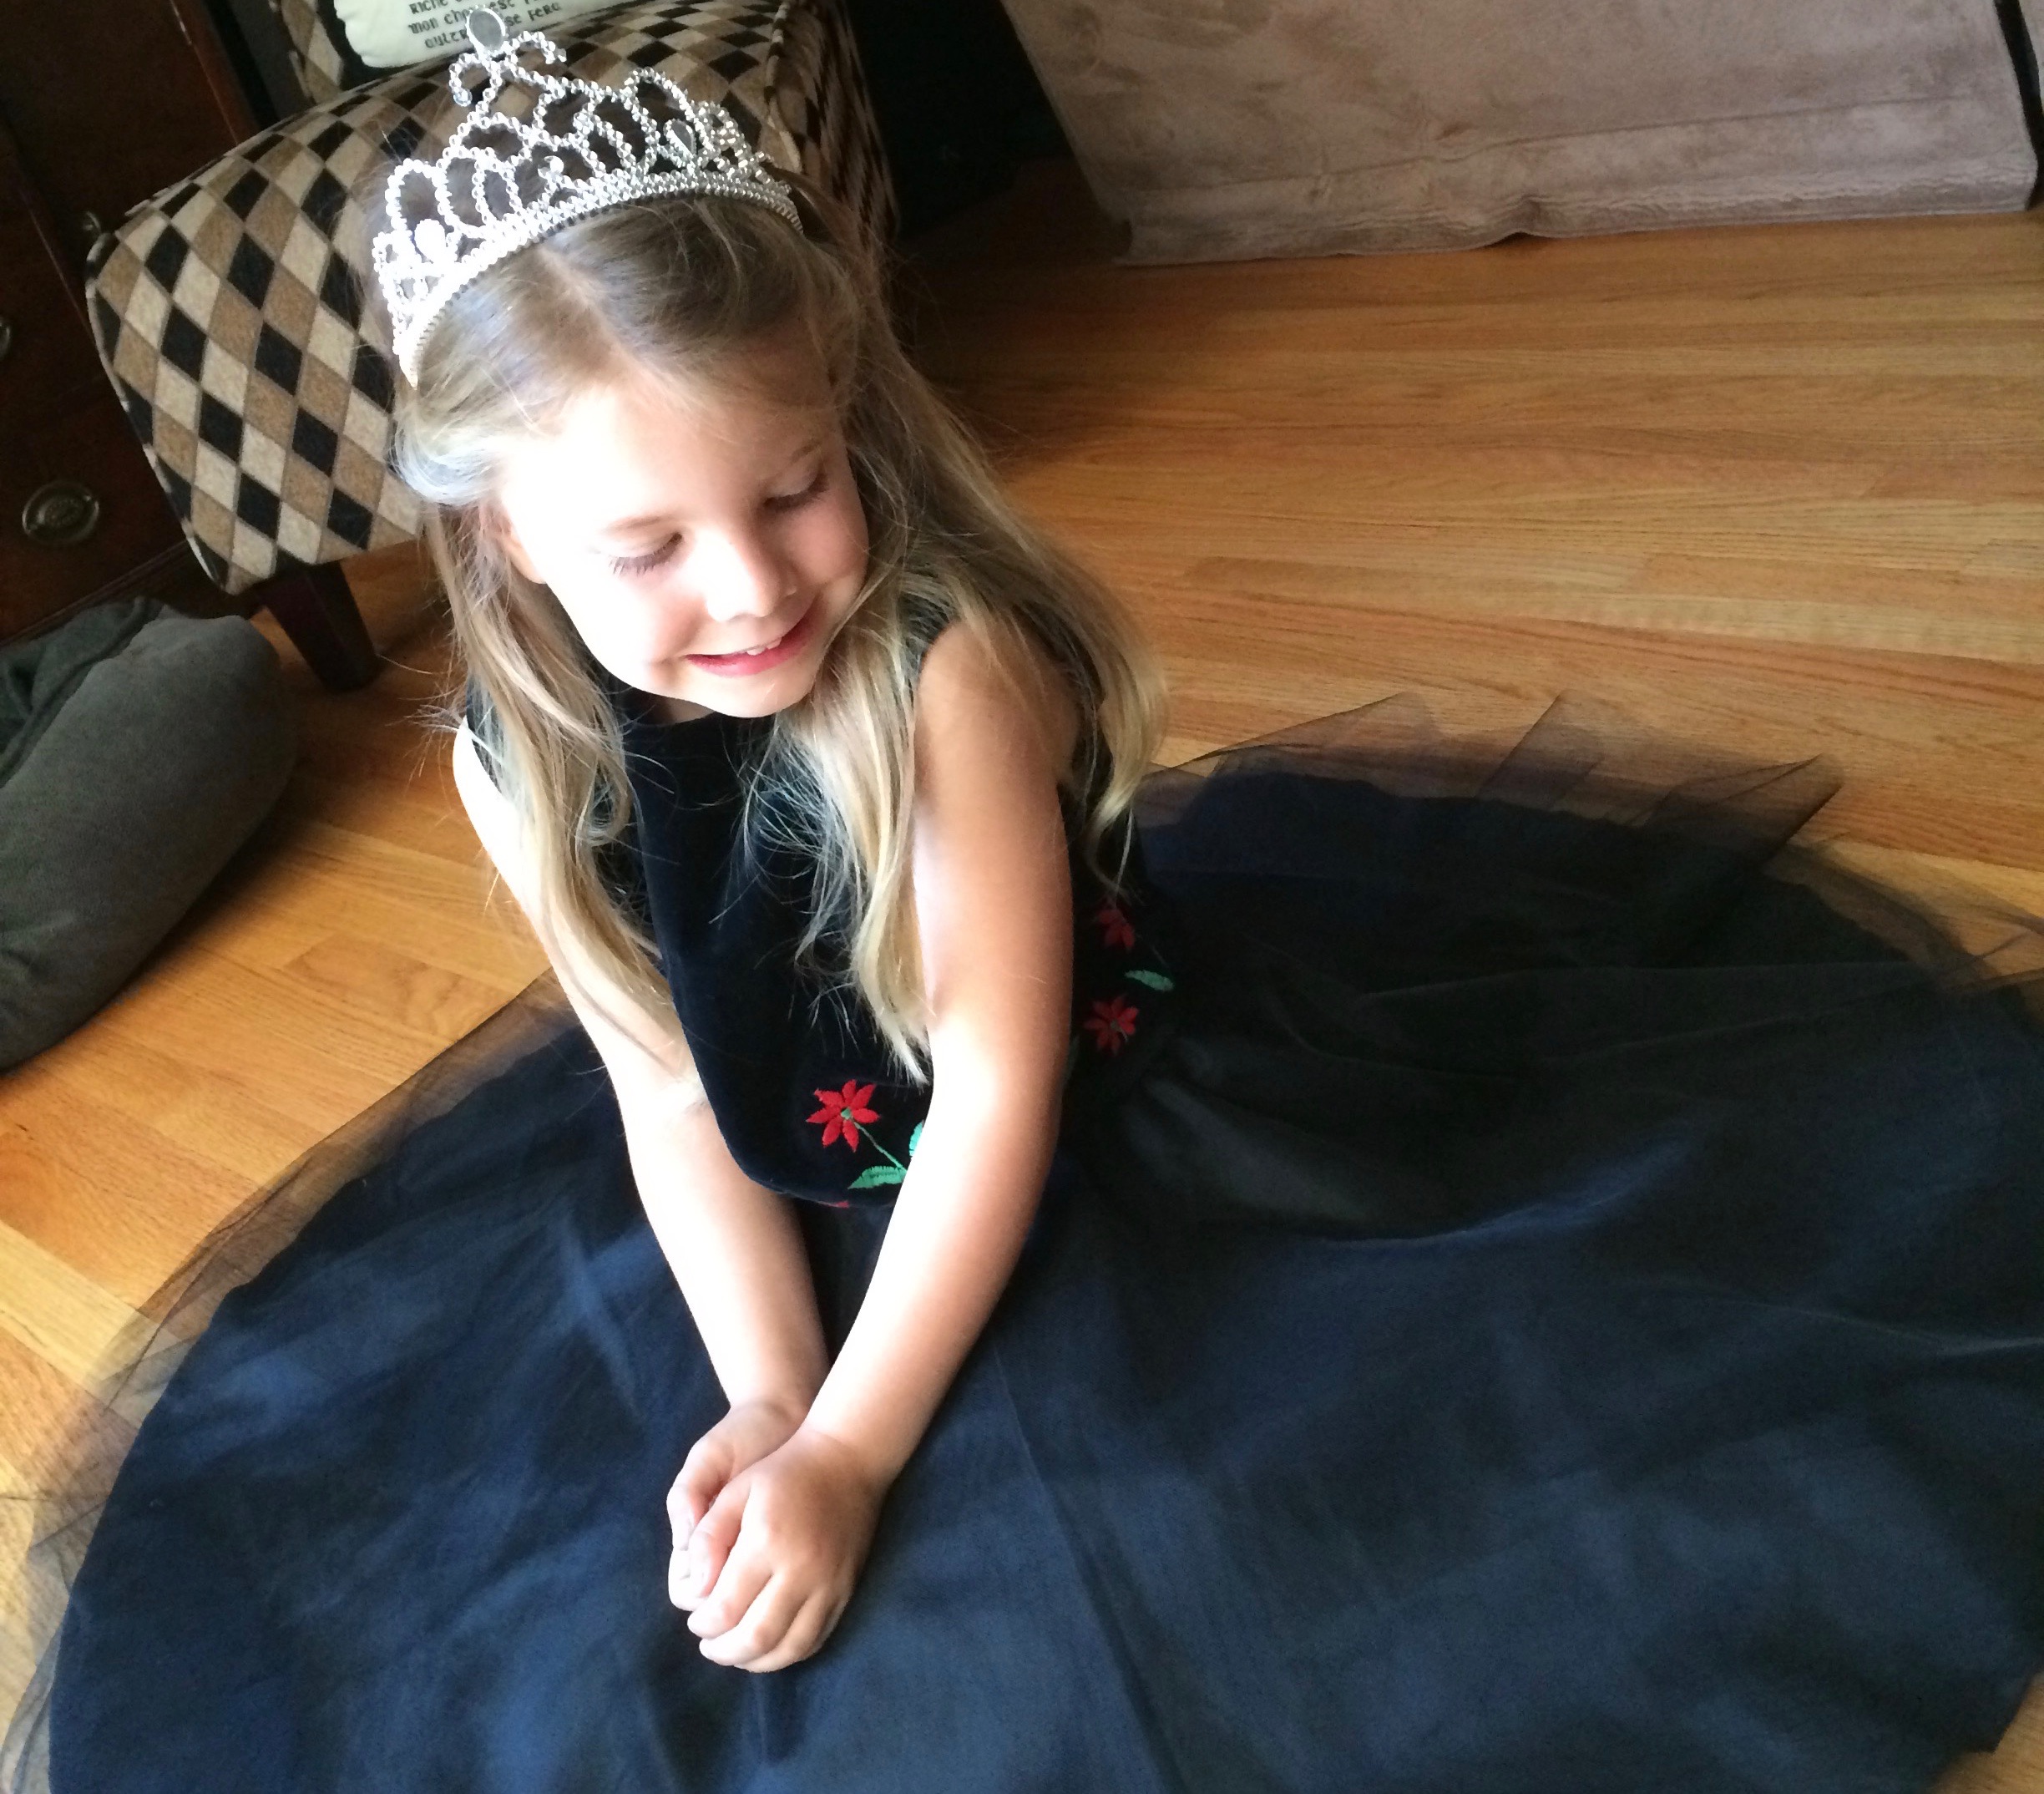
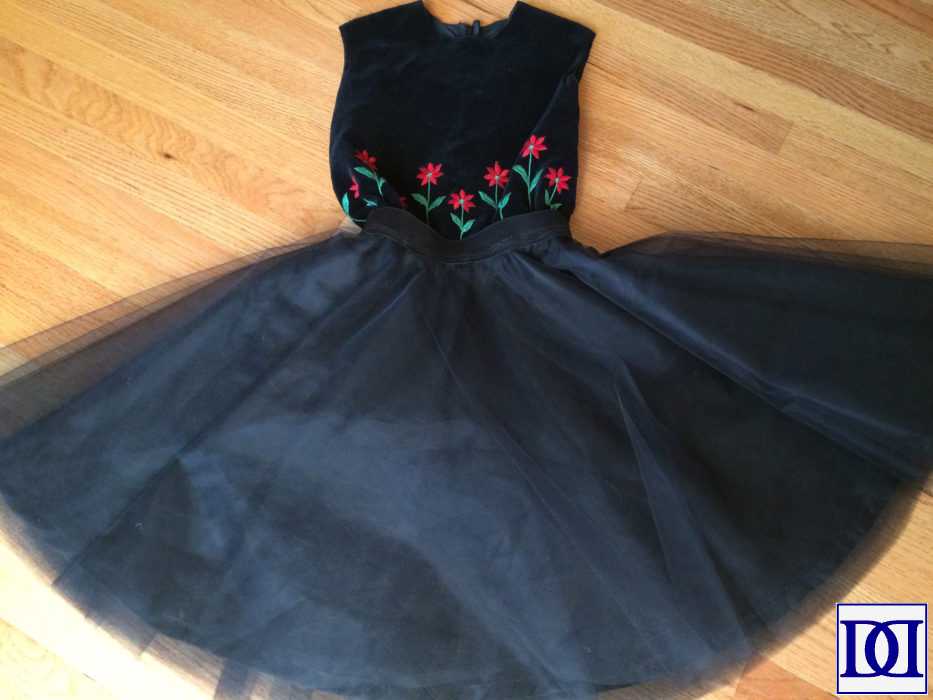
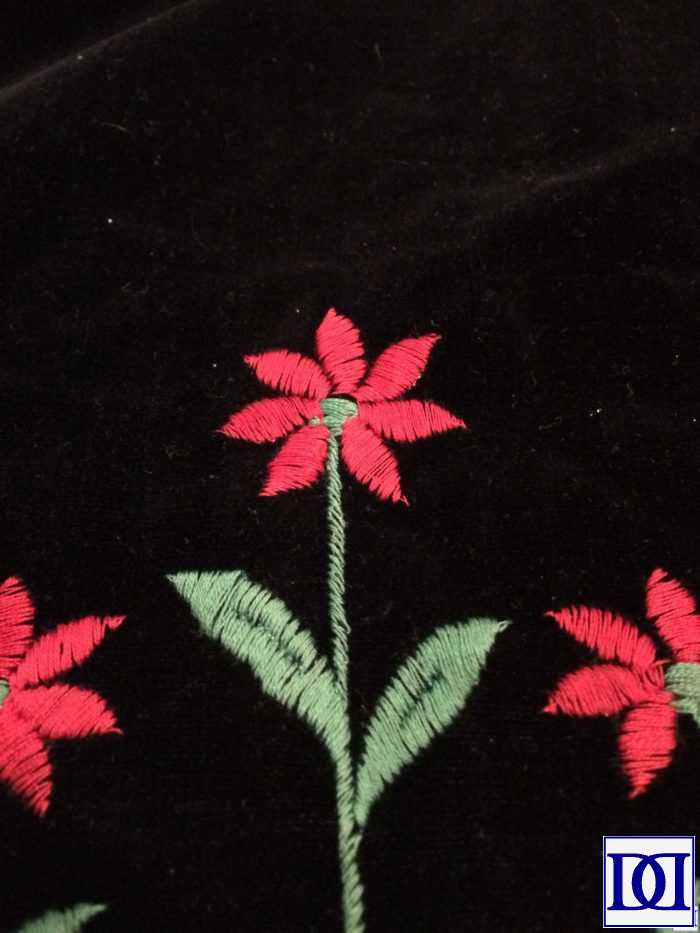
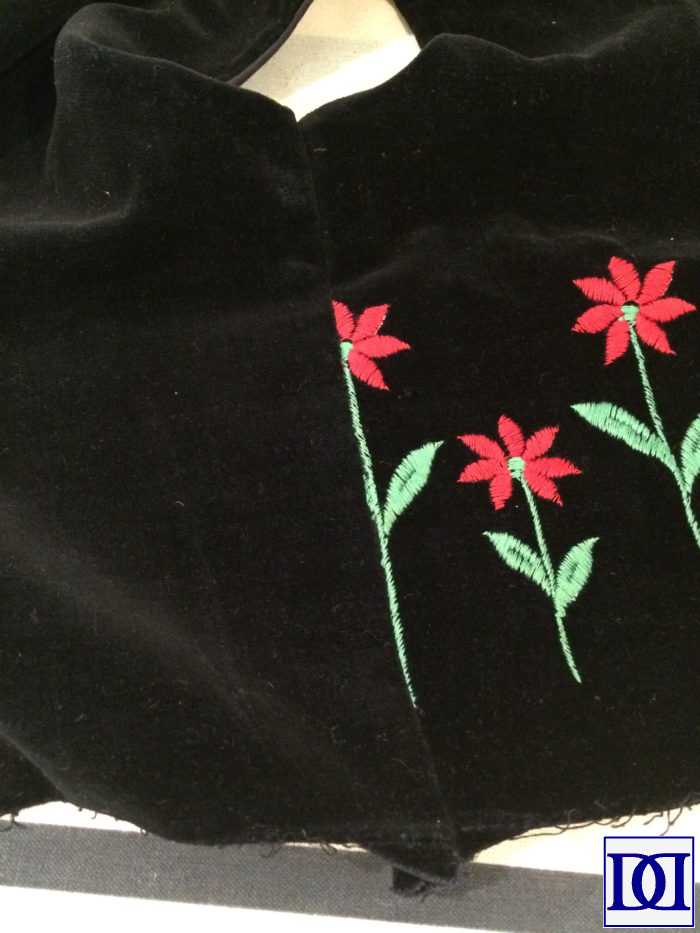
When my mom uncovered this beautiful bodice that her mother had made for her as a child (yes, that means that this hand-embroidered bodice is a 1960’s gem), she gave it to me to see if I could make it into something for my then-4 year old daughter. While the velvet bodice was intended for a velvet skirt, I thought that may be a bit bulky and dated for Jenna. After a lot of thought and not a little bit of trial and error, I came up with this lovely bridge between 1960’s craftsmanship and 2010’s style.

Fortunately, the tulle skirt is also removeable, so if she outgrows the bodice first or wants to pair it with something else during a different season (the bodice is velvet and looks very “winter”), she can!
Here’s what I did for the tulle skirt (using these tutorials here and here), and if you’re curious, keep scrolling for how we attached it to Jenna’s great-grandmother’s bodice!
What I Used:
- 24 pieces of printing paper or butcher paper or pattern paper (for pattern)
- 3-ish yards of tulle
- 1-ish yard of polyester “satin” (for underskirt)
- 2″ wide black elastic
PATTERN:
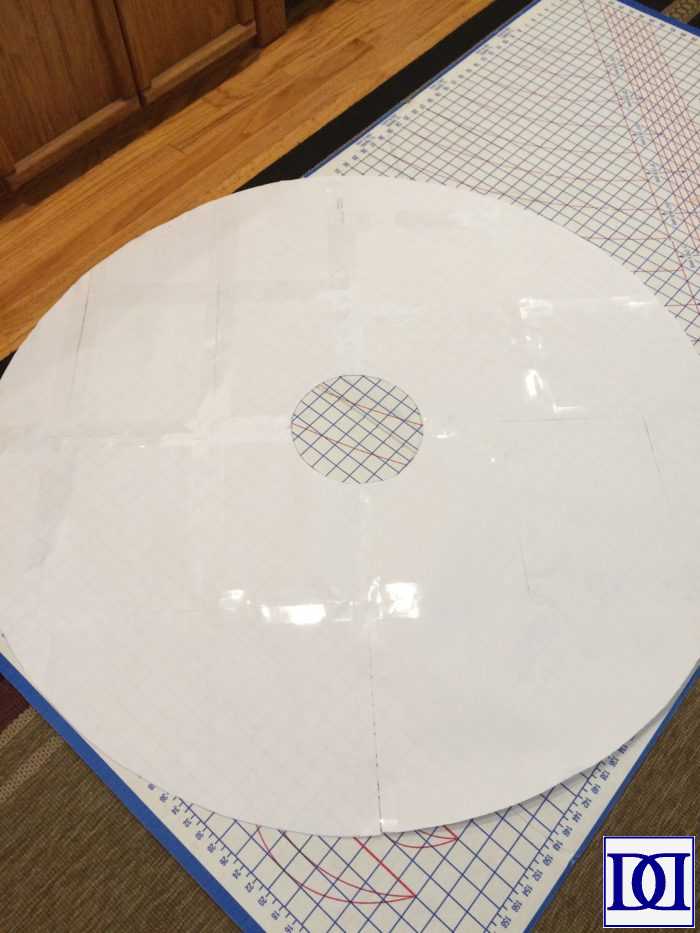
(1) Measure your desired recipient for their waist circumference and length of skirt. Plug your measurements into this equation:
(Waist circumference + 2 inches) ÷ 6.28 = “A”
(22 + 2) ÷ 6.28 = 3.8
Tape several pieces of paper together (or use butcher paper) to form a large paper for a pattern. From a corner of your large paper, measure to A. Continue marking dots at A emanating around the corner of your paper. Connect the dots (you will be cutting out the corner in step 3).
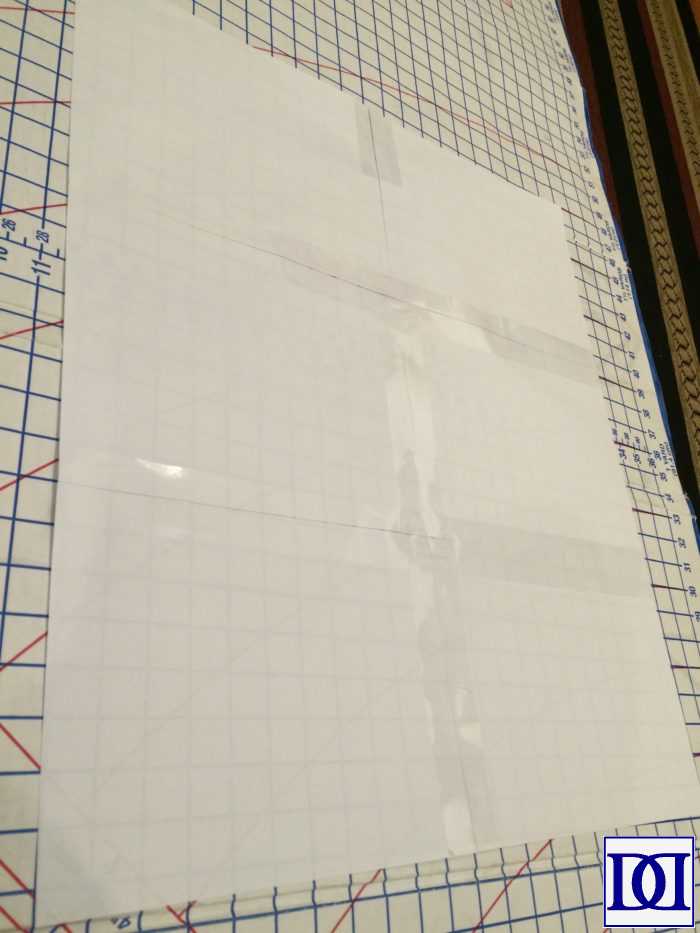
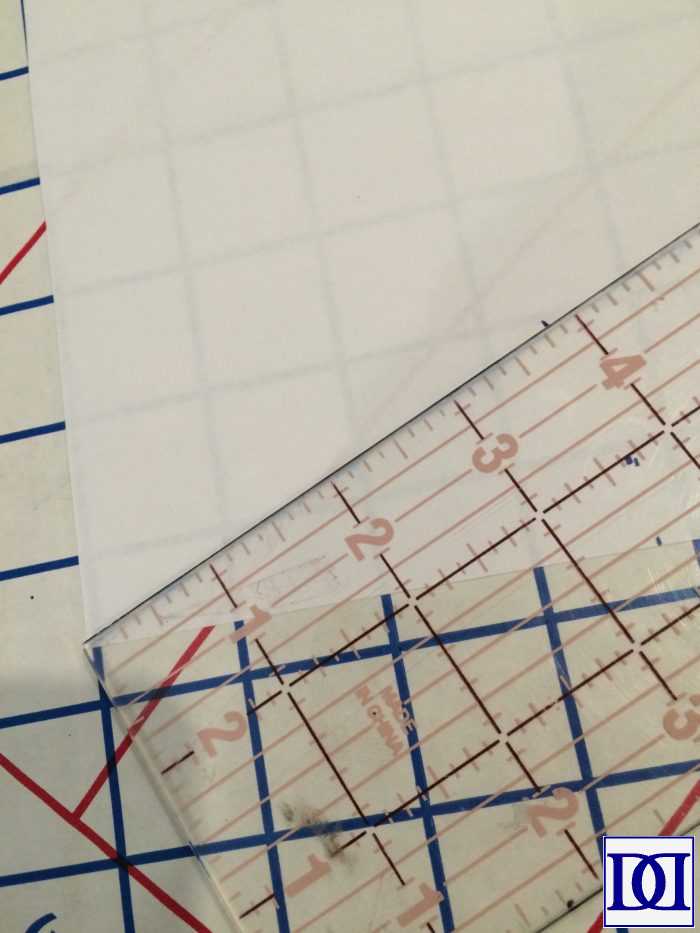

(2) Measuring from the line you created at “A,” measure (the length of your skirt) around the paper. For me, this was 18 inches. You should have a center section that looks like 1/4 of a donut.
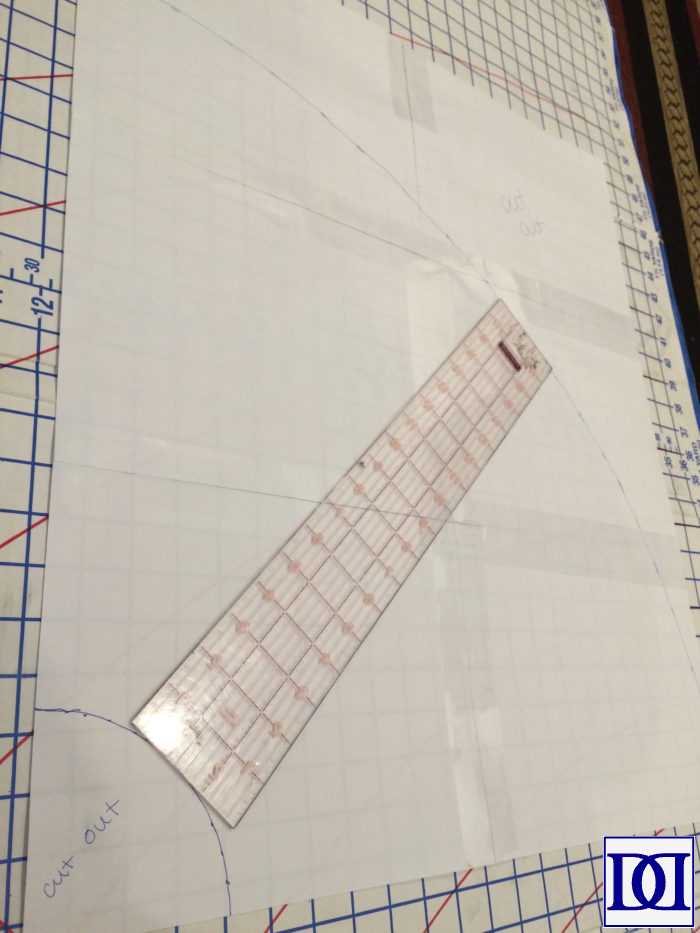
(3) Cut out the pieces around the donut (marked cut out above). If you plan on making several skirts or would like to save the pattern for posterity, label it now.
UNDERSKIRT:
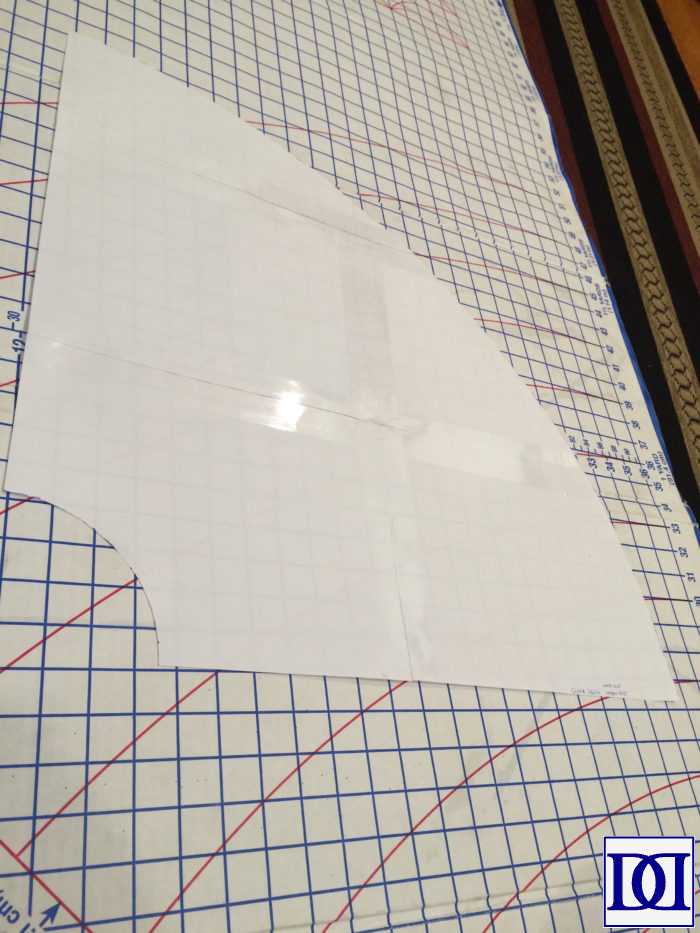
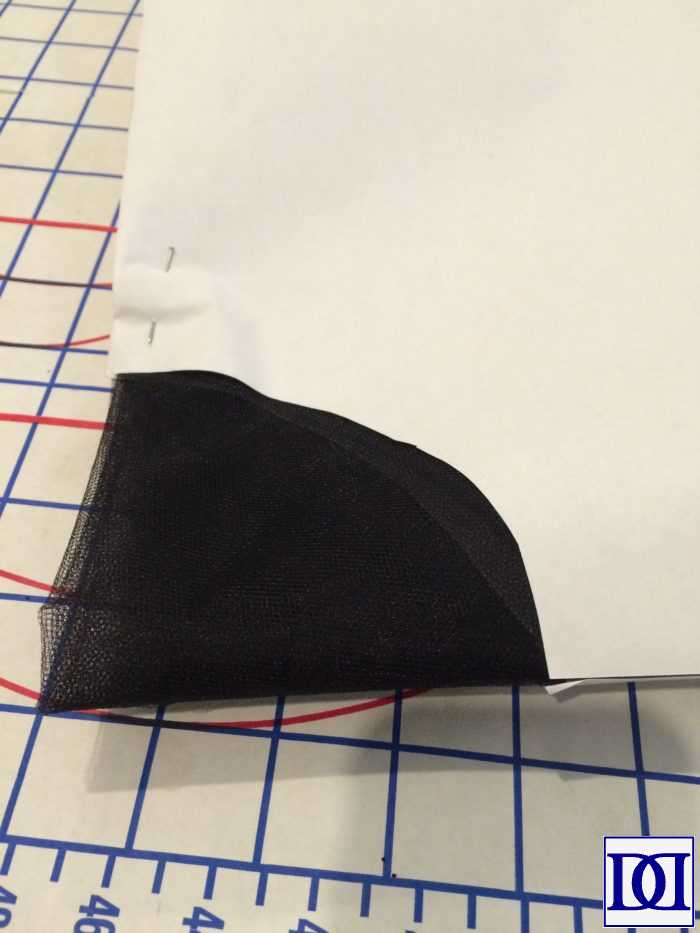
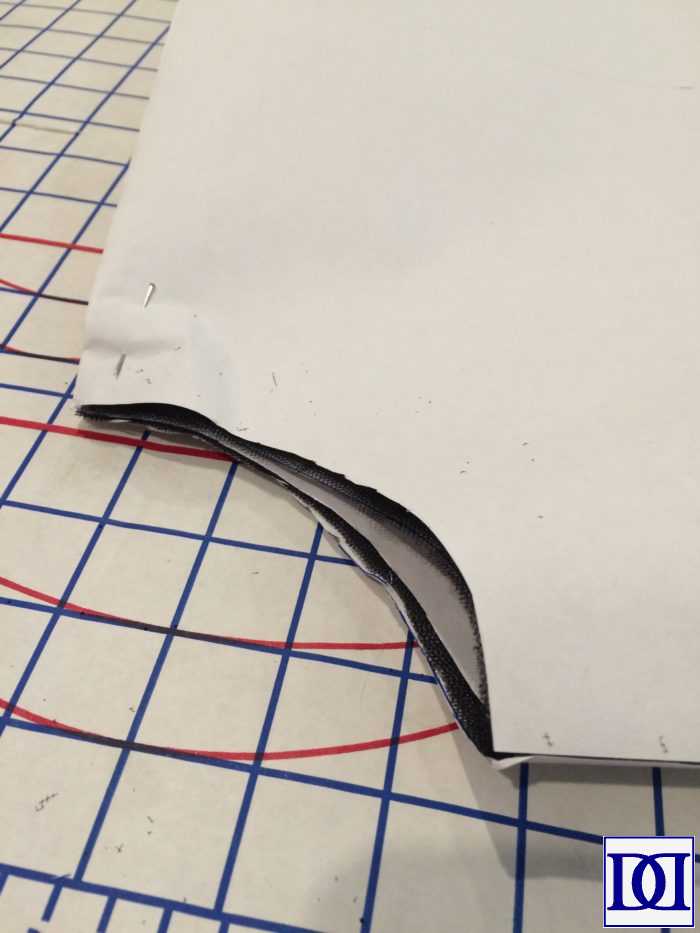
(1) Fold your underskirt fabric in quarters and place your 1/4 donut pattern on top, lining up the edges of your pattern with the folds of the fabric. Pin in place and cut out.
Do not allow for a hem allowance in this cutting if you don’t want the underskirt peaking out from underneath the tulle. Since I wanted this tulle skirt to look full but not be sheer, this underskirt will (hopefully) not be too visible under the tulle.
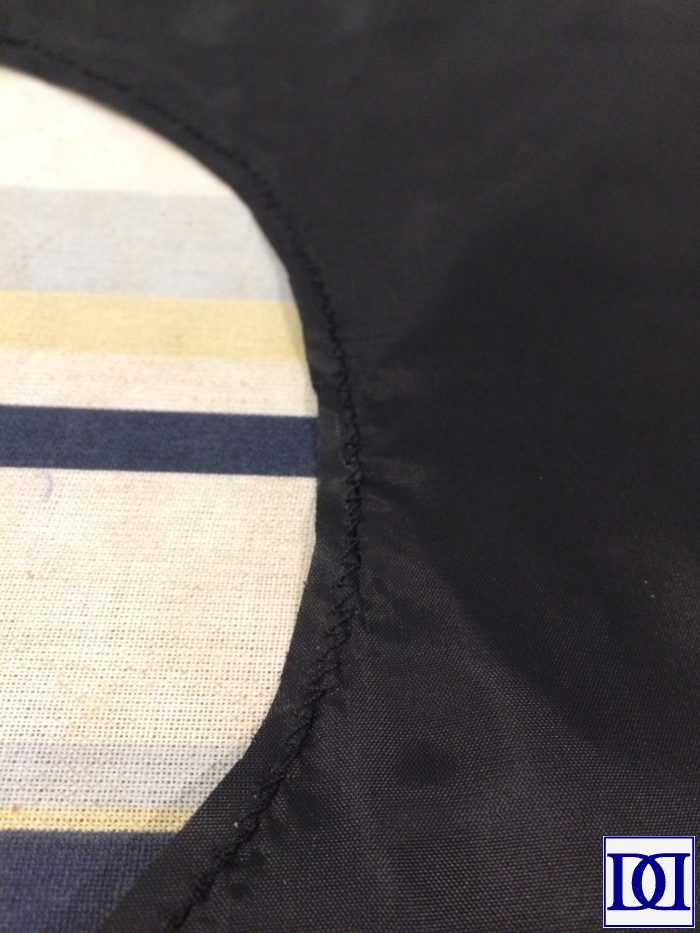
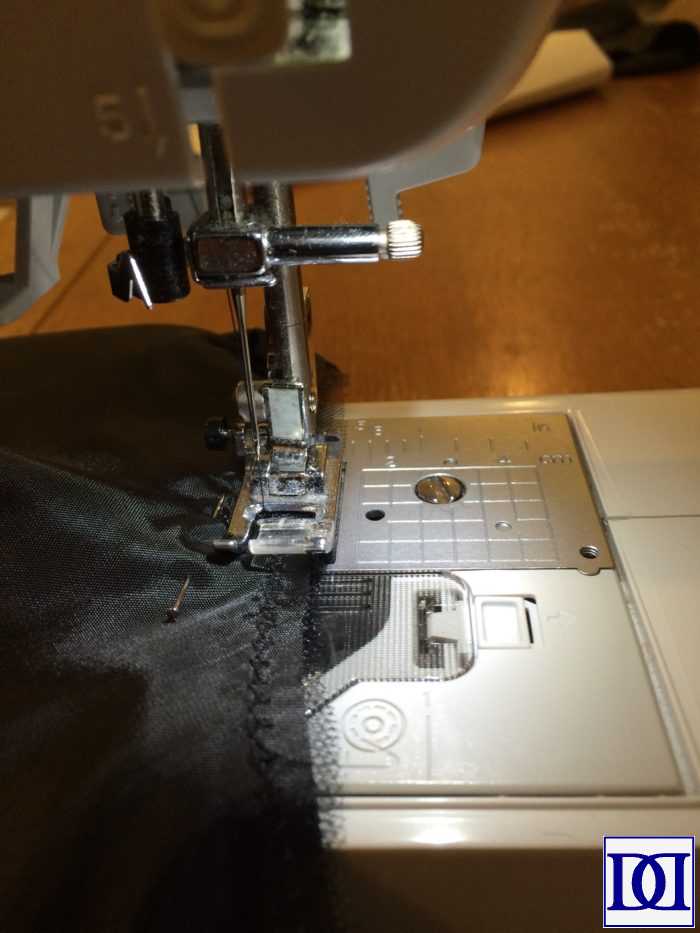
(2) Serge, zig-zag stitch, or use fray check on the waist opening. Given that I was pairing this skirt with a 50 year old bodice and would like the ensemble to last another 50 years, I used fray check and zig-zagged around the opening with a 1/2″ seam allowance.
(3) Hem bottom by 1″. I folded and pressed the hem by 1/2″ and then folded and pressed again by 1/2″, sewing along this pressed seam.
TULLE:
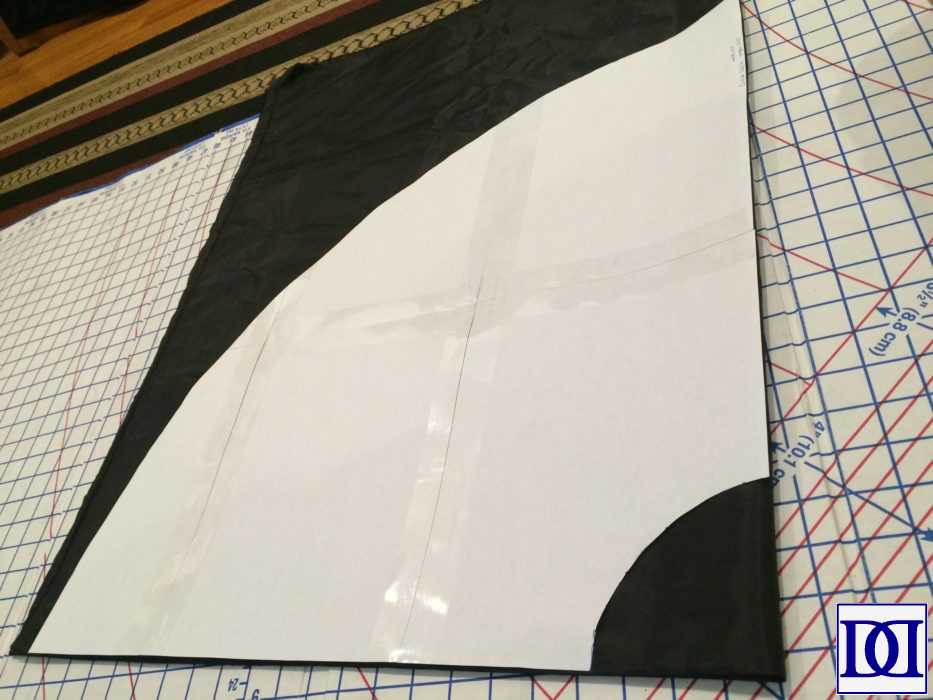
(1) Replicate your 1/4 donut pattern three more times and tape together to make a completed donut.
(2) Cut 3-5 layers of tulle (depending on your desired finished look), using your donut as a pattern. I used four here.
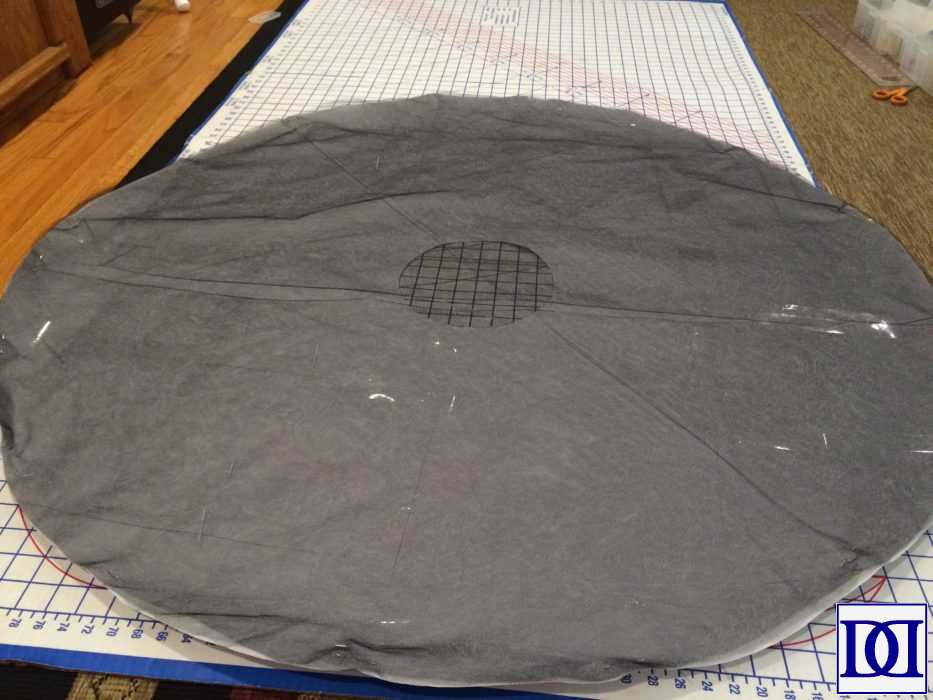
(3) Keeping tulle pinned to pattern, fold in quarters and cut waist.
FINISH SKIRT:
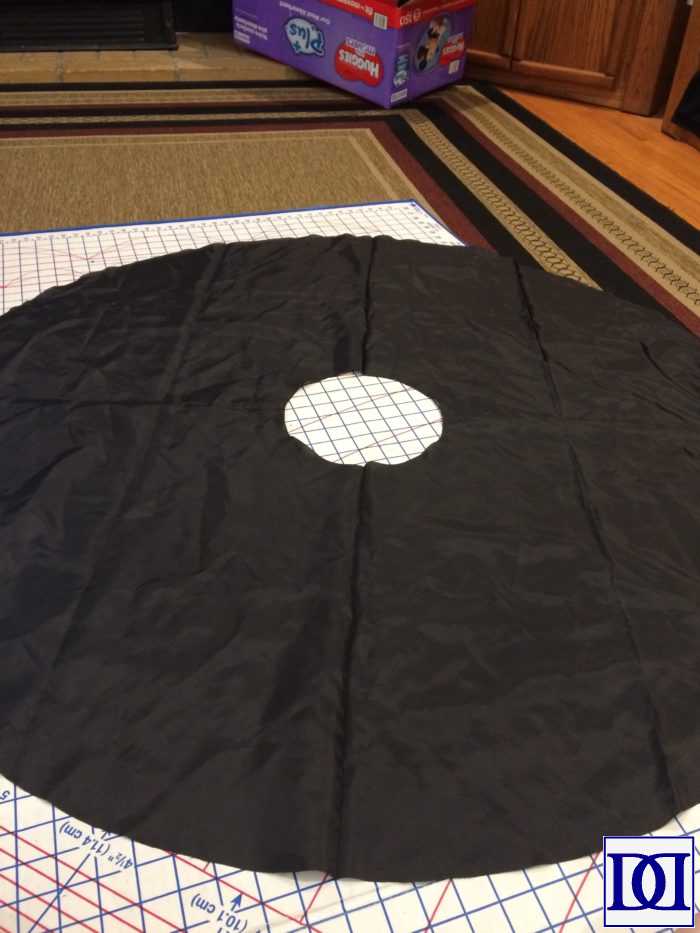
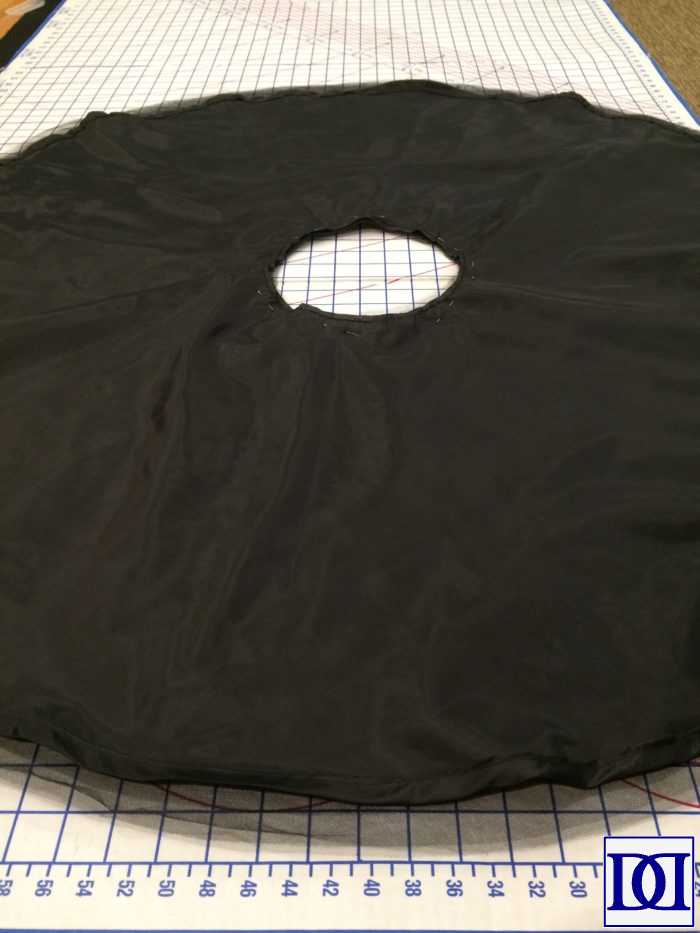
(1) Pin tulle and underskirt together and baste together around waist with a 1/4″ seam allowance. Serge top of waist around or use a zig-zag stitch to prevent fraying.
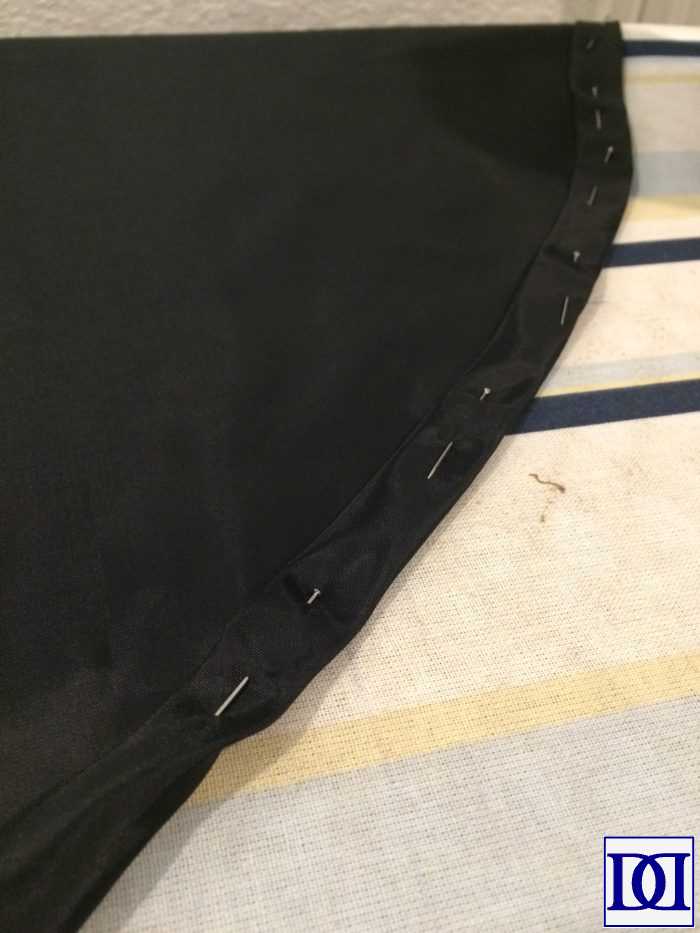
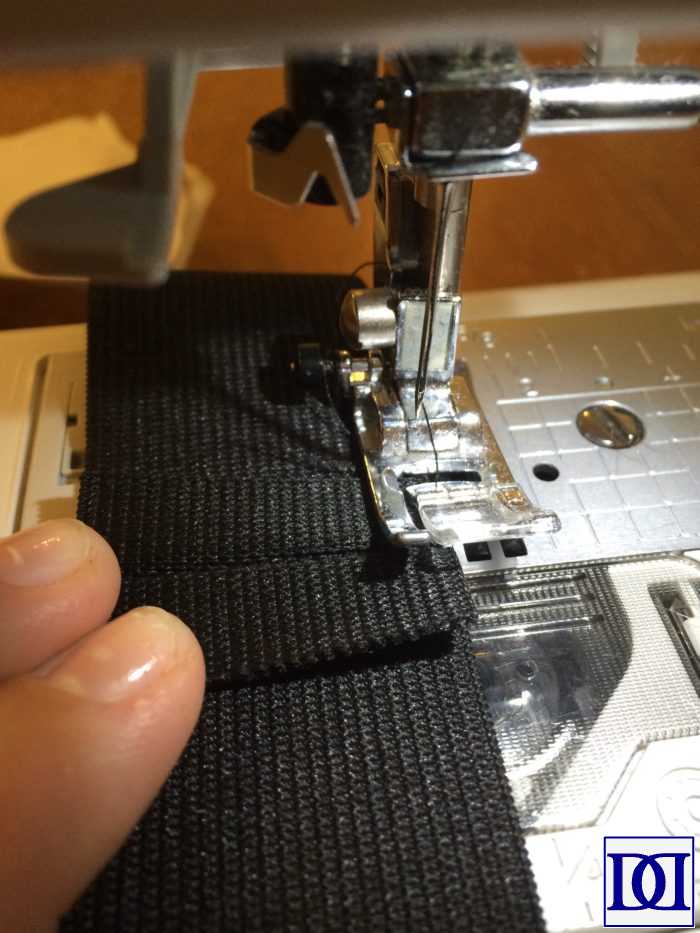
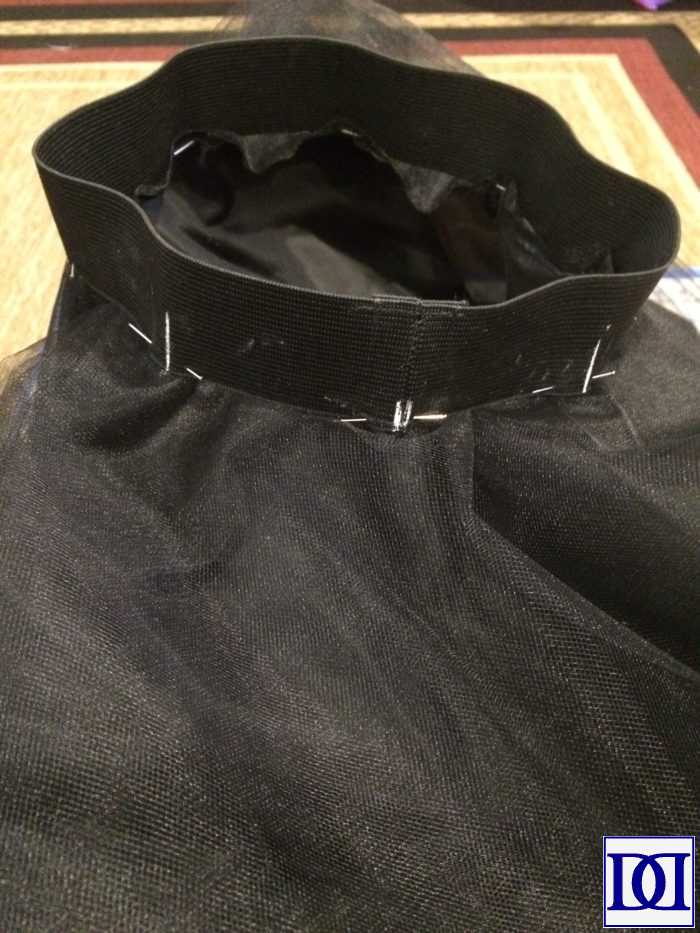
(2) Cut elastic to the waist measurement and sew elastic waistband in half using a 1/2″ seam allowance.
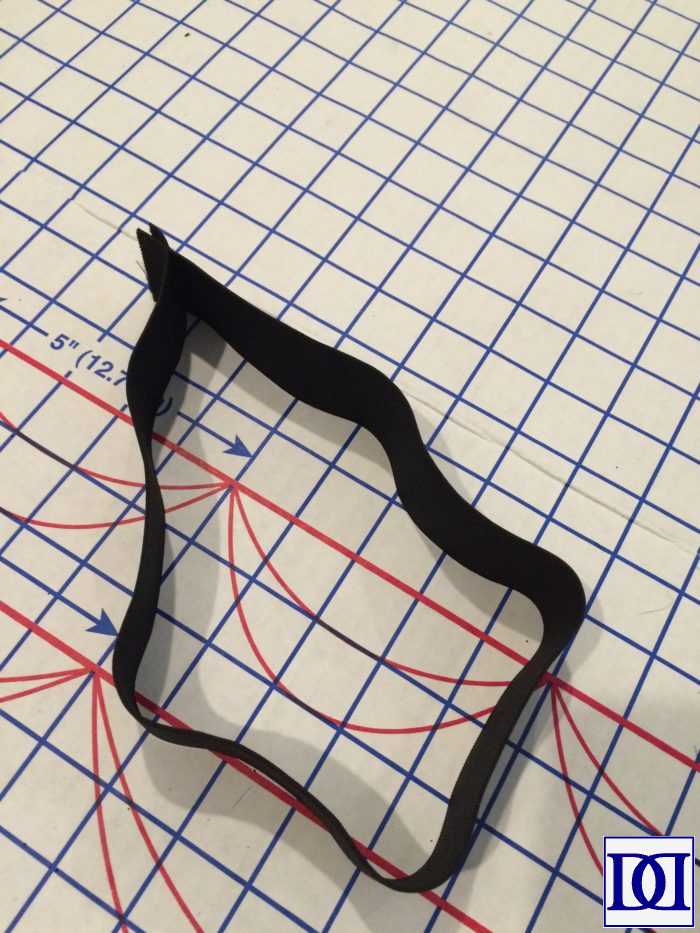
(3) Sew seam of elastic flat around raw edges.
(4) Stretch elastic to pin to skirt. To make this easier, mark elastic and skirt separately at pre-determined intervals (1/2, 1/4, 1/8). Pin at the marks, overlapping elastic over skirt by 1/4″ or so.
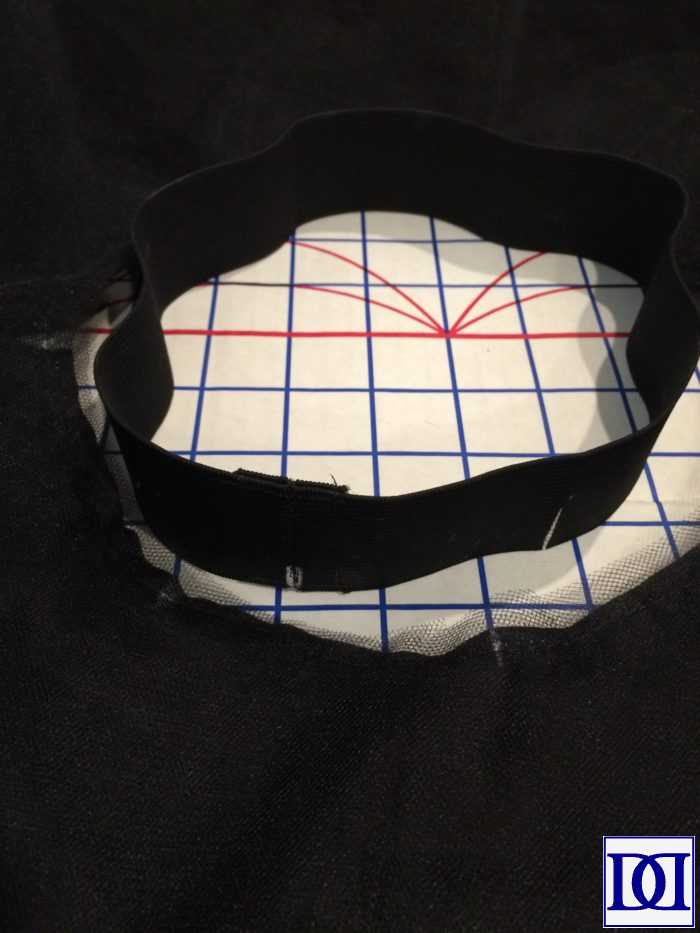
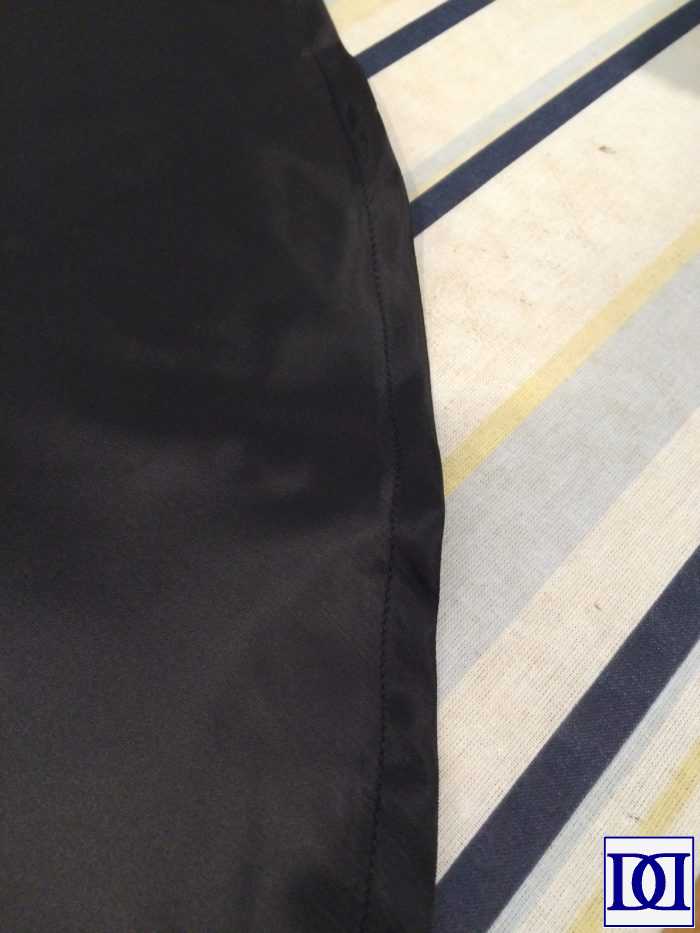
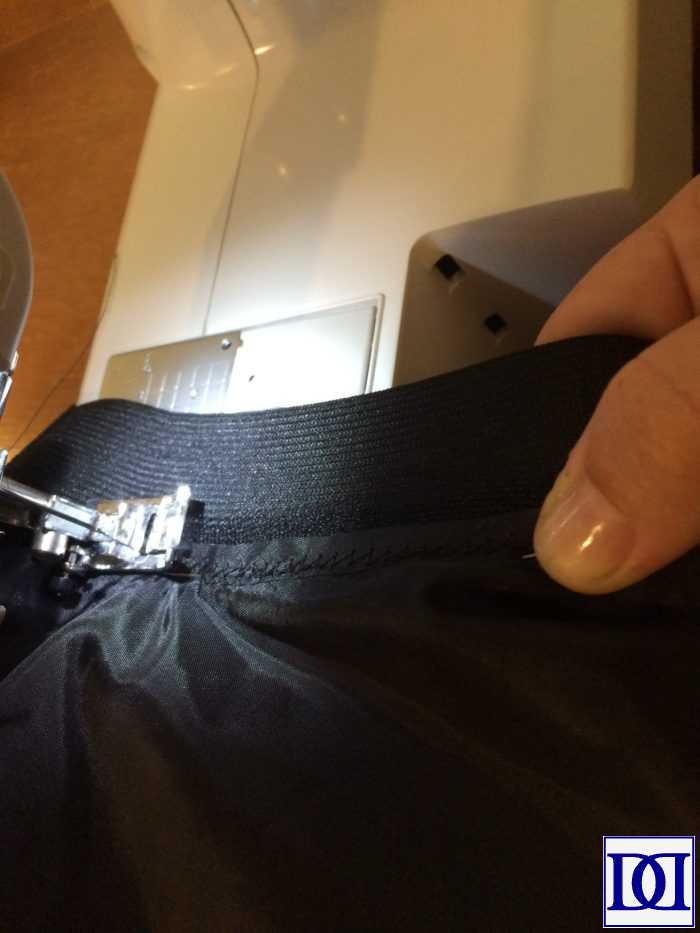
(5) Sew elastic to skirt, stretch elastic to fit the skirt as you go (this should allow for an even gathering of fabric). I also went back over the raw edges of the skirt fabric with a zig-zag stitch as it was a bit scratchy where connected to elastic.

Now for the BODICE…
(1) Of course, after over 50 years in storage, there were some signs of aging in the embroidery (frayed edges, discloration, etc). So, the first thing I did was repair some of the embroidery with needle and thread. I am, by no means, a master embroiderer, so I made do with following the general guidelines of the intact flowers as much as possible.
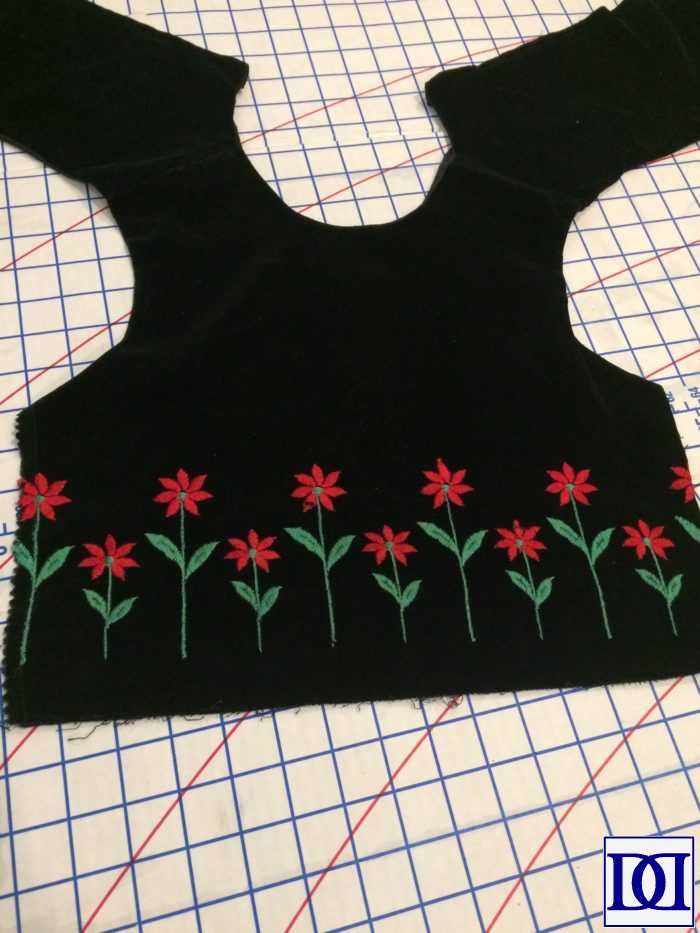
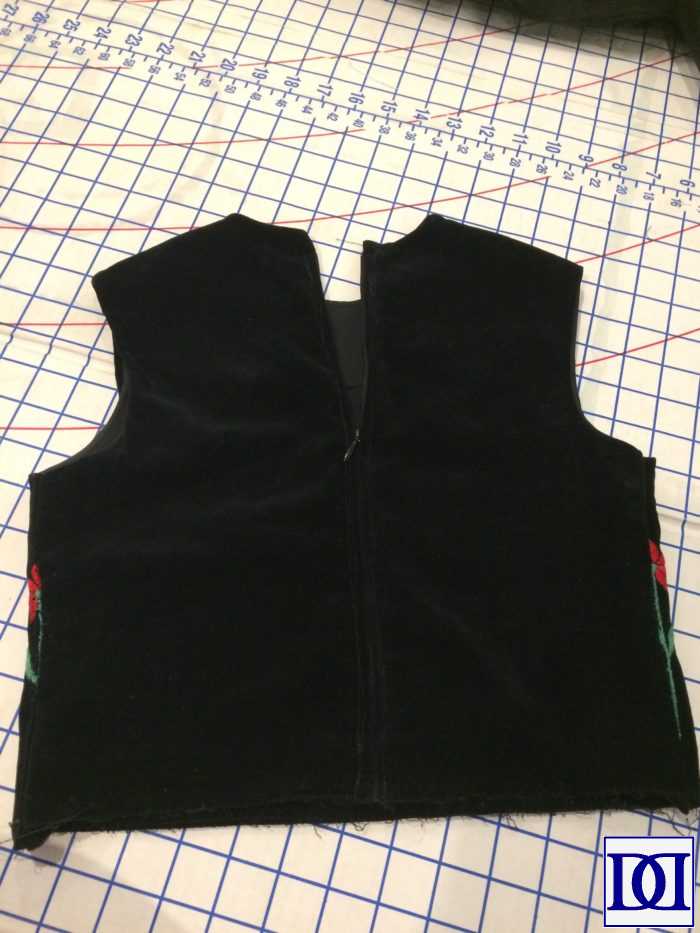
(2) Sew the sides. Fortunately, my Nonnie had done a fantastic job of finishing the ends and ironing-in the seam allowances (and velvet has a phenomenal memory, so these lines were still in place). Thus, all I had to do was sew the sides together, using her guide for a 1/2″ seam allowance (I double-checked, and the lines were pretty darn accurate).
(3) Add a zipper. While the bodice was big enough for me to add buttons and still fit Jenna, I wanted to make something that would be usable for several years and for Jenevieve as well.
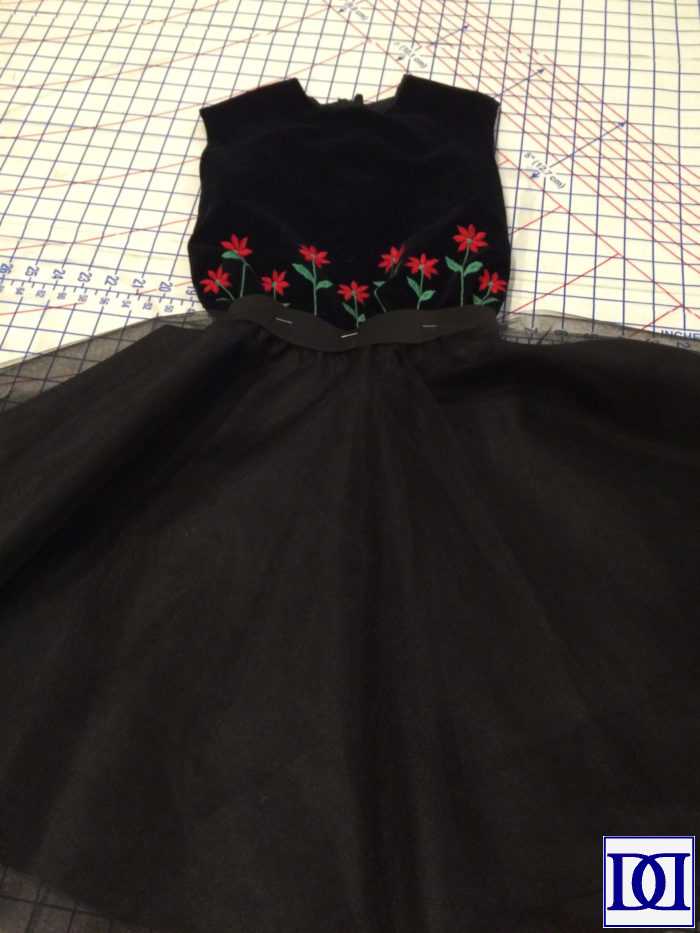
(4) Pin tulle skirt to bodice and sew around.
(5) Model on very happy daughter!
Leave a Reply