***KIDS IN THE KITCHEN: Starting at about 3.5, my daughter LOVED helping with the “processing” part of the recipe. Since we use a pastry cutter (instead of knives or a food processor), she can be very involved with this part of the recipe.***
Yield: 2 nine inch pie crusts (with a little extra for decorating if desired)
What I Used:
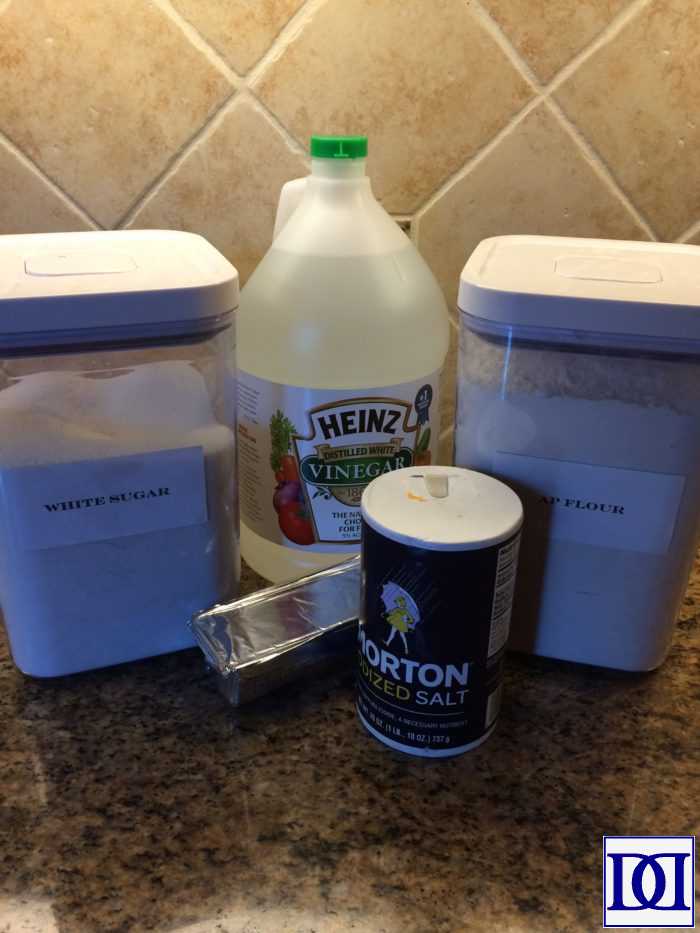
- 4 cups flour (I prefer unbleached AP flour)
- 1 Tbsp sugar
- 1 tsp salt
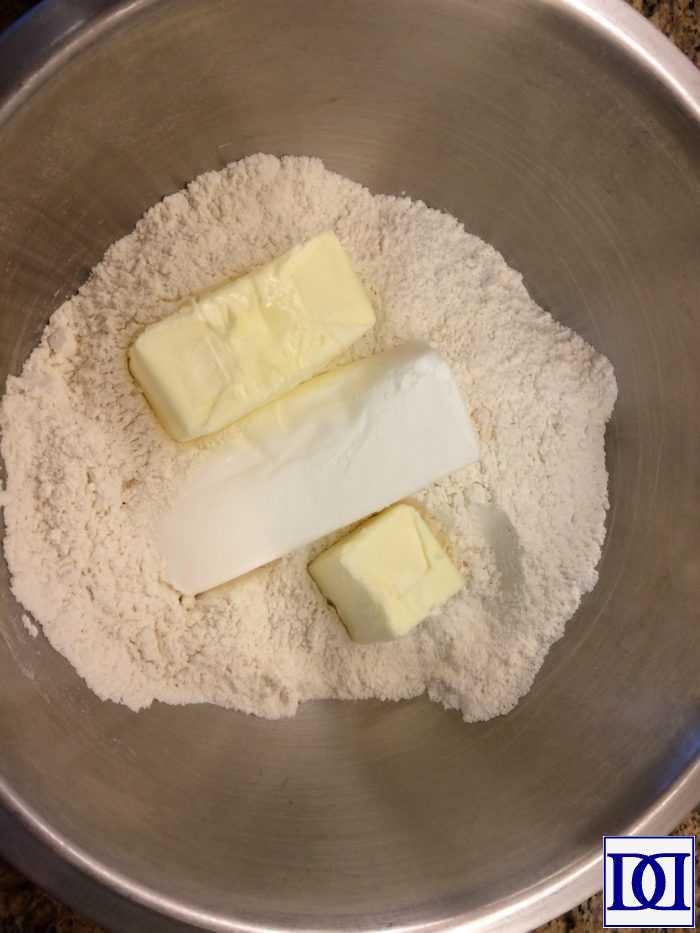
- 1 cup shortening
- 3/4 cup unsalted butter (chilled but workable)
- 1 Tbsp white vinegar
- 1 egg
- 1/2 cup iced water (just don’t add the ice, k?)
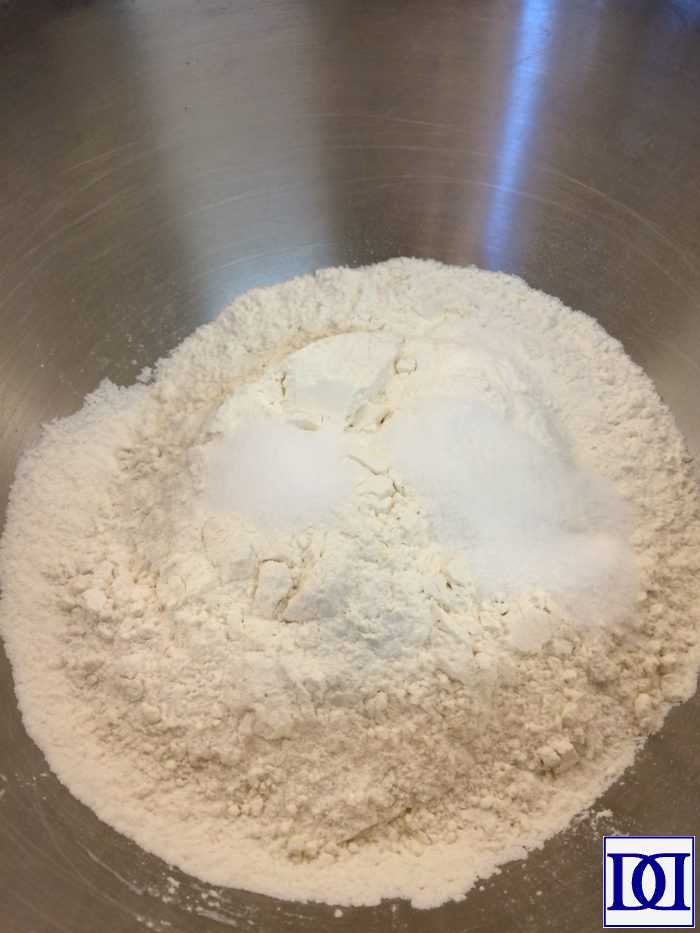
(1) Combine flour, sugar, and salt in a medium bowl.
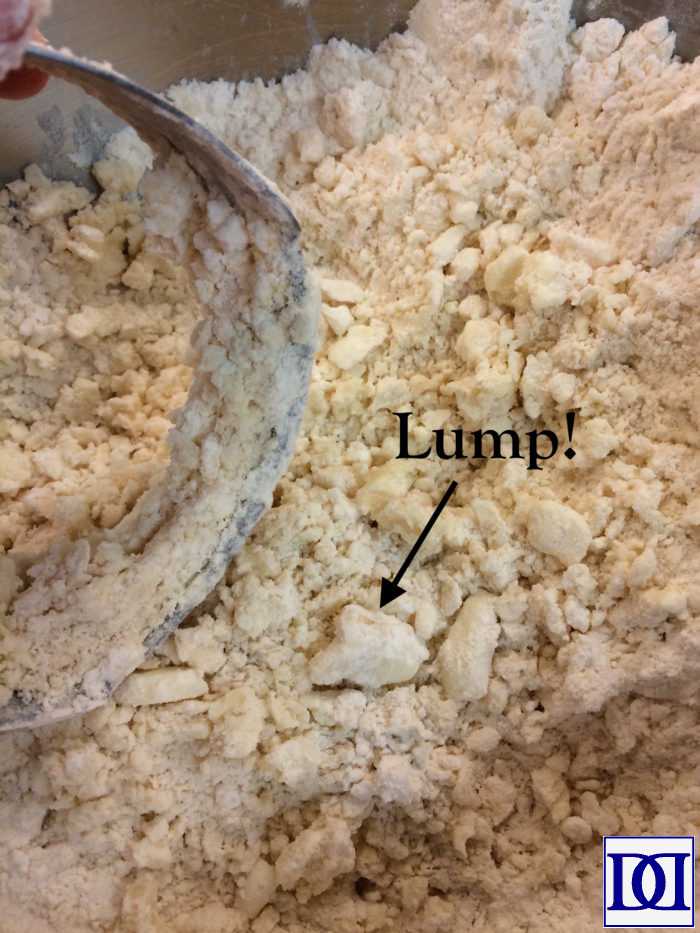
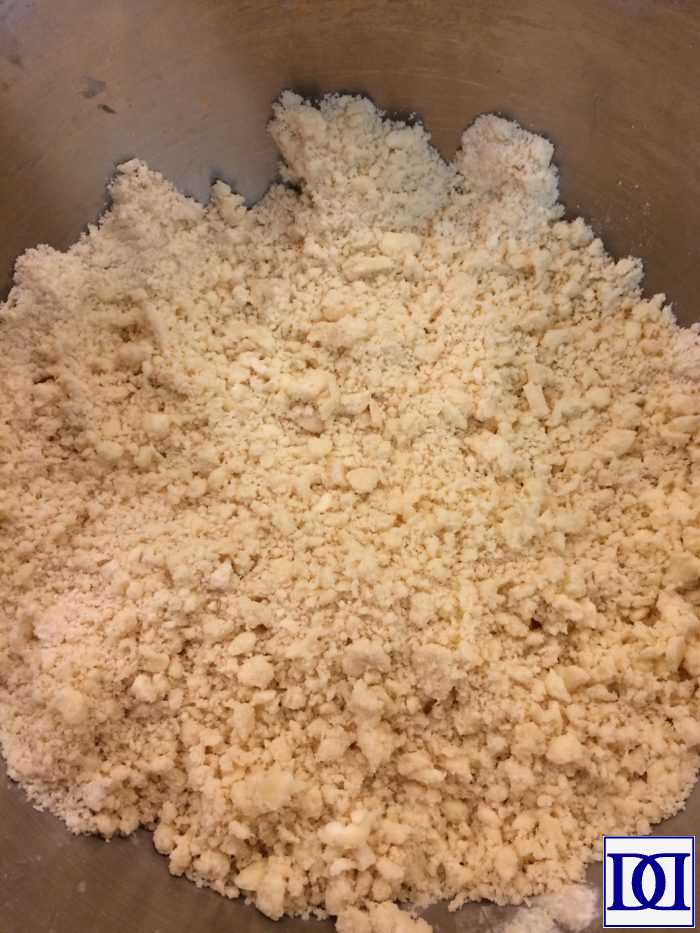
(2) Add shortening and butter and process with a pastry cutter until the mixture resembles “course meal” (baking speak for “crumby with no lumps”).
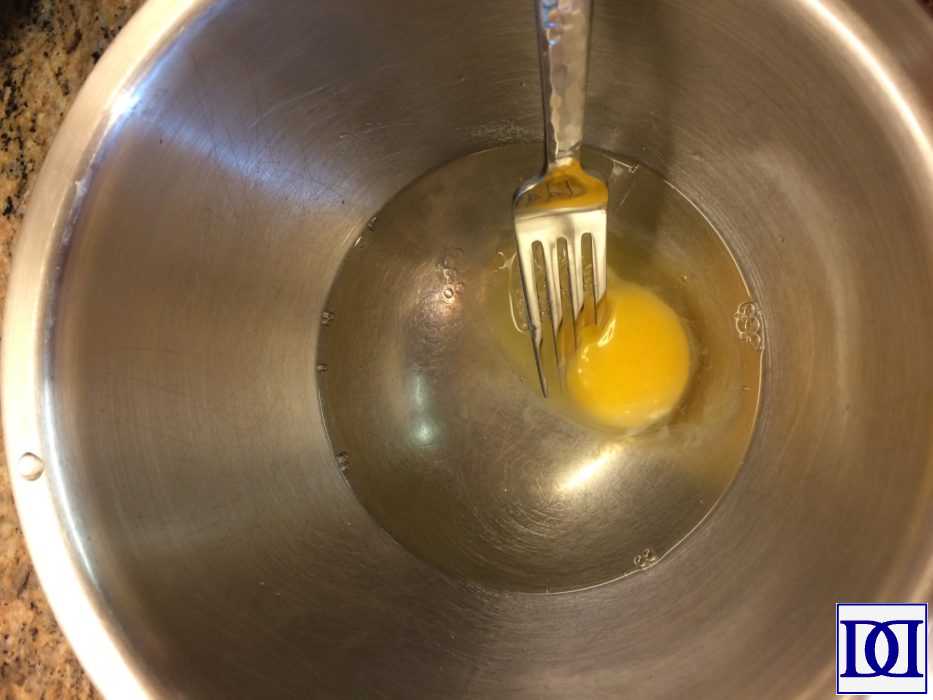
(3) In a separate bowl, beat vinegar, egg, and iced water until combined.
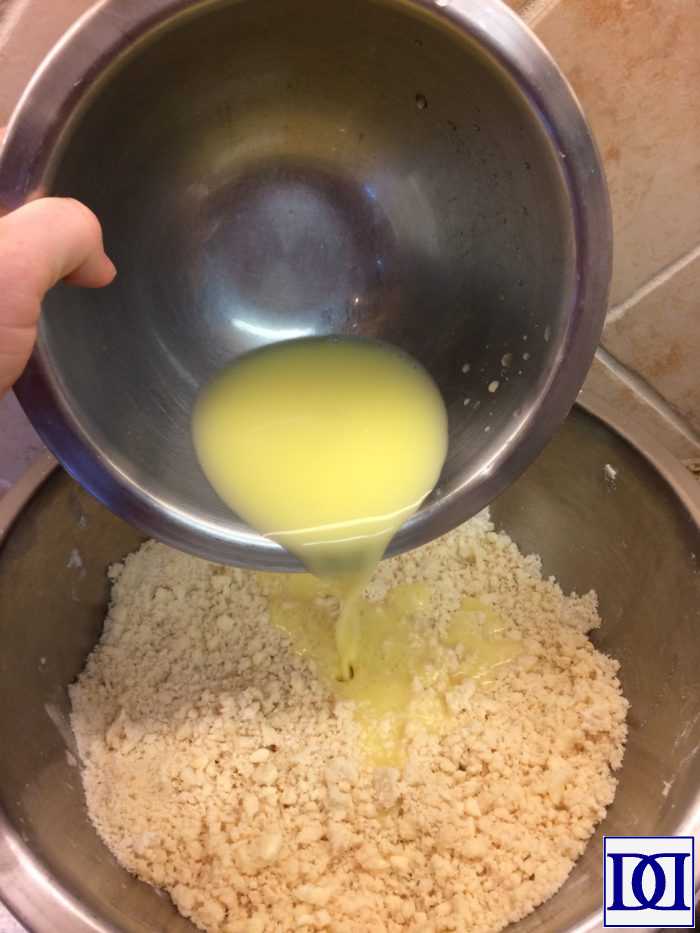
(4) Add egg mixture to the flour mixture and combine with hands until incorporated (I prefer using my hands at this point. Overworking the dough after adding the water will result in a tougher crust, and I have more control with my hands than with a tool).
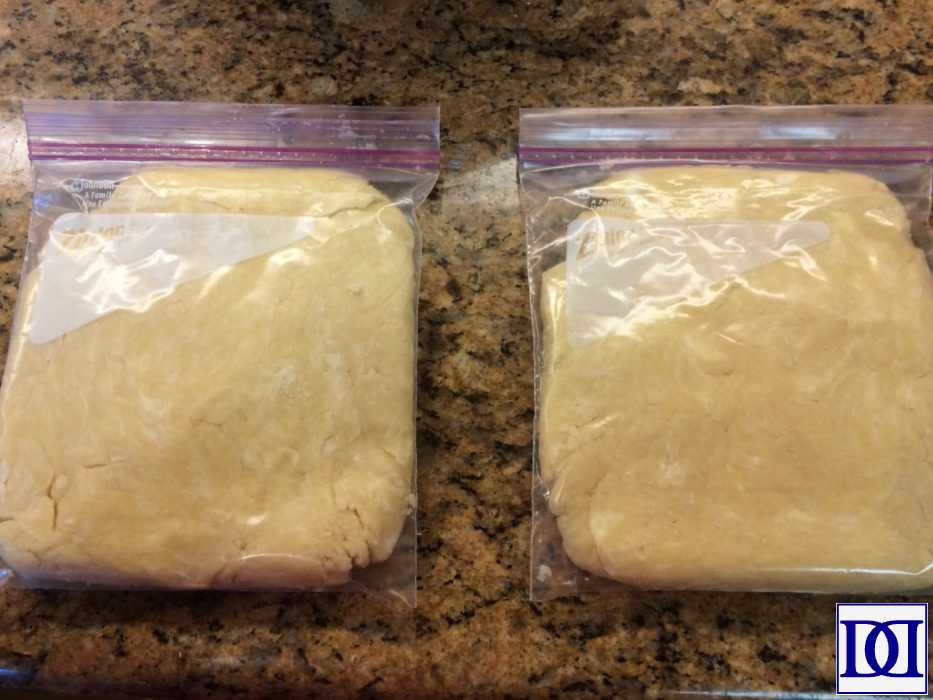
(5) Divide dough into two ziploc bags.
Tip: Remove as much air out of the bag as possible and roll the dough in the bag to make your life easier while rolling later.
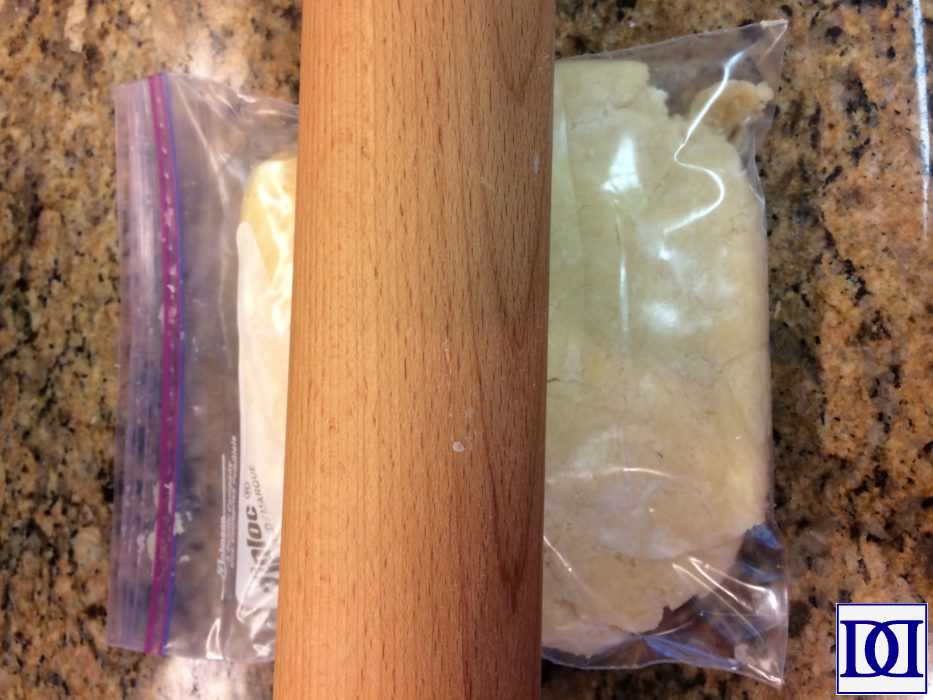
(6) Chill for at least 15 minutes before using.
Make Ahead: may be refrigerated for 3 days or frozen for up to 6 months (wrap first in cling wrap and then in aluminum foil).
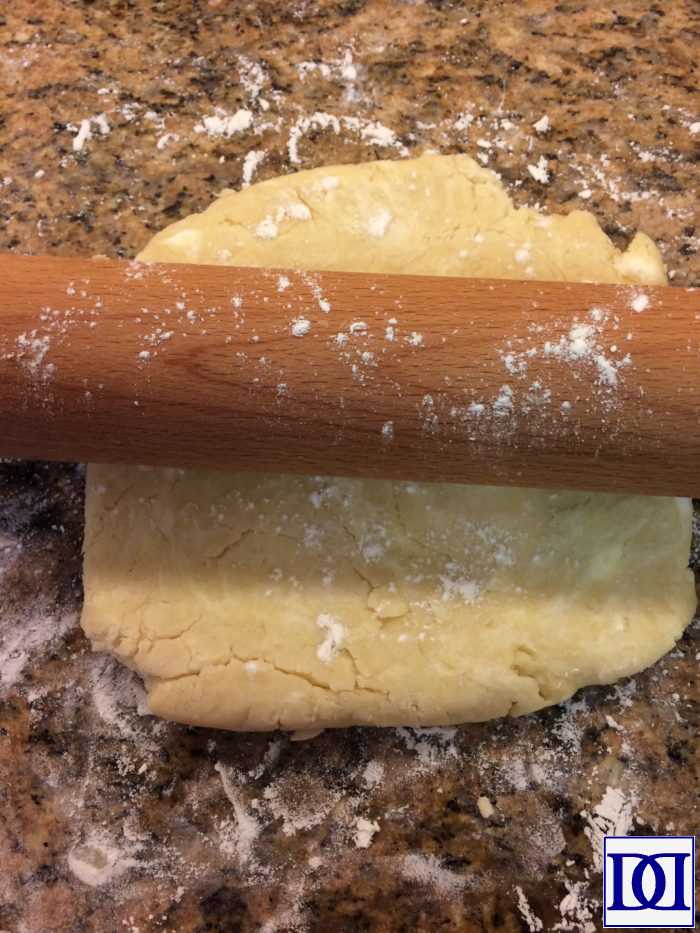
SINGLE PIE CRUST:
Remove one bag from the refrigerator, sprinkle with flour, and roll out on a cool surface to a circle of roughly 12 inches.
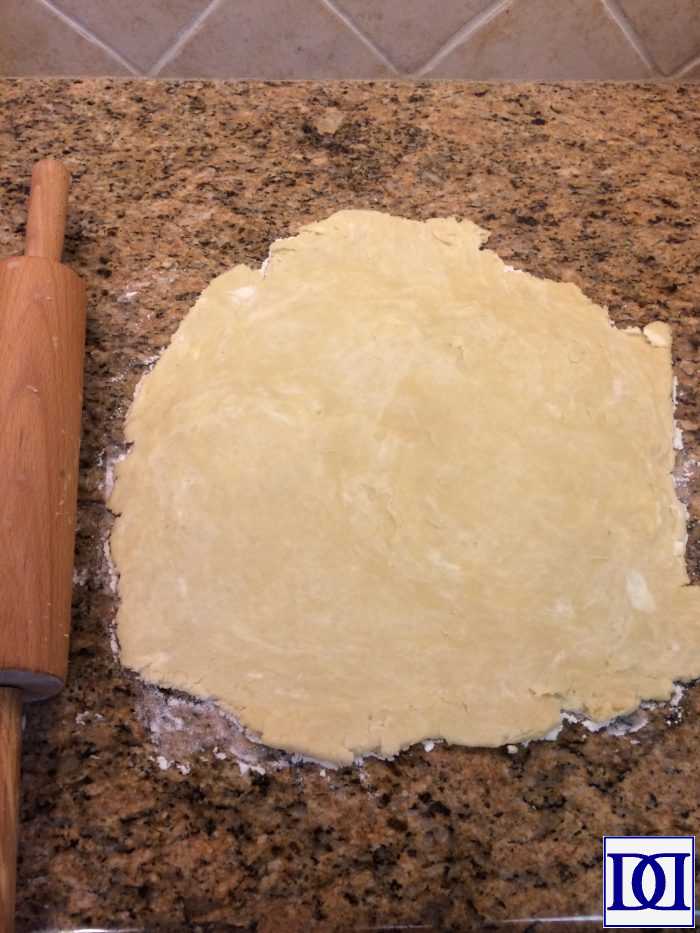
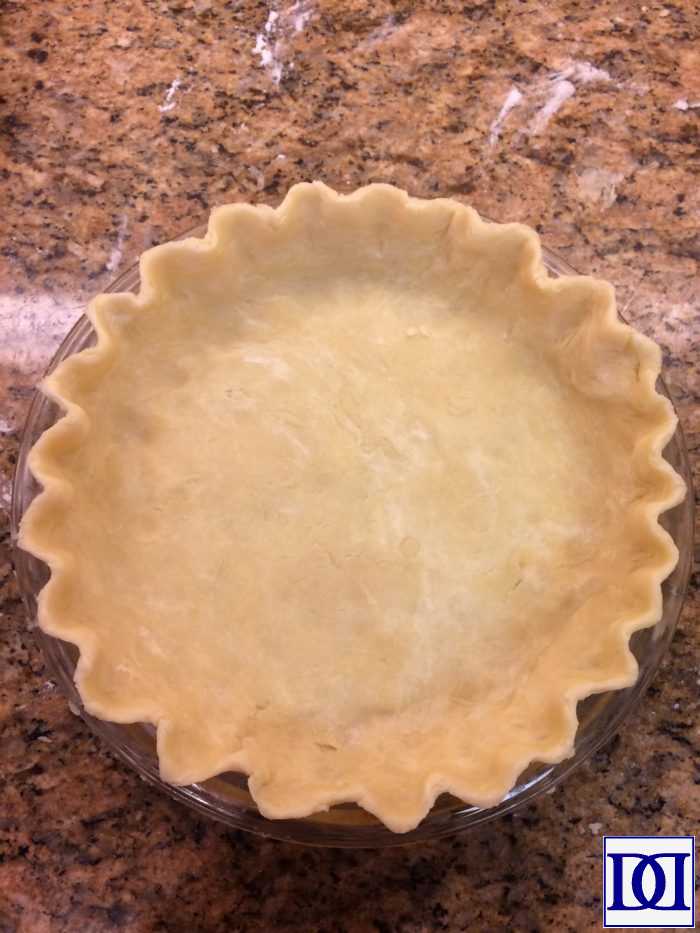
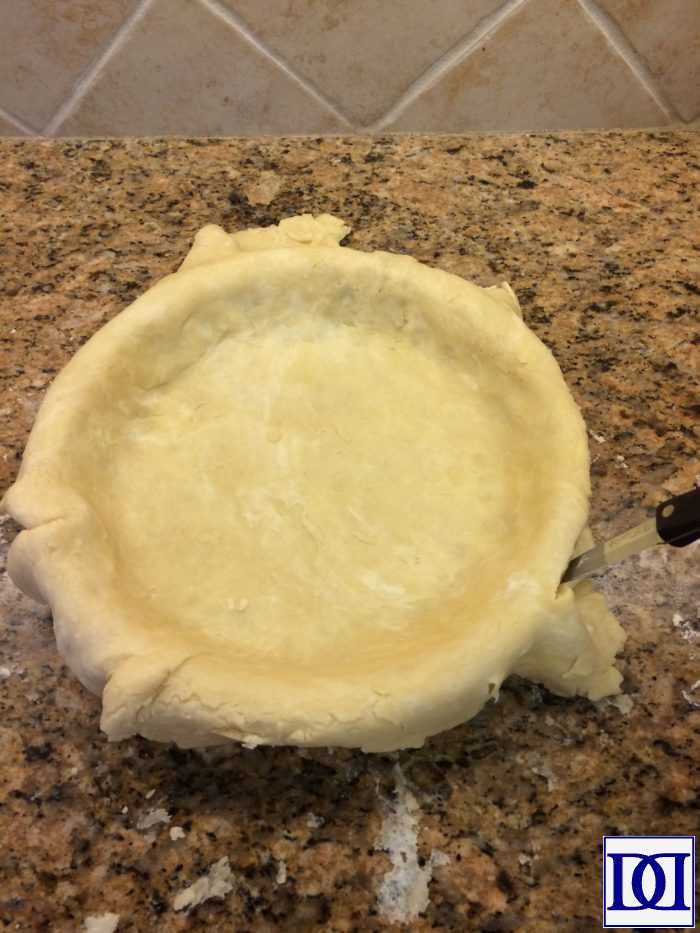
Transfer to a pie dish and press into dish. Trim edges with a kitchen knife, using the pie pan as a guide.
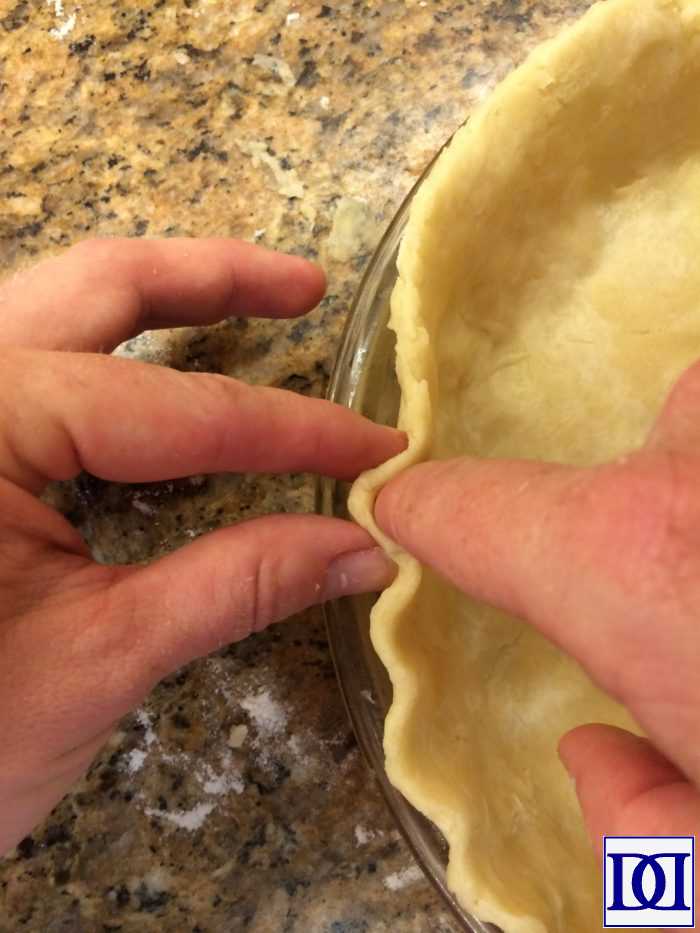
For a fluted rim, use your L forefinger/thumb and R forefinger to form.

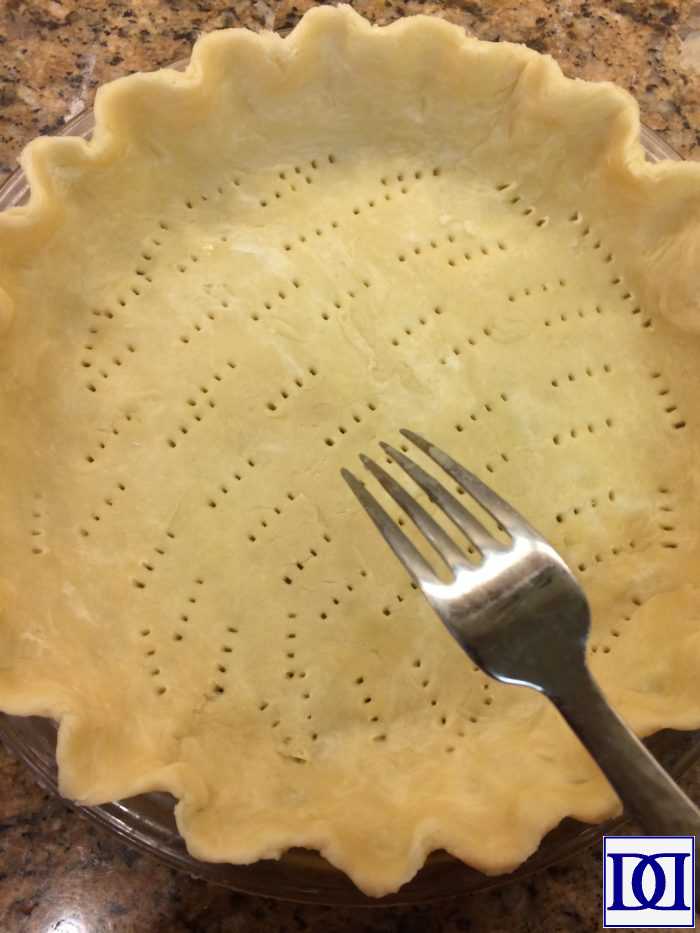
Prick bottom copiously with a fork. If you don’t need to pre-bake, simply fill and bake according to your pie recipe instructions.
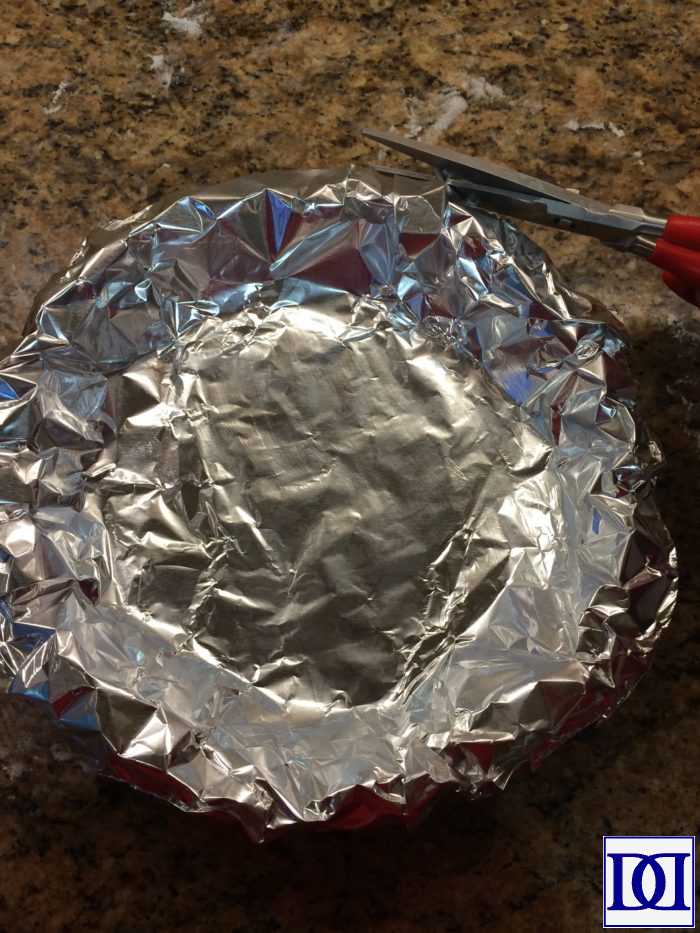
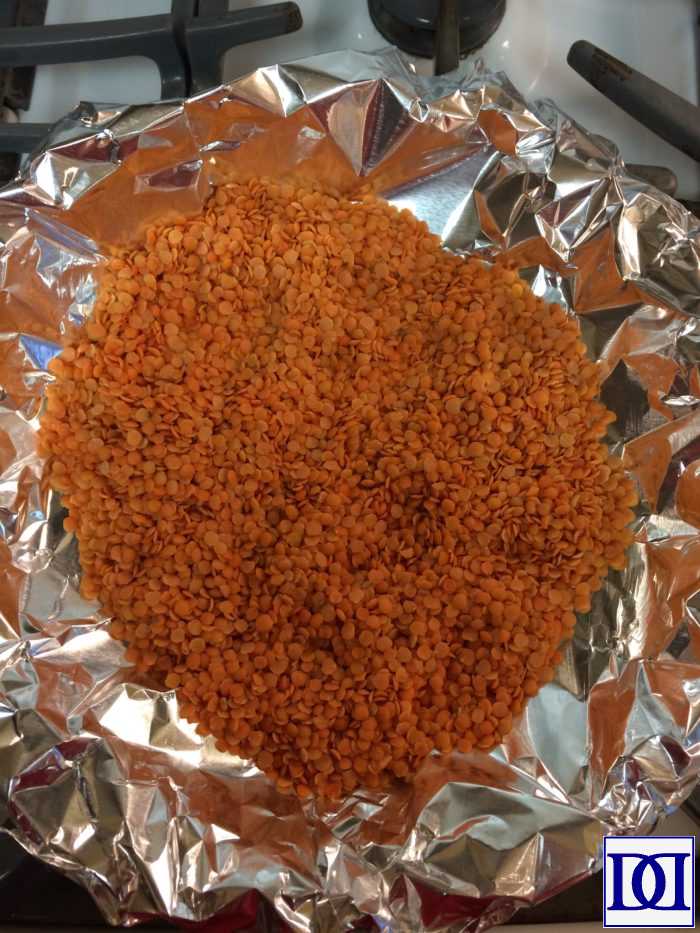
For pre-baking, stash your plated crust in the freezer for 10 minutes while you preheat your oven to 400 degrees. After 10 minutes, line your pie crust with aluminum foil, pressing down into the pie and allowing the foil to hang over the edges. Place weights (dried beans work great) on the aluminum foil and bake for 15 minutes.
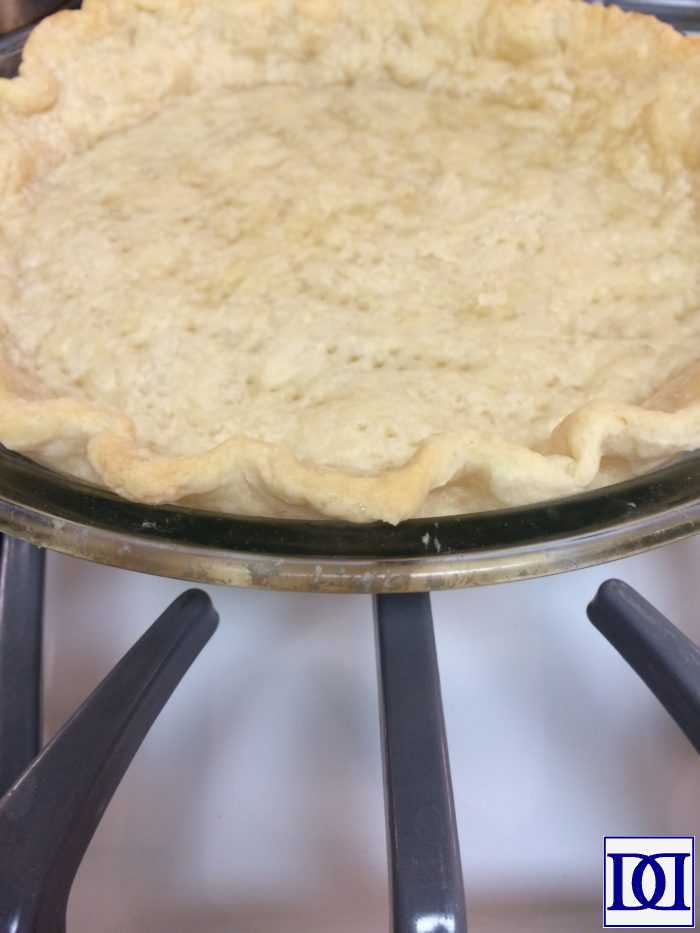
Remove aluminum foil and weights and bake again for 10 minutes (partially pre-baked–slightly brown) or 15 minutes (fully pre-baked–golden brown).
DOUBLE PIE CRUST:
Prepare bottom crust as above for “single pie crust.” Fill pie immediately (do not freeze for 10 minutes). For a traditional crust, place second crust on top of the bottom crust, and trim upper crust to match. Pinch the two crusts together. You may choose to decorate the upper crust with a fork, cutouts, etc.
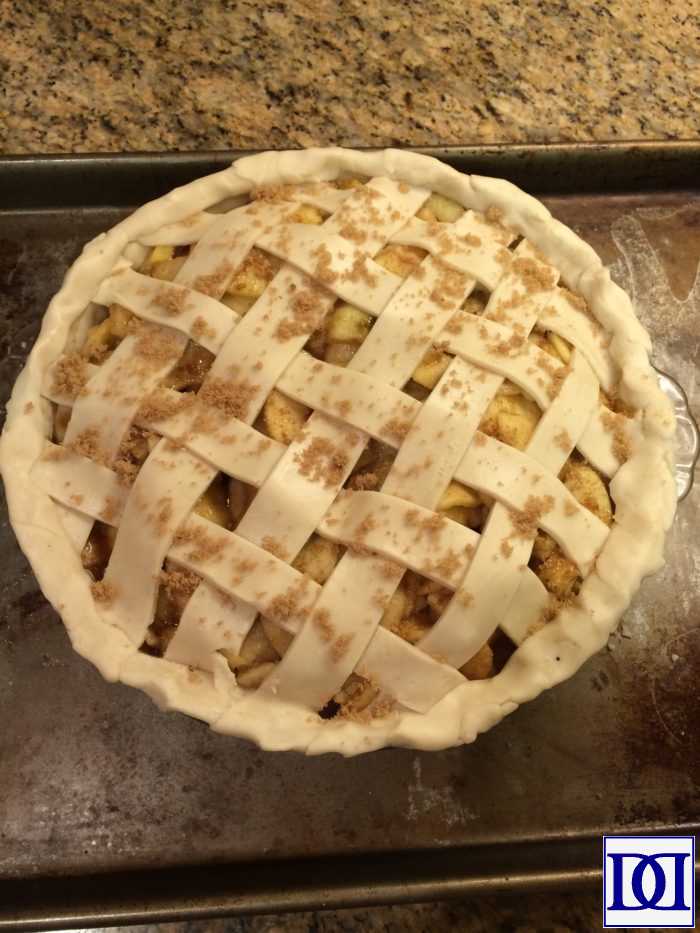
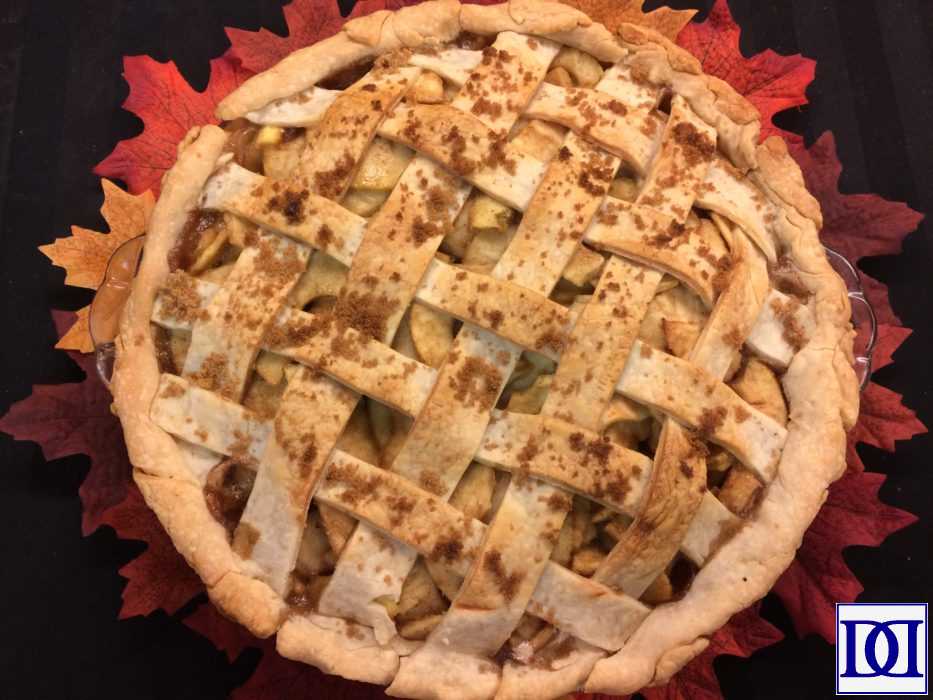
You may also choose to do a lattice crust or a “cookie-cutter” crust.
Here are some of my favorite pie recipes:
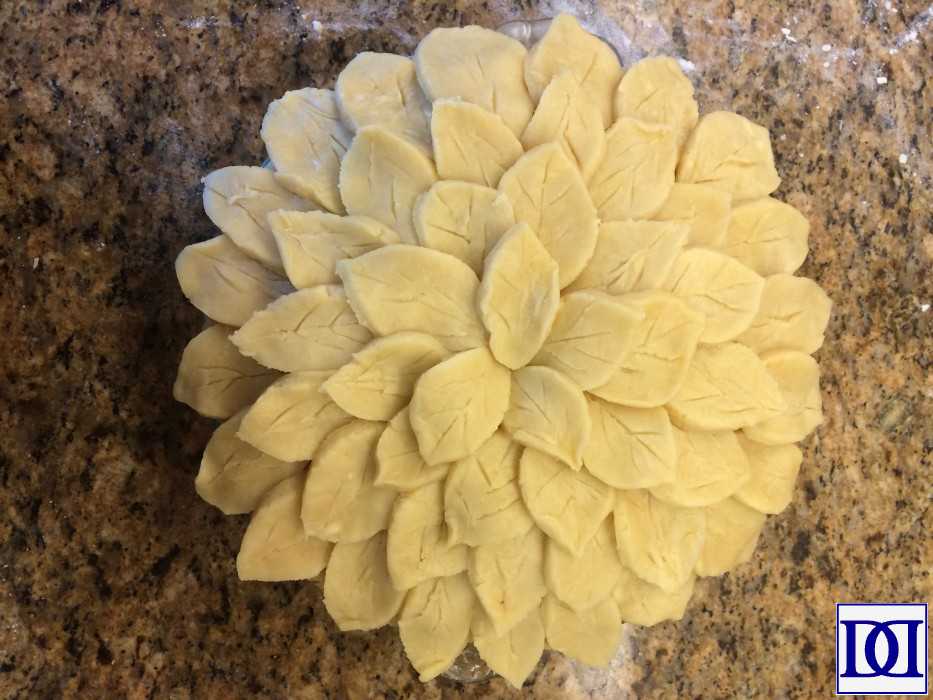
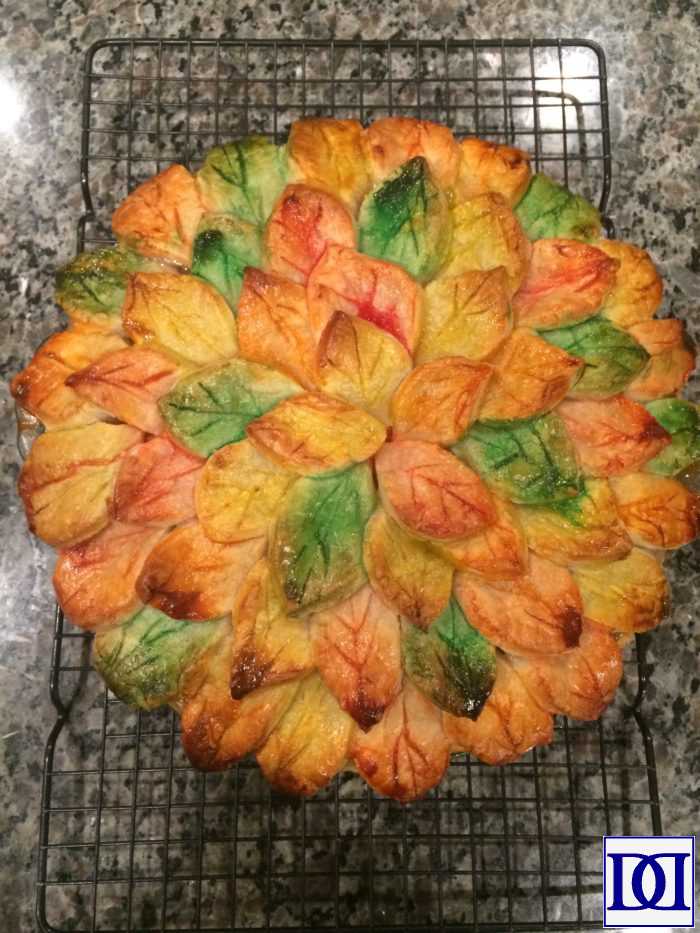
Apple-Pear Pie with a Painted Leaf Crust
Apple Pie with a Lattice Crust
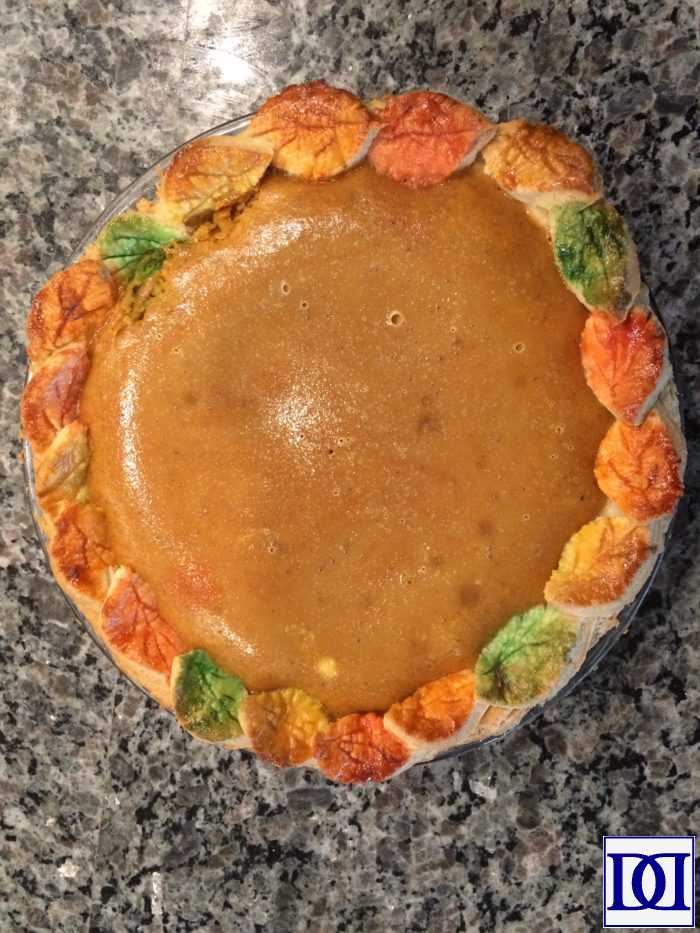
Pumpkin Pie with Painted Leaves
Leave a Reply