What I Used:
- 1 yard decorative fabric
- 1 1/4 yard base fabric
- Velcro
- OPTIONAL
- Coordinating ribbon
- Button maker kit
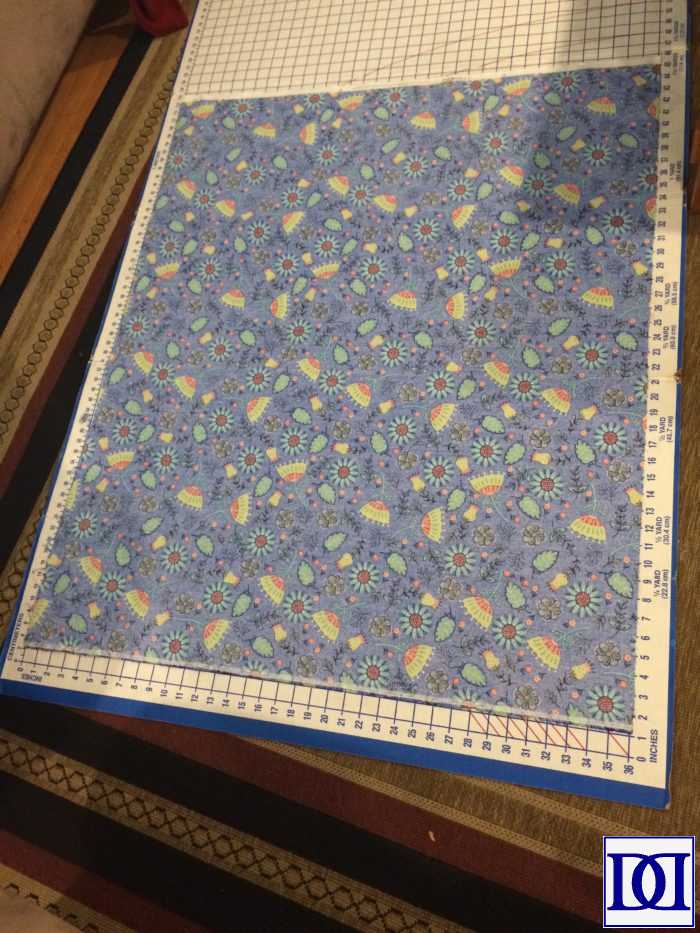
(1) Iron fabrics and pin together, right sides facing. Cut base fabric down to decorative fabric.
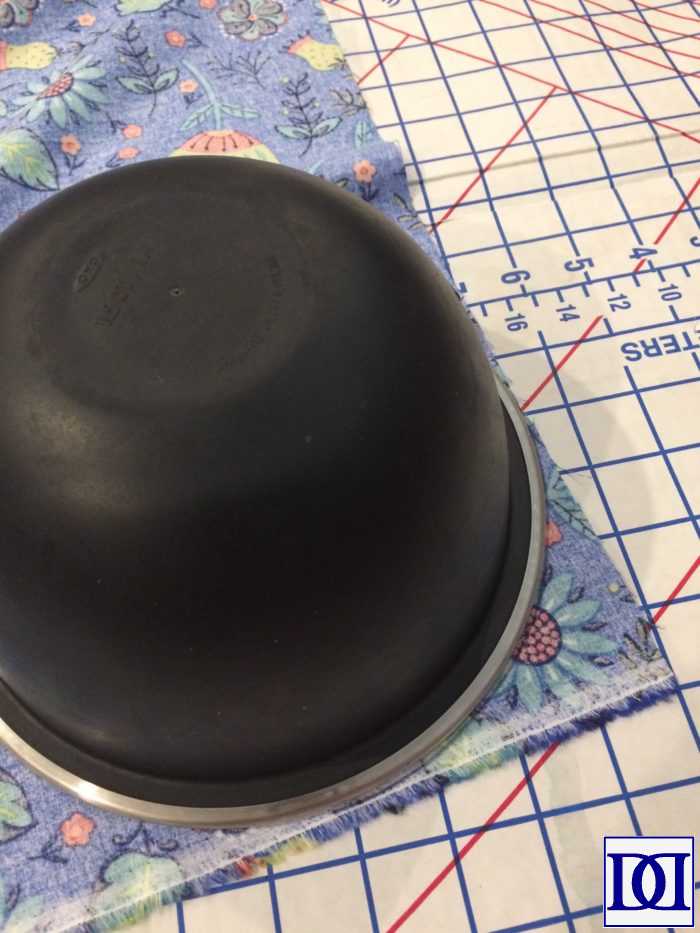
(2) Using a bowl or other large circle, round edges of pinned fabrics.
(3) Sew around with a 1/2″ seam allowance, leaving a small opening to turn right-side out. Turn right-side out, iron seam flat, and pin opening closed.
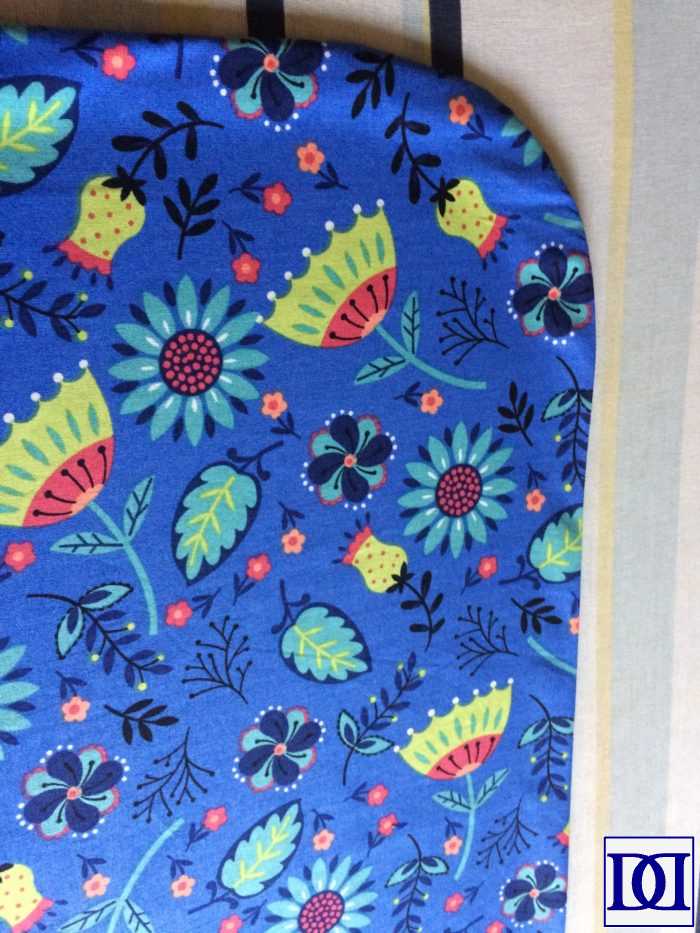
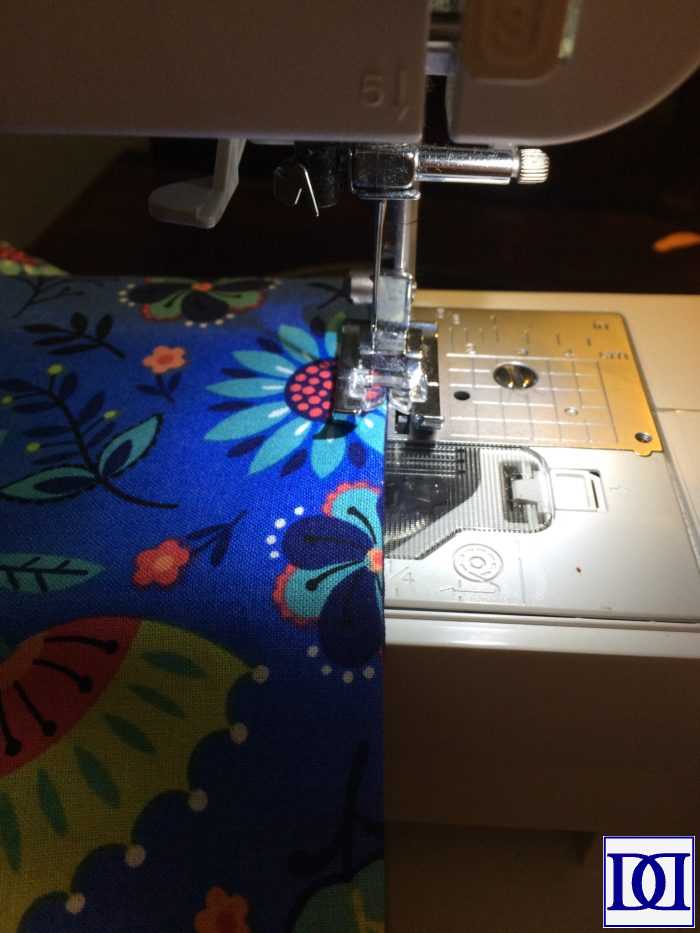
(5) Sew around outside with a 1/4″ seam allowance.
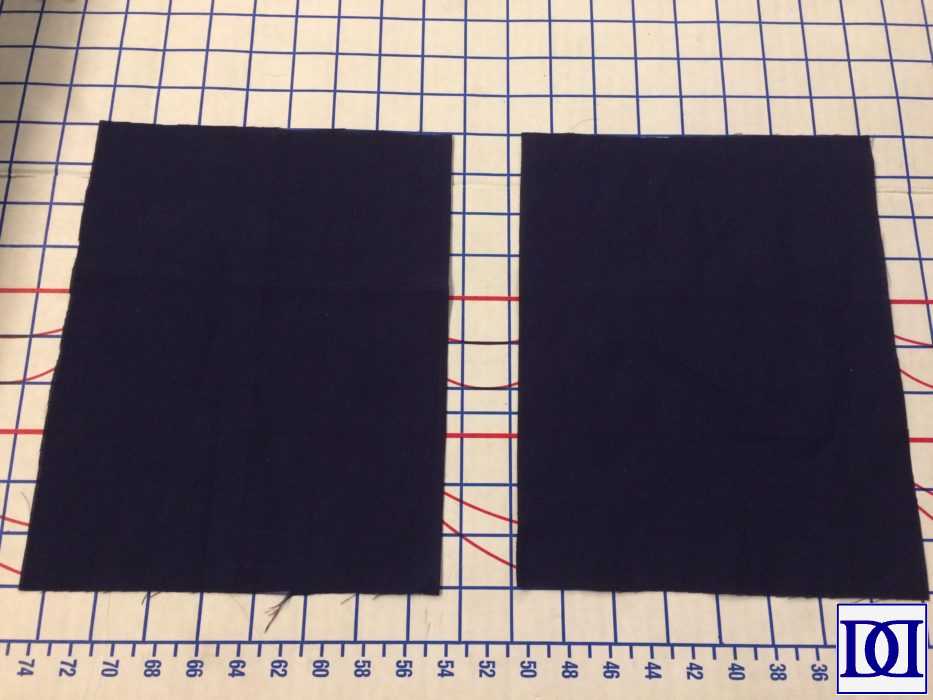
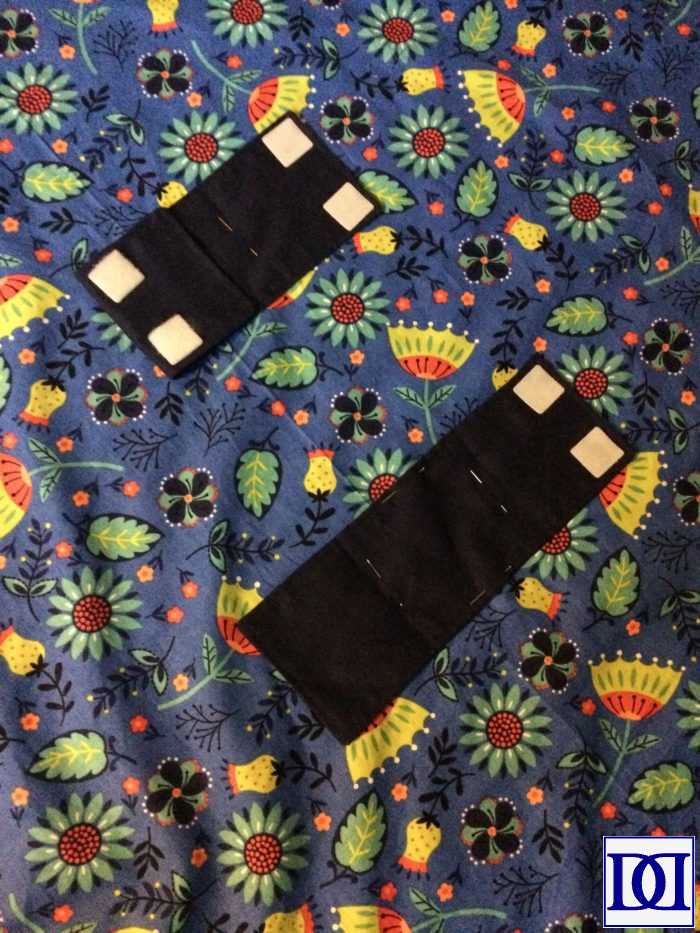
(6) To make the straps, take scraps of base fabric, and cut 2 pieces 8″ x 10″ (or 4 pieces 4″ x 10″).
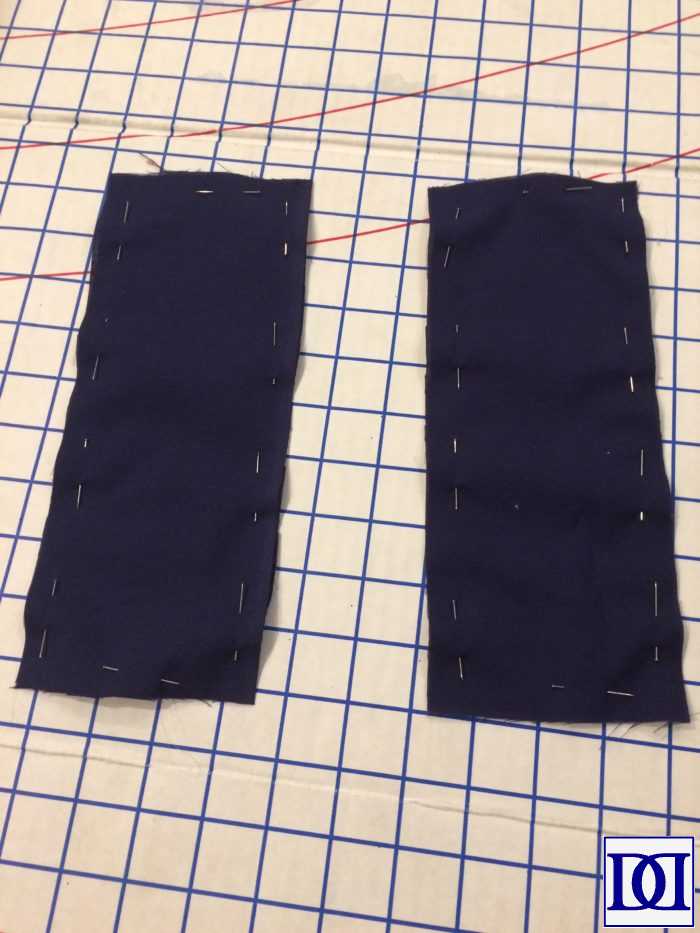
(7) Fold and pin each strap piece together (or, if working with 4 pieces, pin two pieces together).
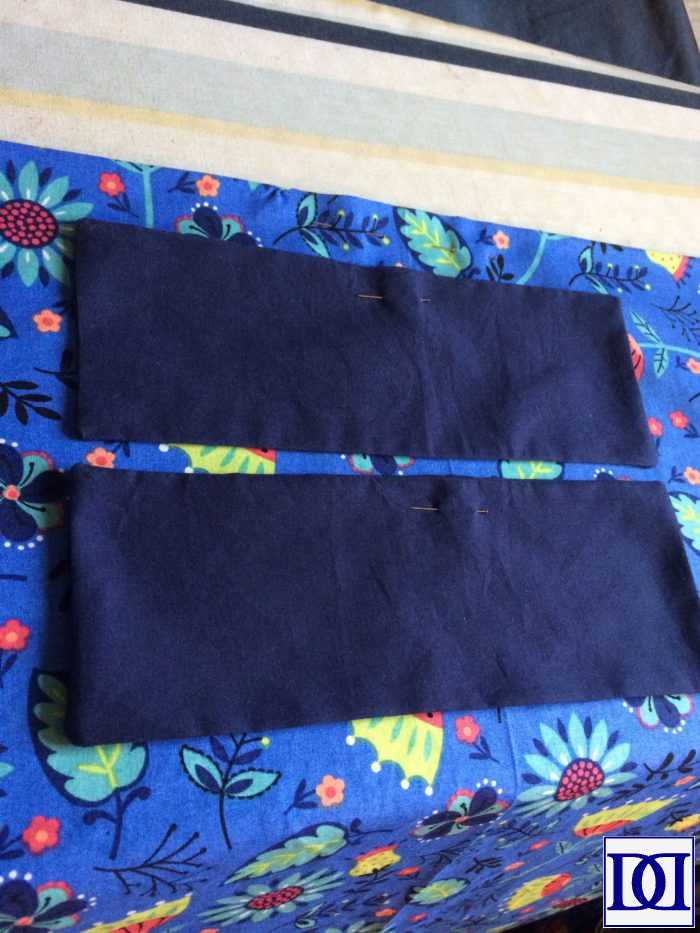
(8) Sew around with a 1/4″ seam allowance, leaving a small opening to turn right-side out. Iron seams flat and pin opening closed. If desired, sew around outside with a 1/4″ seam allowance as with cover.
(9) Determine where you’d like your straps on your main fabric (this may take some trial and error with your carseat). Sew strap to the main fabric and sew velcro to the strap.
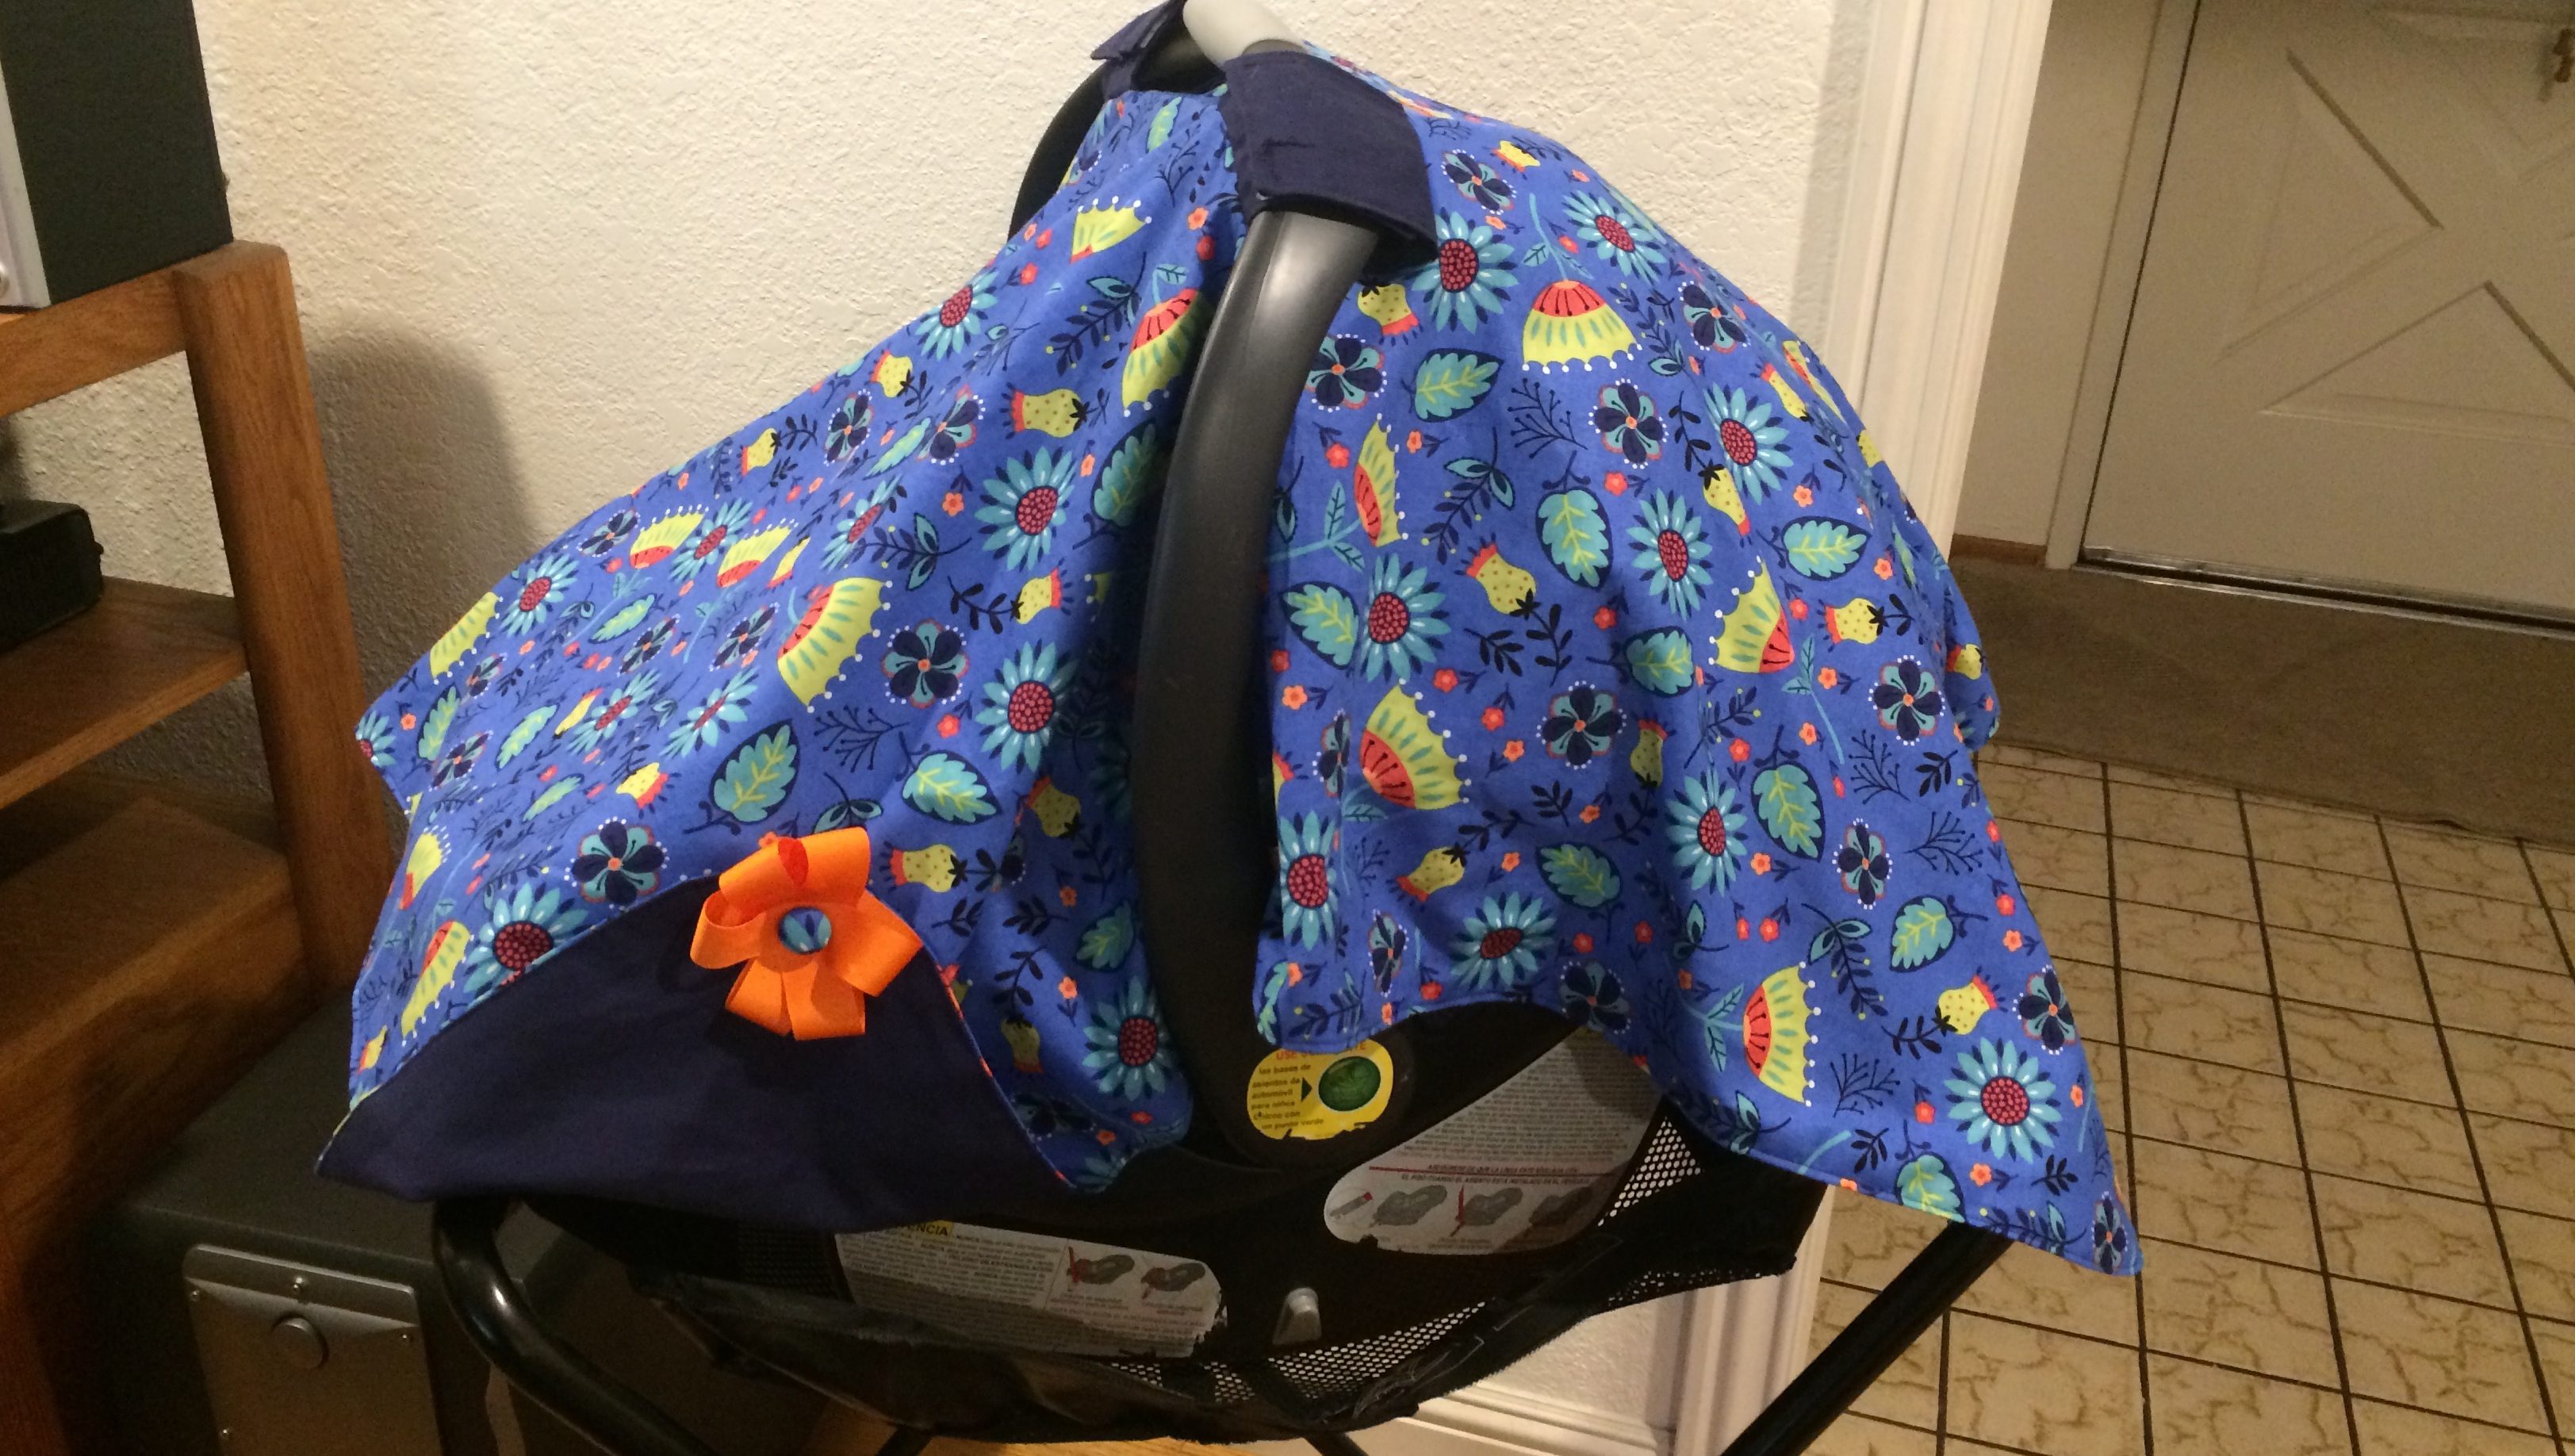
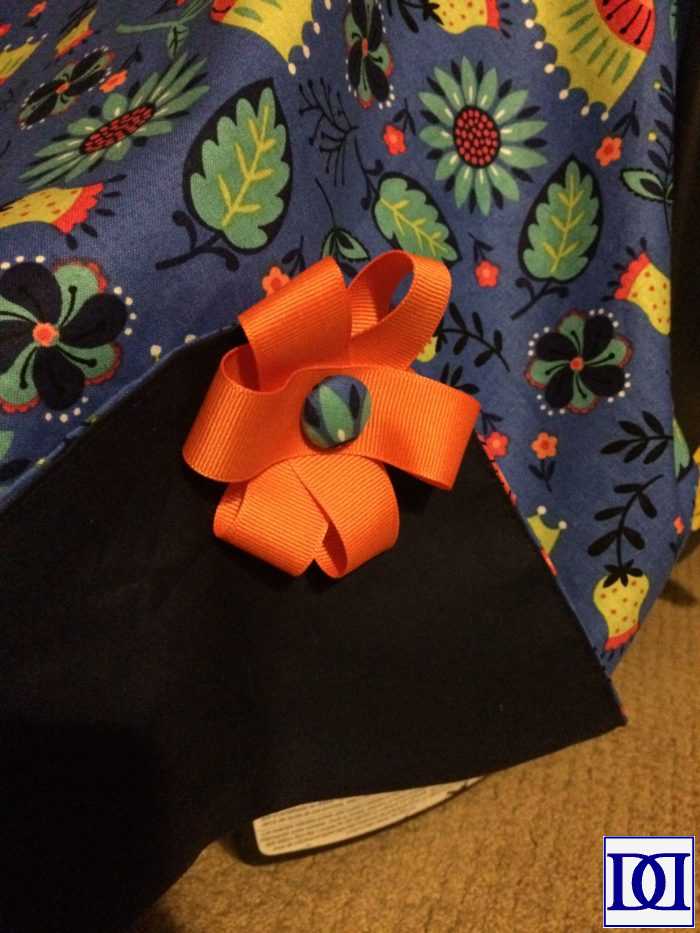
(13) If desired, add embellishments.
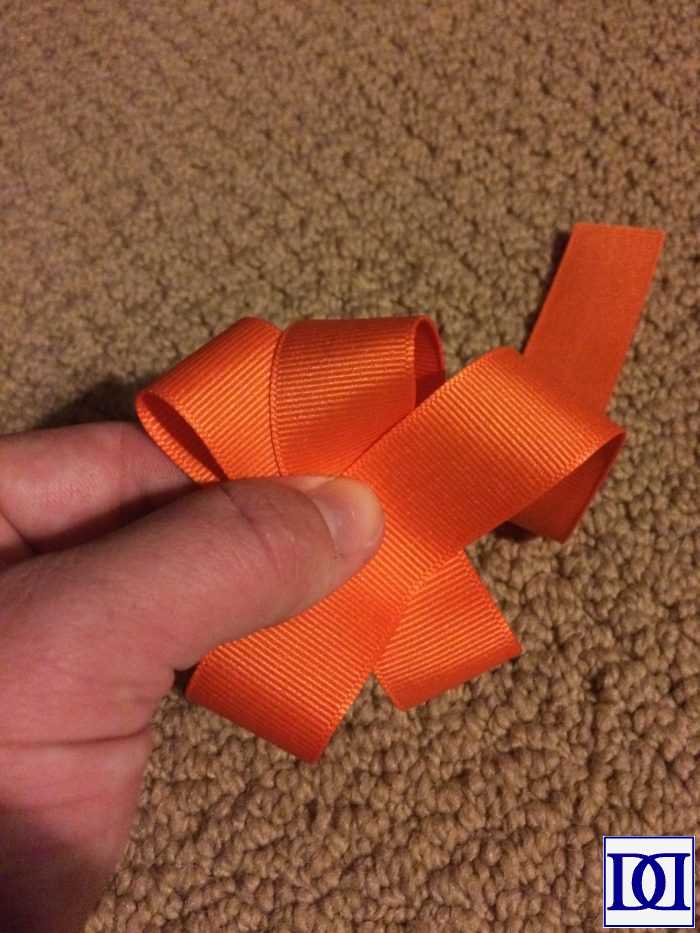
- For this cover, I took ribbon and made a 6-pointed star/flower by folding loops of the ribbon over each other and sewing in place.


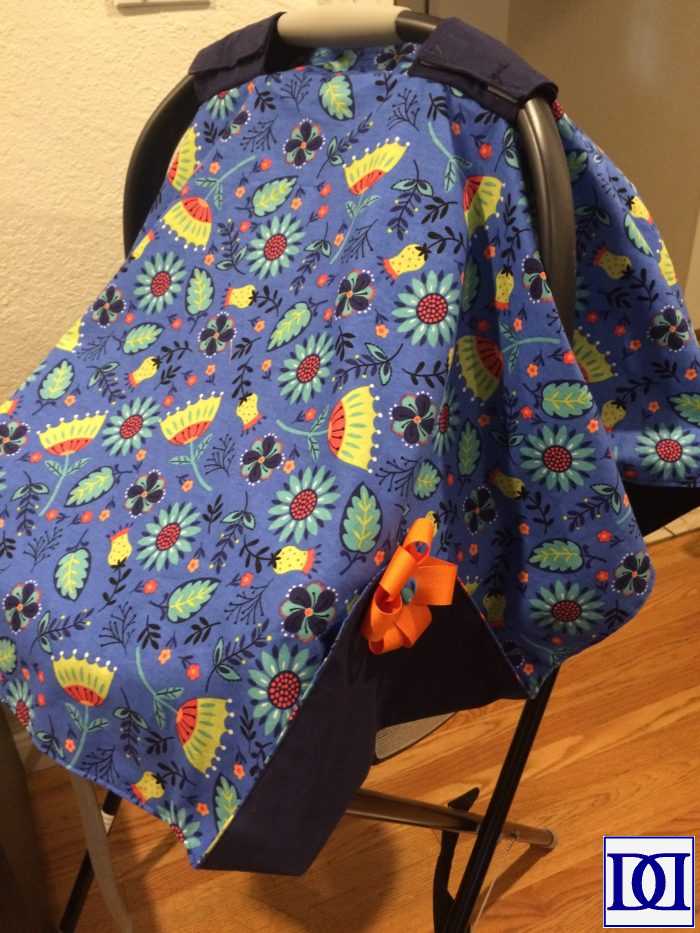
- I then sewed this star/flower to folded back corners of the cover and secured with a button cover created with scraps of my decorative fabric.
Leave a Reply