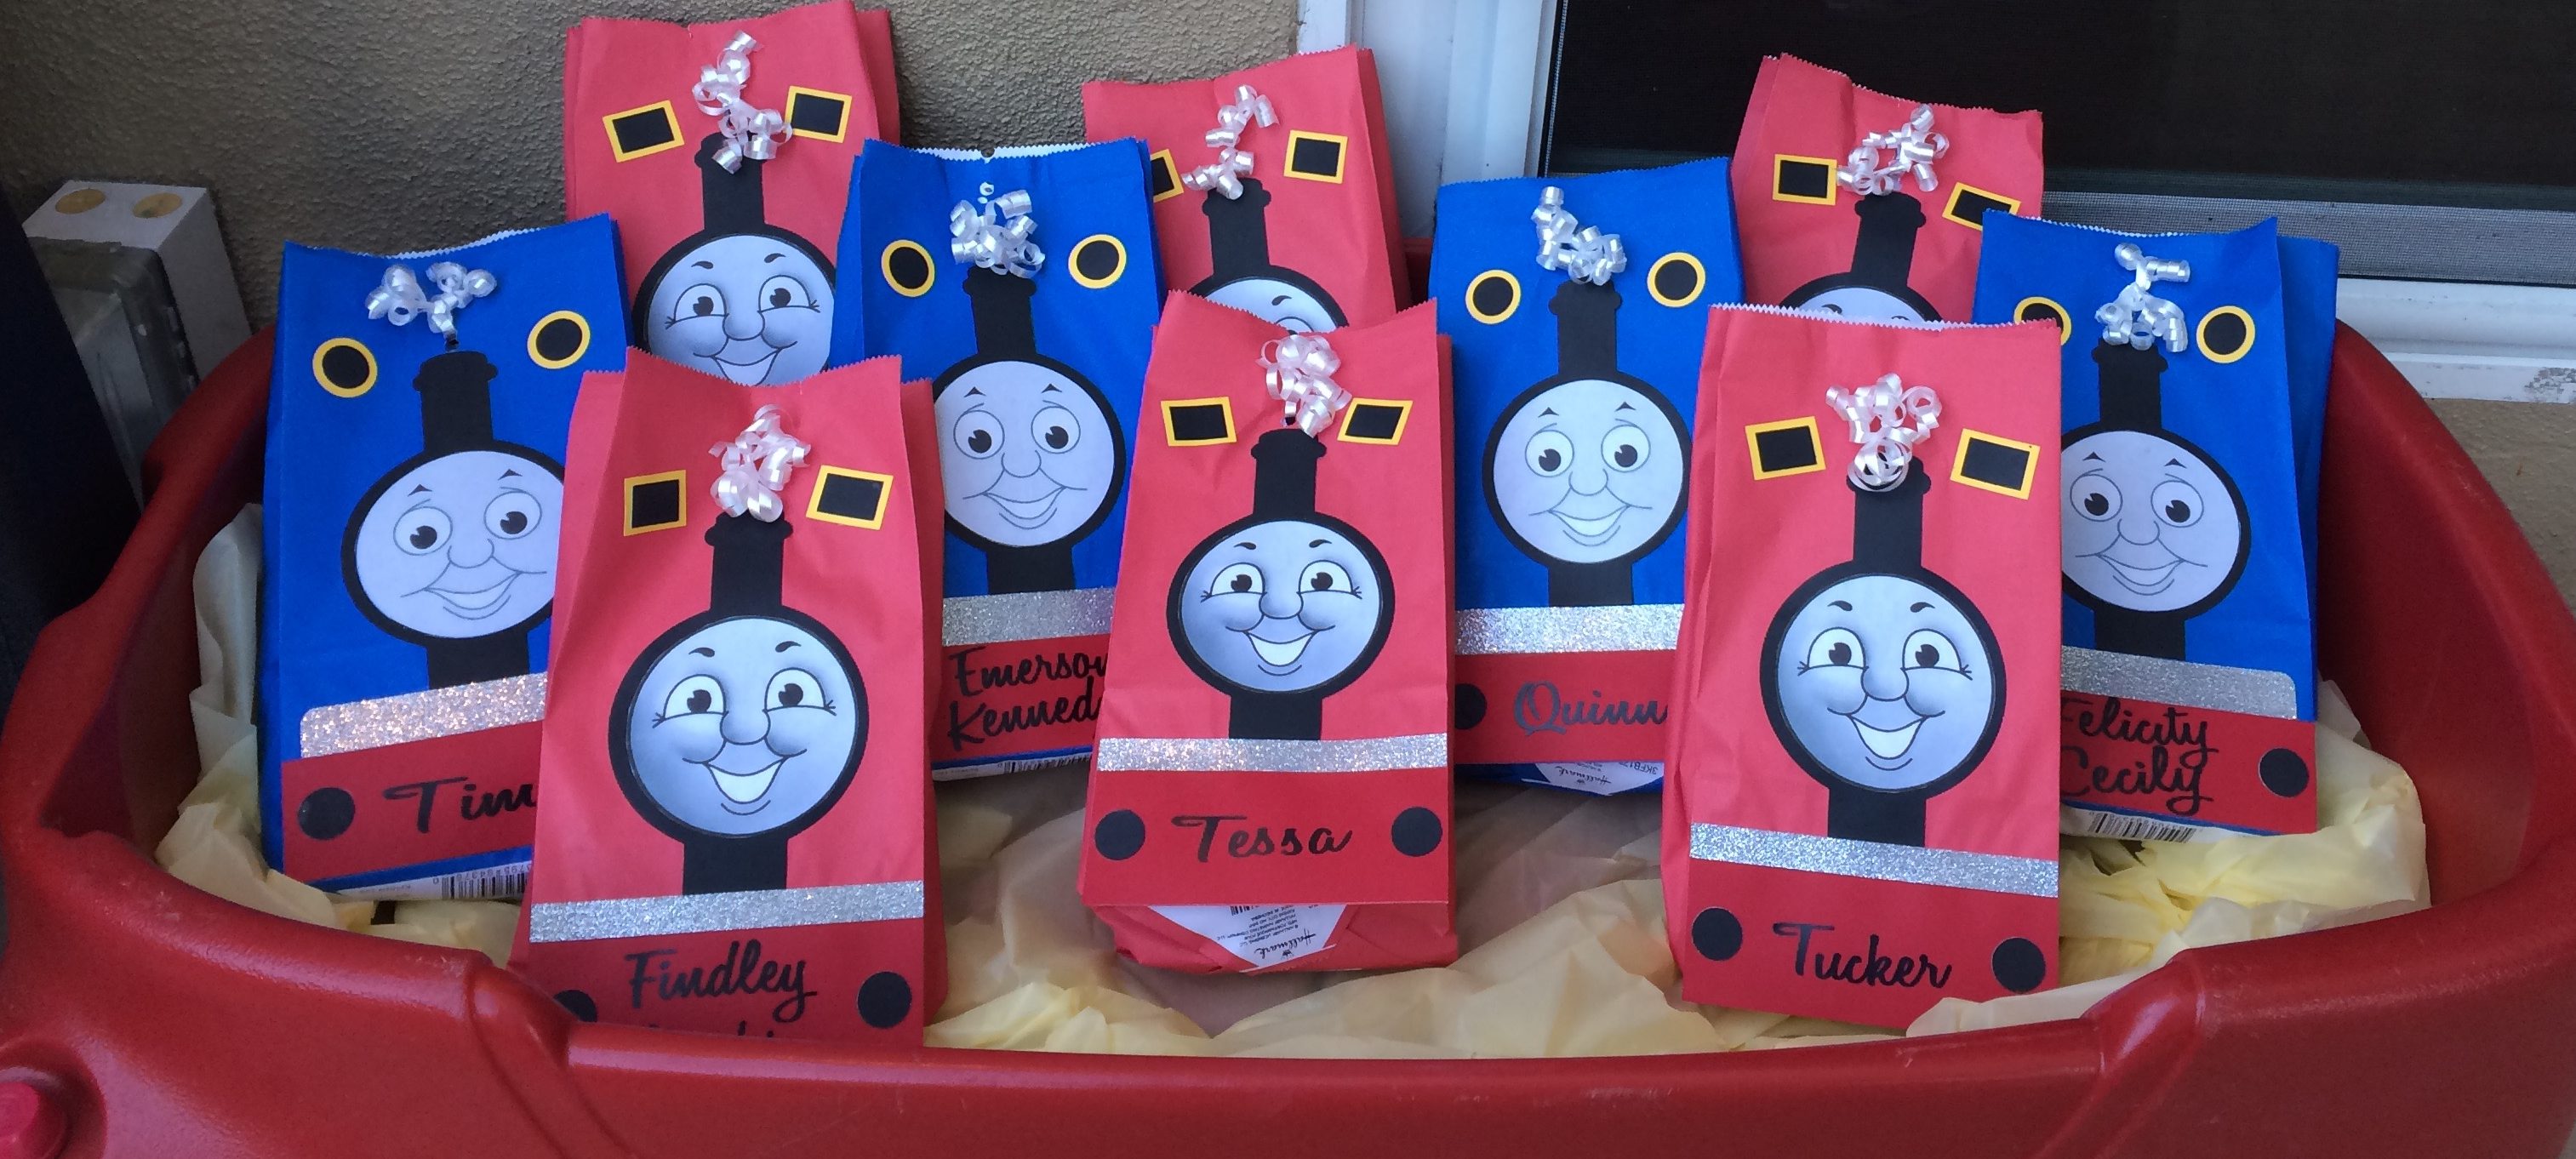
Whether you use these for a party favor or as a special “brown lunch” bag, I hope this project is fun and functional!
What I Used:
- Red and blue “lunch” bags (same size as brown paper bags for lunches)
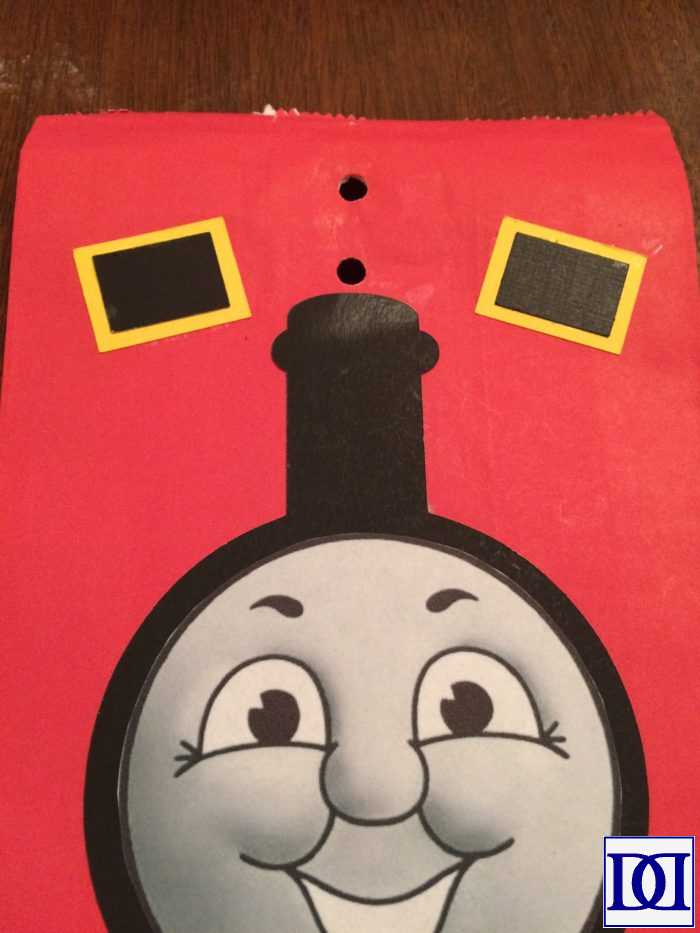
- Found mine at Walmart for 3 for $1
- James template
- Thomas template
- Rubber cement
- White gift wrapping ribbon
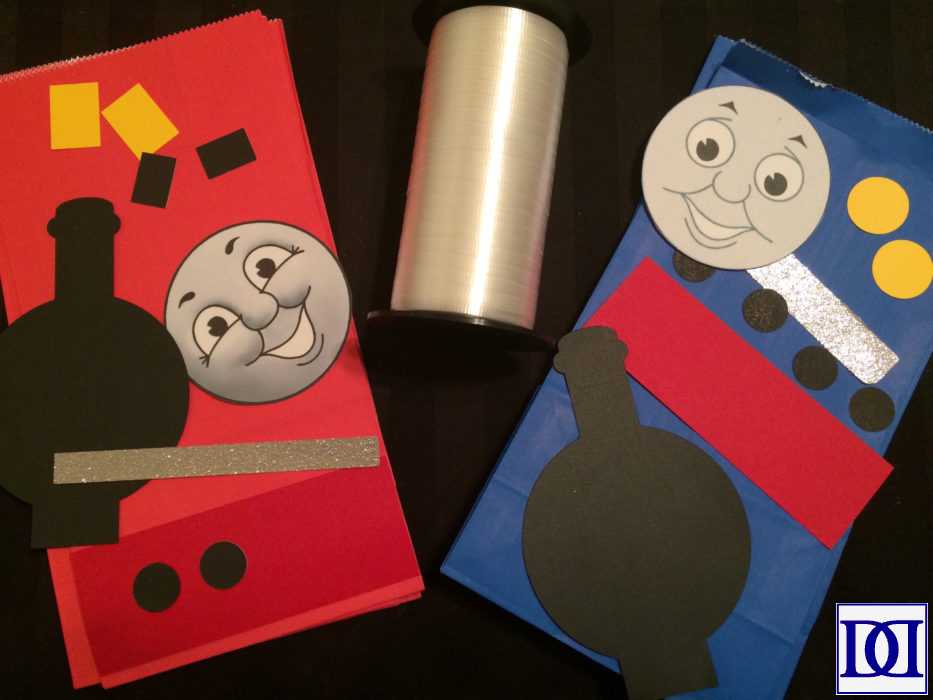
(1) Prep pieces. Whether you use sticker paper and print the templates (Thomas and James) to stick on the bag or choose to cut each piece out of construction paper (what we did for these pictures), ensure that each piece is cut out and ready to be affixed to the bag.
If you are looking to cut each piece out of construction paper, here are PDFs of what I used (there will be enough to make 12 total pieces):
- Black pieces (circles, rectangles, and smoke stacks)
- Print 3 for 6 of each Thomas and James
- Yellow pieces (circles & rectangles)
- Red pieces
- Print 2 for 6 of each Thomas and James
- Gray pieces (I used silver cardstock since it was all I had on hand)
- Thomas face
- James face
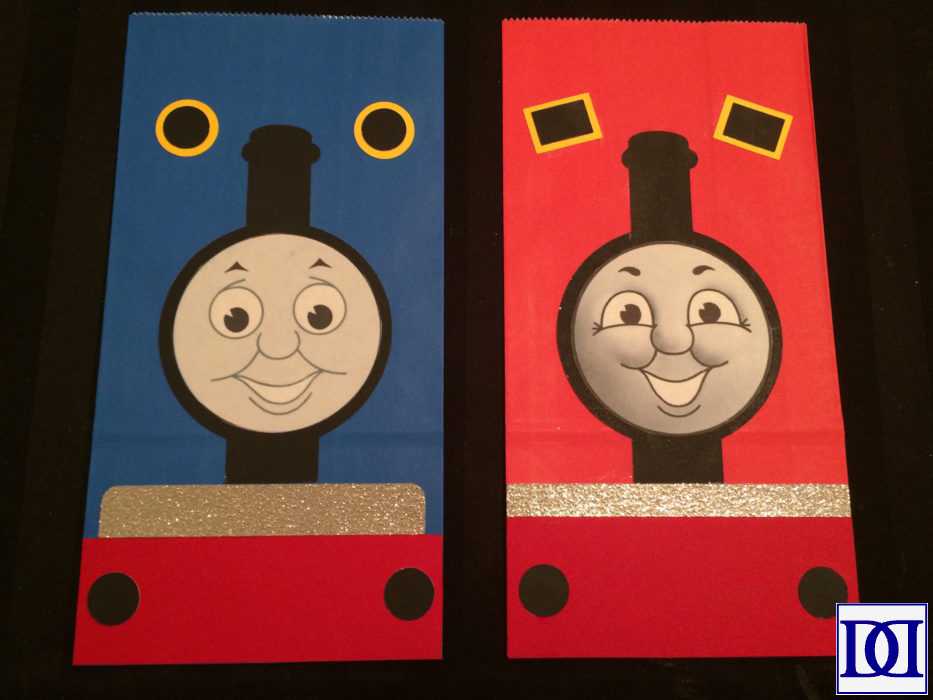
(2) Affix pieces to bags. I started with the bottom and worked my way up since the pieces basically stack (without overlap) one after another. I left myself roughly 1.5″ from the “windows” to the top of the bag.
(3) Punch two holes: one just above the smoke stack and the next 0.5″ higher. Stuff with your desired “goodies.” For some great ideas on train gifts, check out these DIY Reusable Coloring Books and Crayon Boxes or these Personalized Wooden Train Whistles.
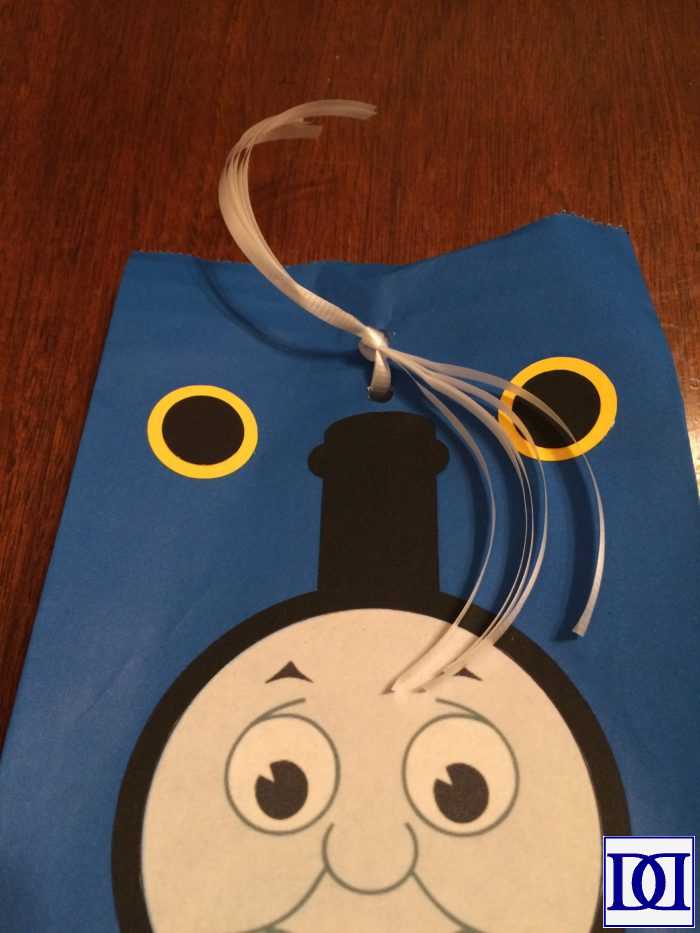
(4) Cut 5 pieces of wrapping ribbon per bag and feed through holes, tying a knot on the face side of the bag.
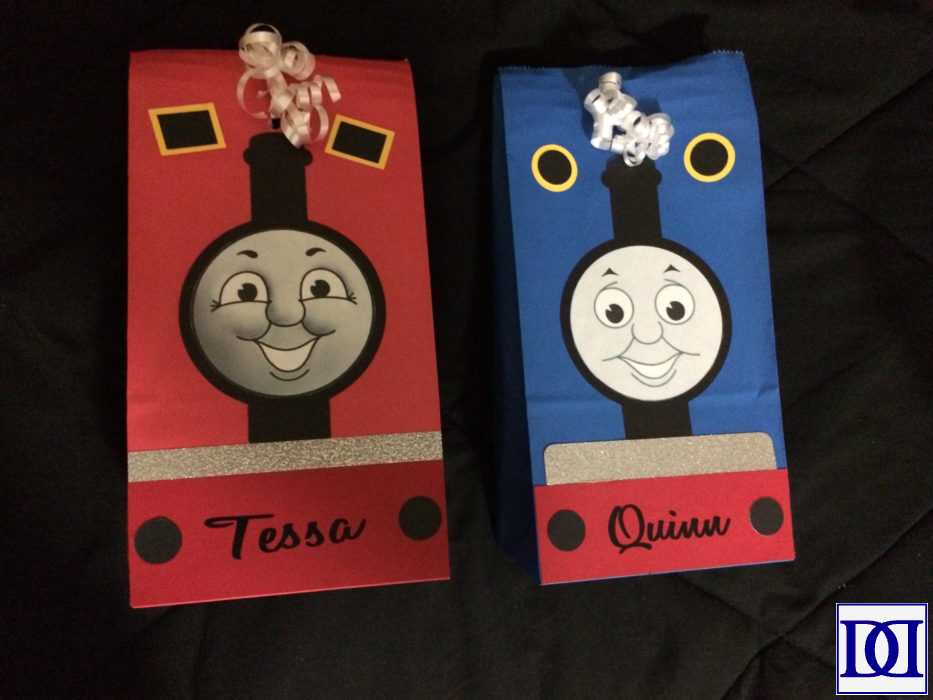
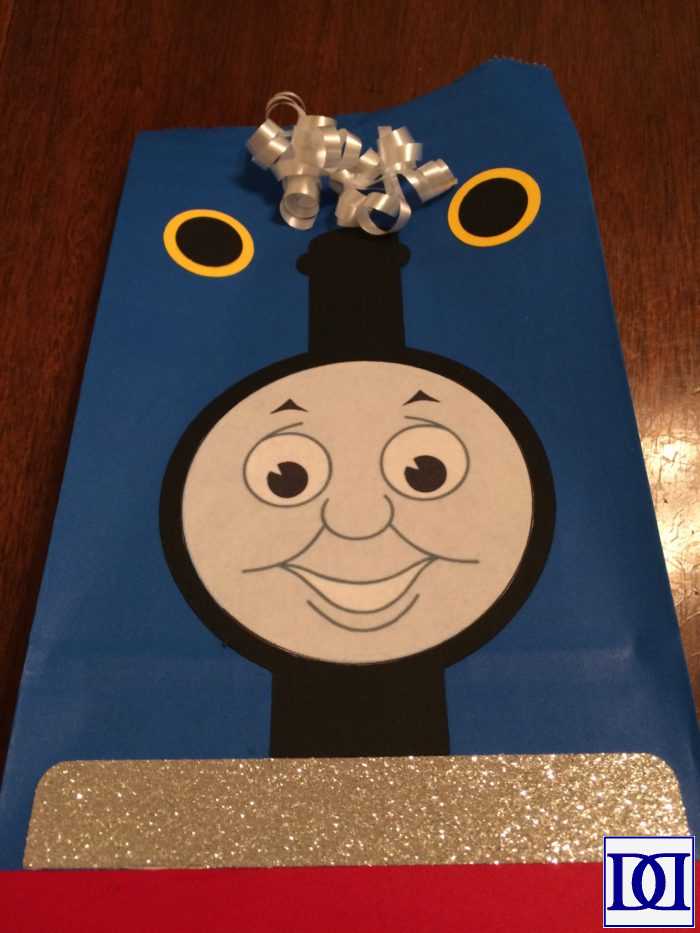
(5) Curl the ends of the ribbon, making “smoke.”
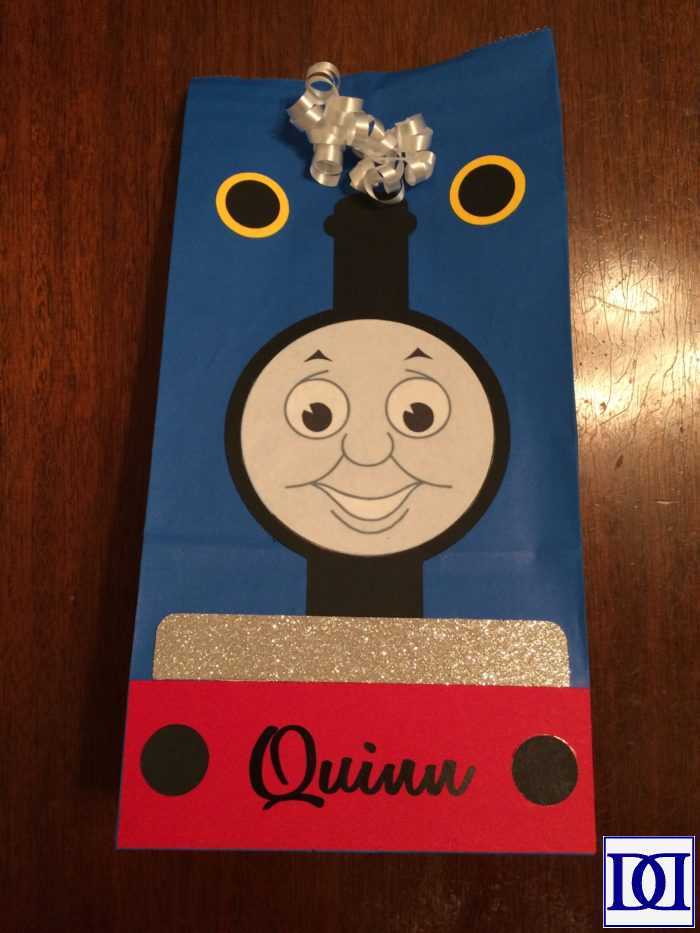
(6) To make them a bit more personal, I added the kids’ names to the bottom, using this font.
For other train ideas: Chugga, Chugga, TWO TWO!
Leave a Reply