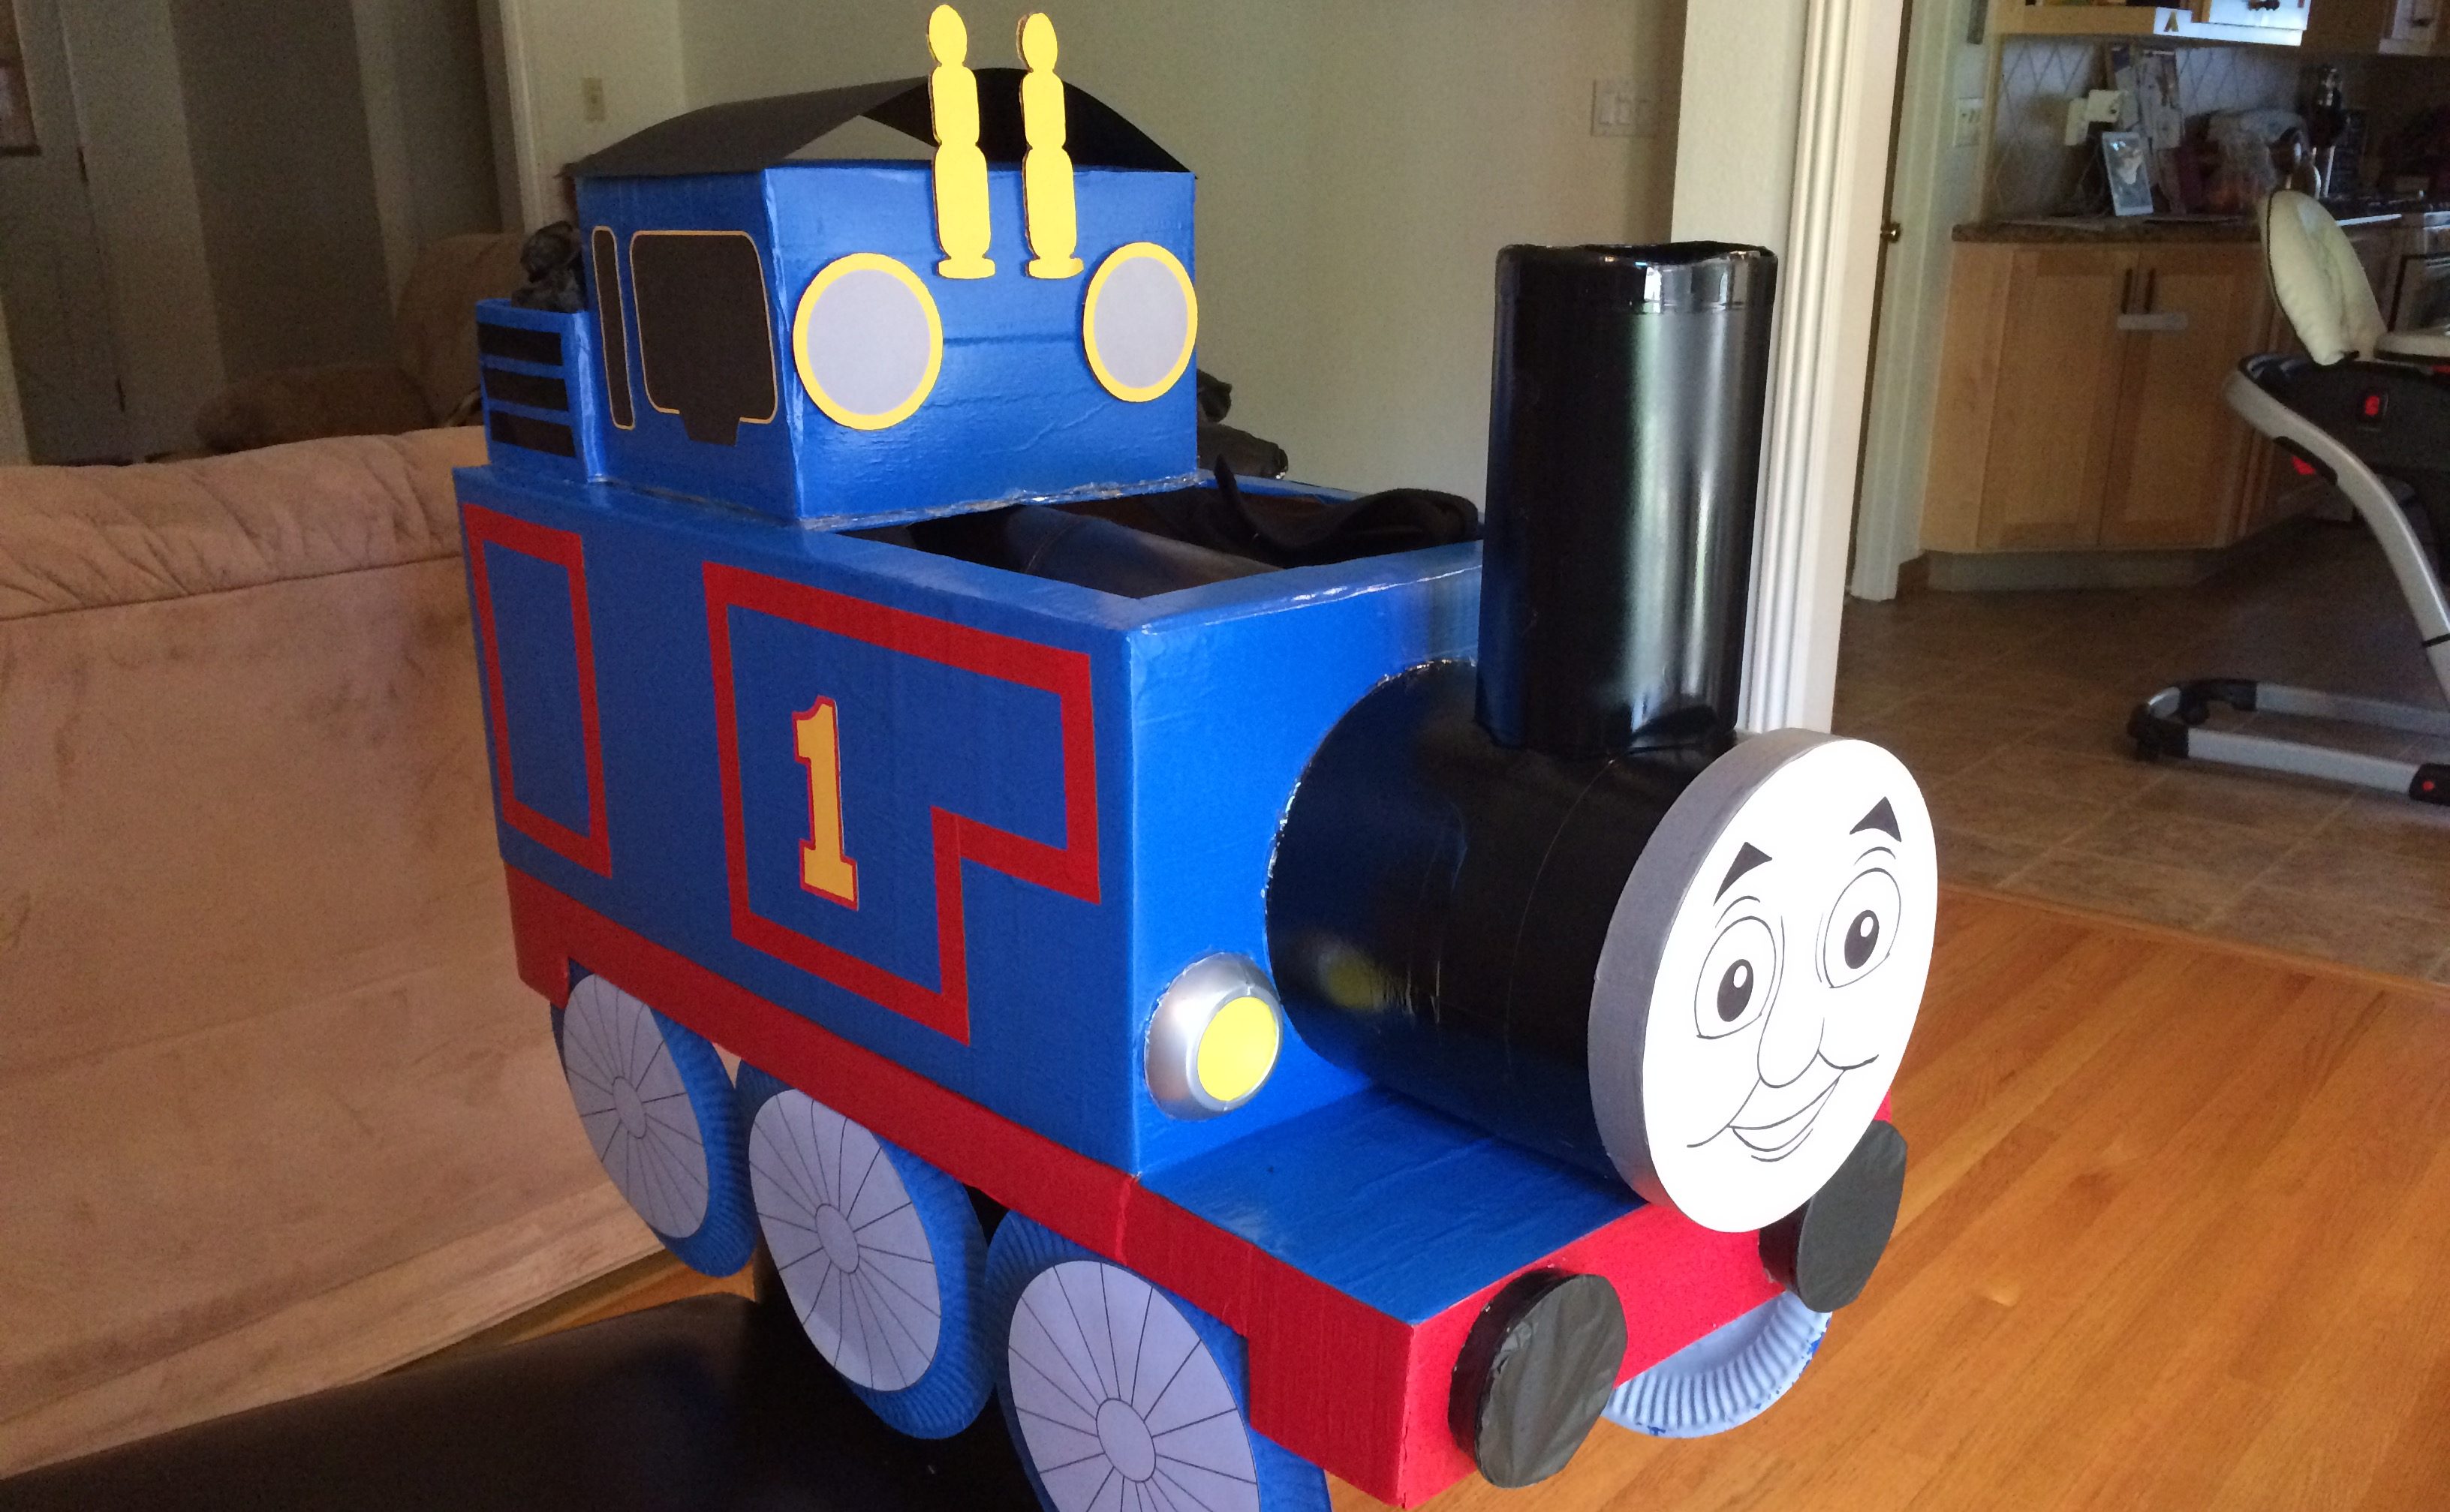
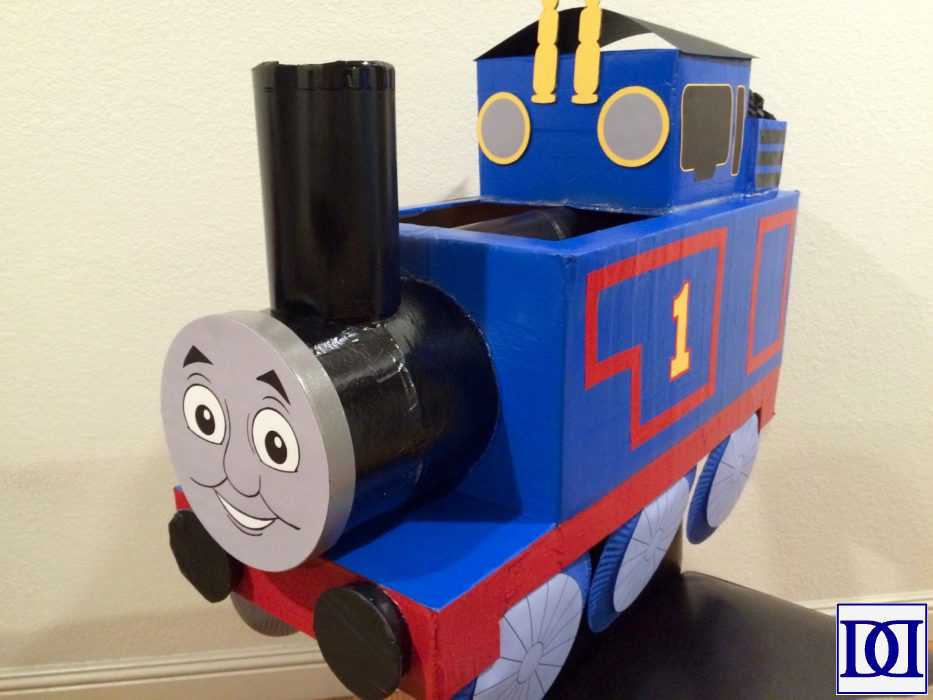
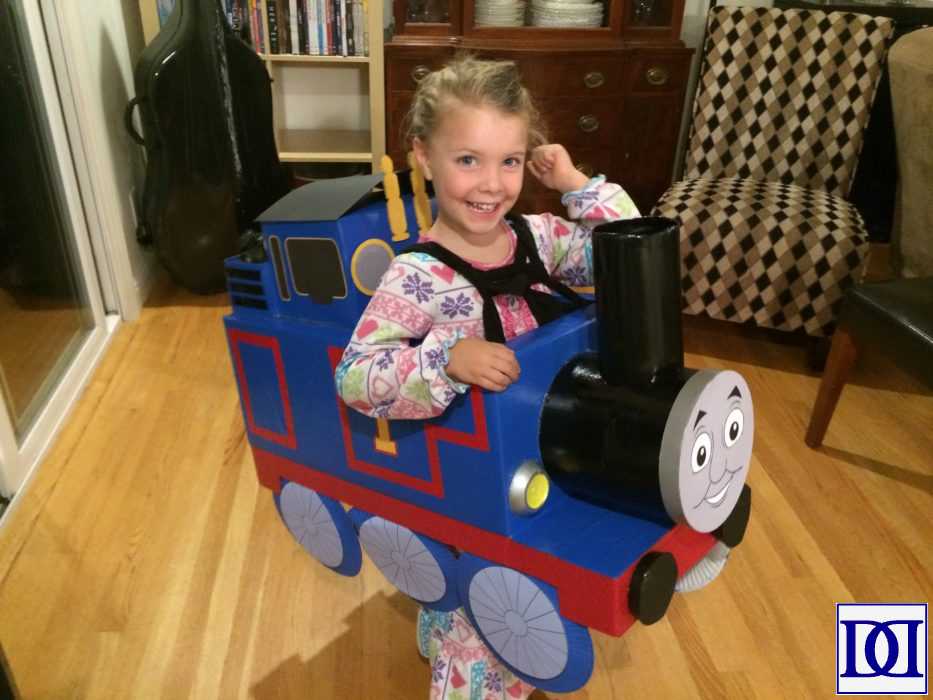
My almost-two year old is VERY interested in trains, so I wanted to see if we could make him a Thomas engine to wear for Halloween (I’ll update this post once I have some action shots from Halloween itself). After searching online, I found this simply amazing tutorial!!! I’ve updated some of the printables and added a few details myself, and here it is!!!
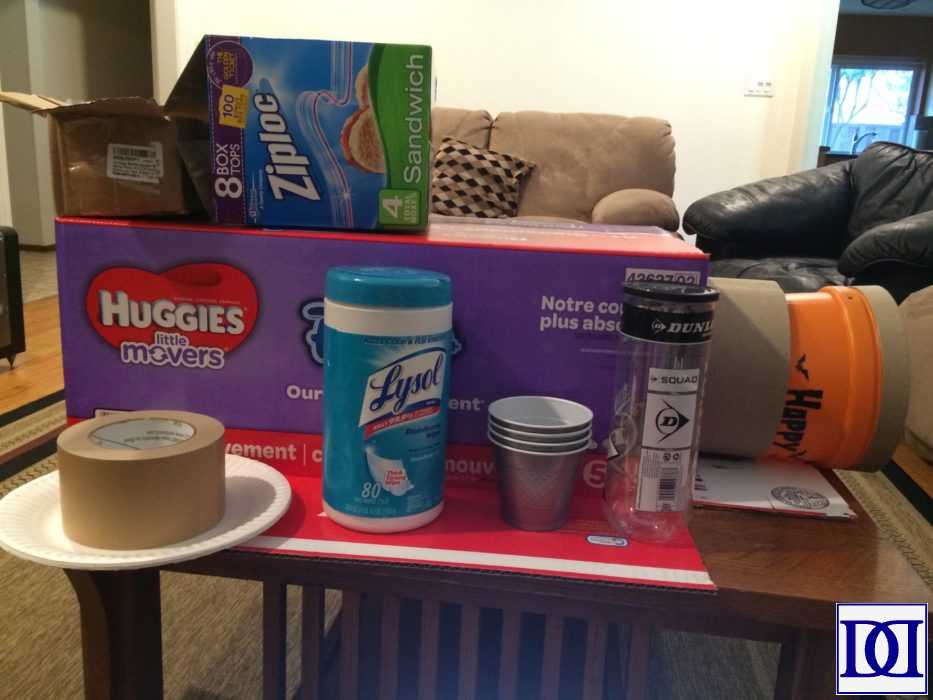
What I Used:
CONSTRUCTION
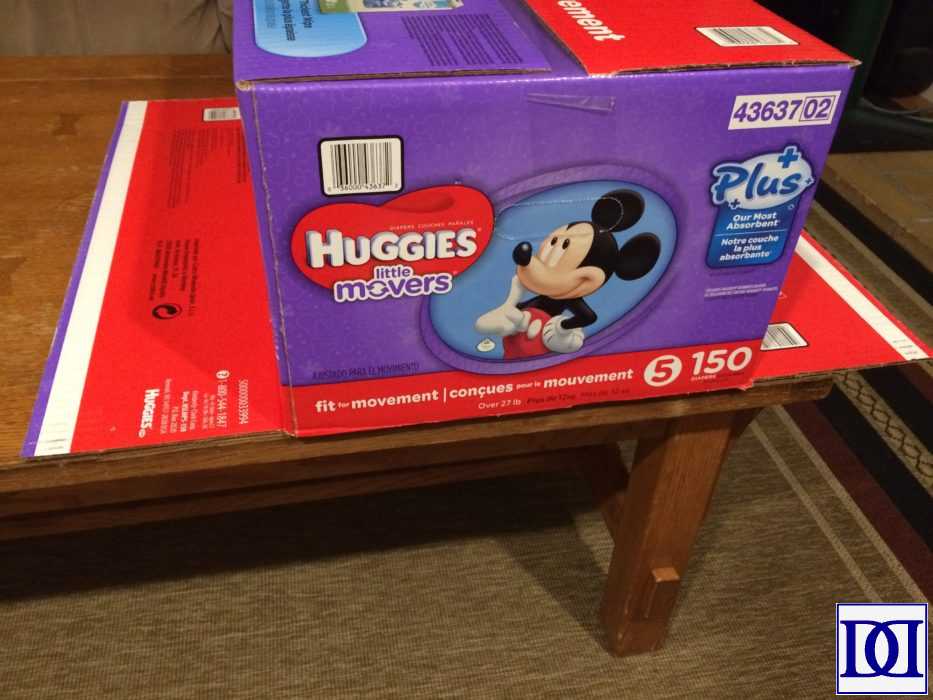
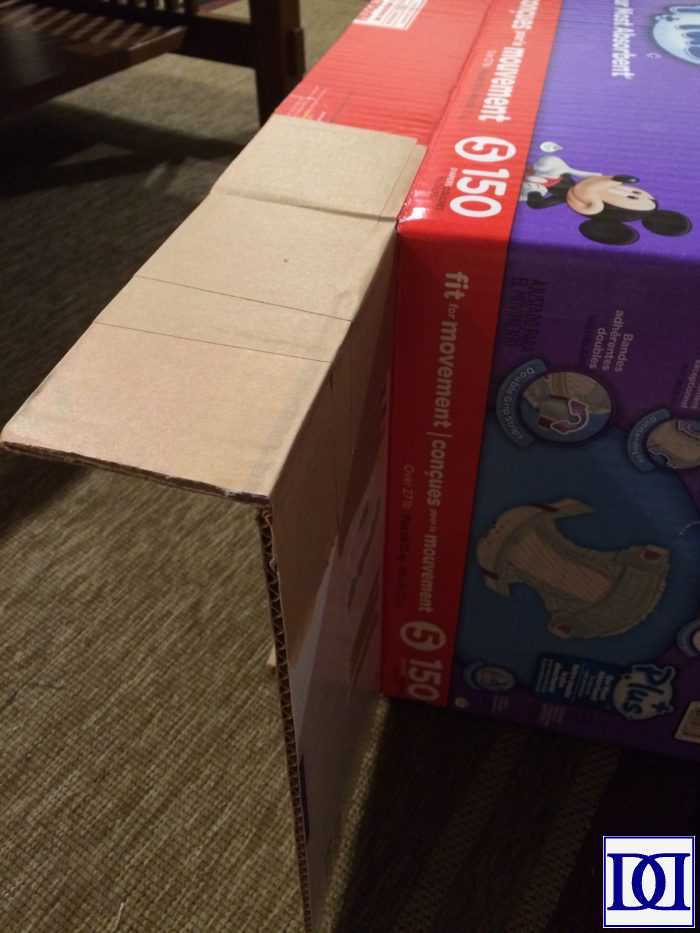
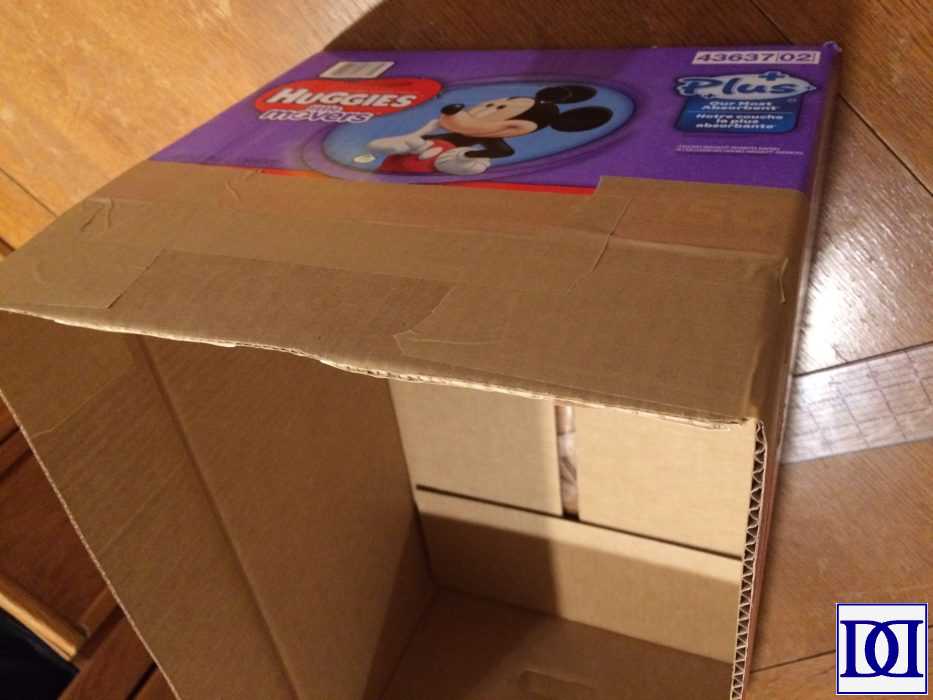
- Large box (Costco-sized Huggies diaper box)
- Medium box (Costco-sized Ziploc bag box)
- Small (Amazon box)
- Tall, medium cylinder (Lysol wipes container)
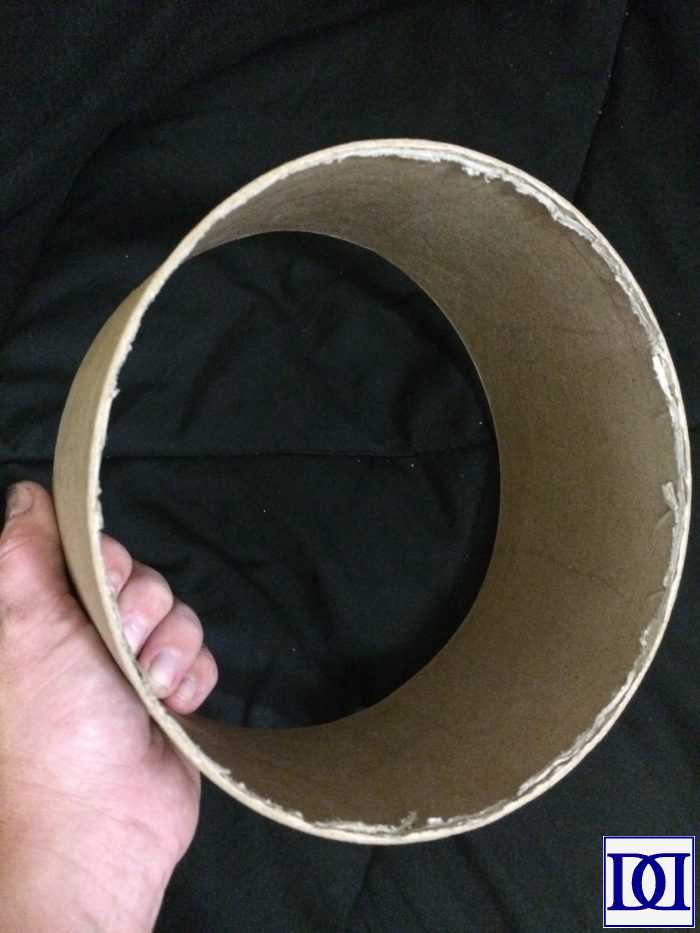
- Two short, wide cylinders (8″ x 4″ paper mache hat boxes–Hobby Lobby, JoAnn’s, Michaels, etc)
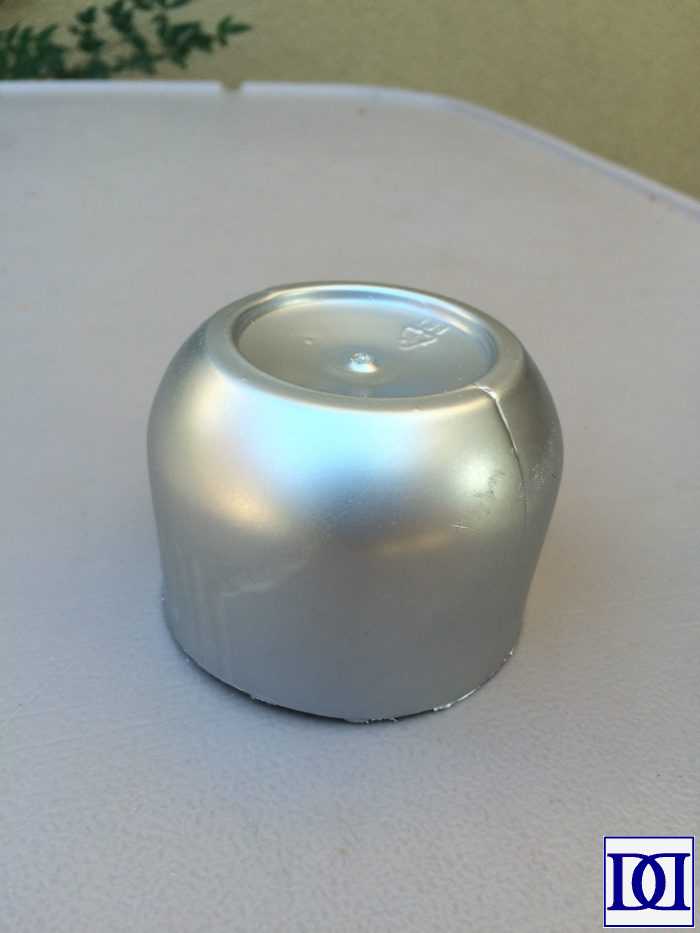
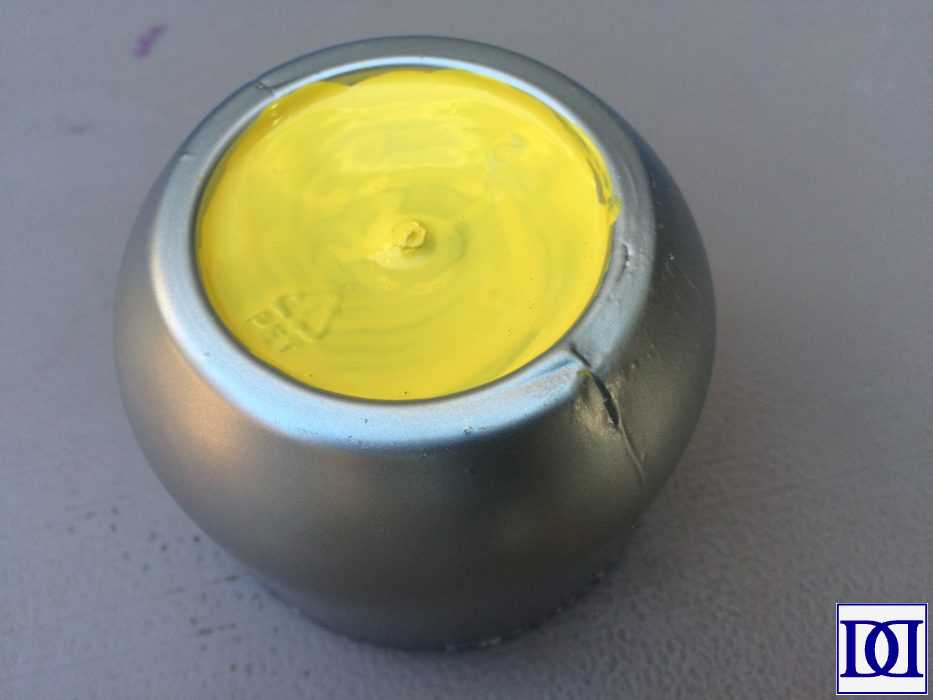
- Small cylinder with rounded end (tennis ball container)
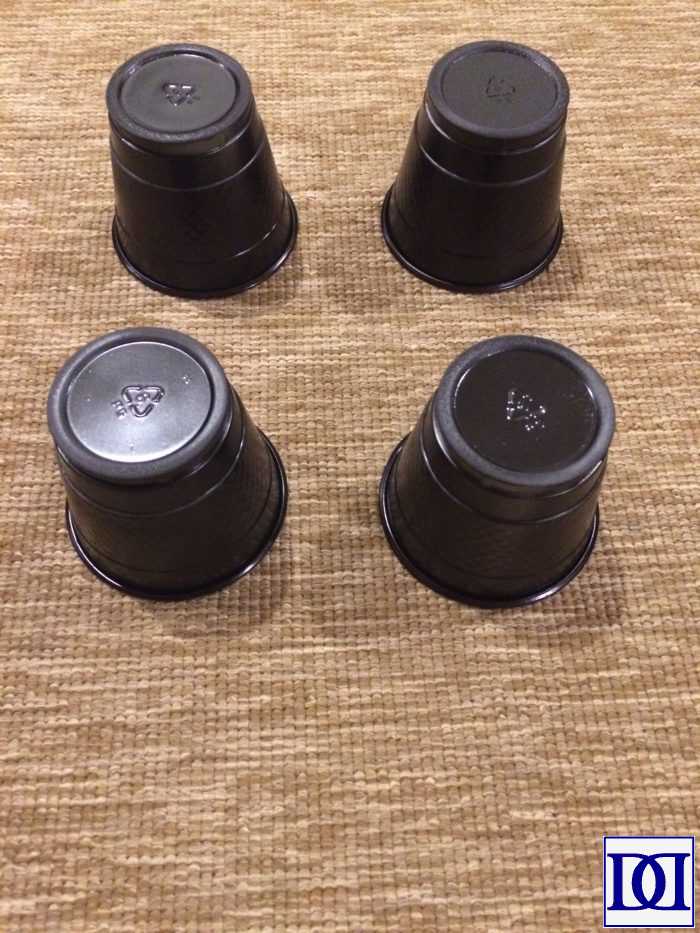
- 4 small cylinders with flat end (cocktail cups or dessert bowls)
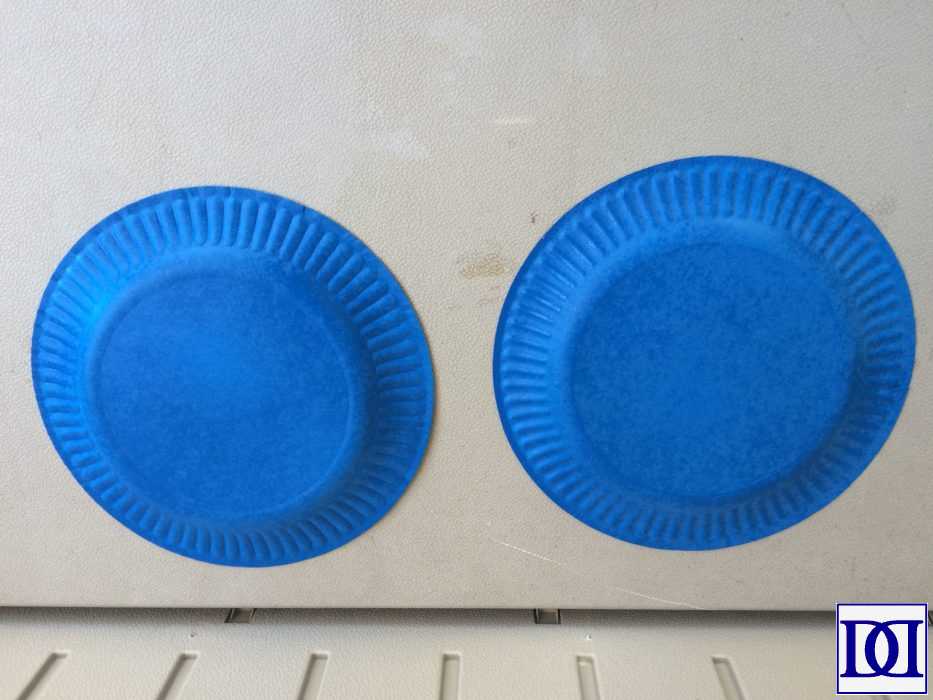
- 6 paper plates
ADHESIVES
- Ram board seam tape
- Hot glue
- Spray glue
- Black duct tape
PAINT/DECORATION
- Blue, black, gray, and silver spray paint
- Yellow and red paint or construction paper
- Black construction paper
- White cardstock
- Red and Black electrical tape
- Tissue paper
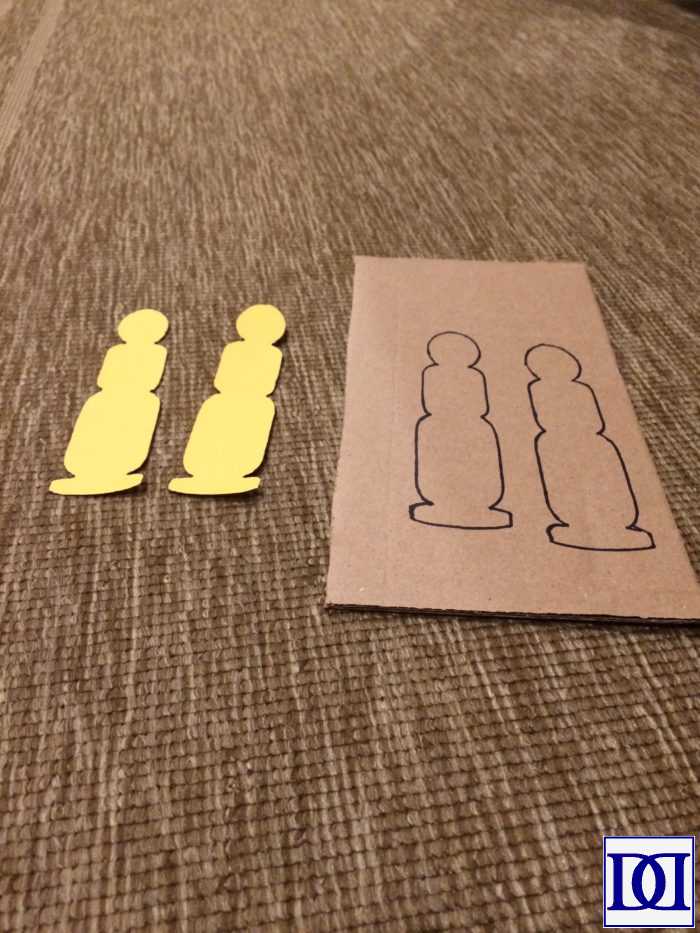
- Printables: Thomas Wheel, Thomas Face, Thomas Whistle, Thomas Windows and Number (you’ll need two copies of the Windows and Number)
STRAPS
- Scrap fabric
- Needle/thread
- 4 D-rings
PREP PIECES
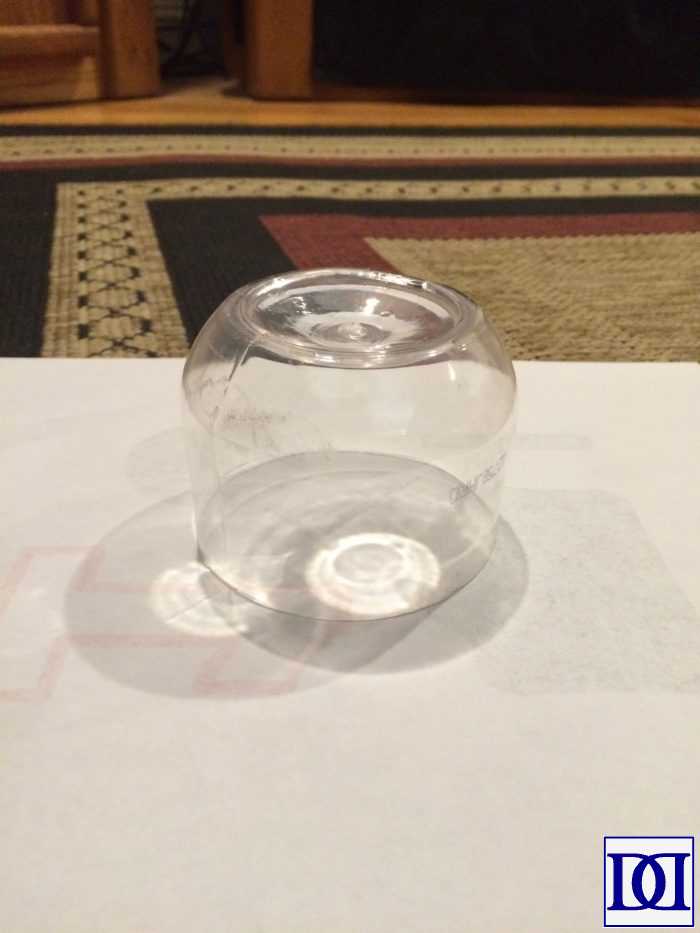
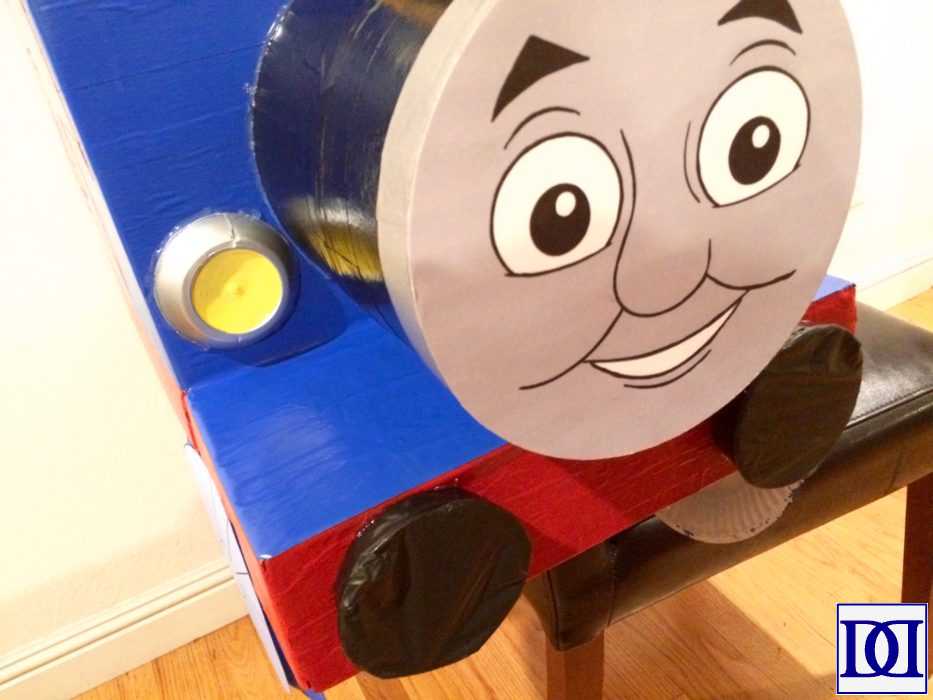
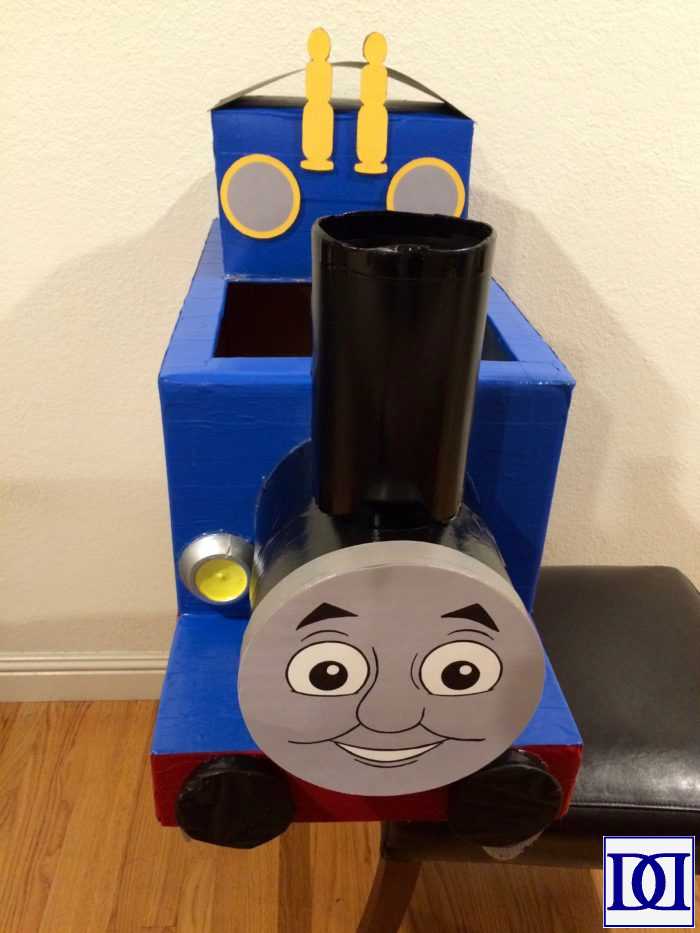
(1) Lamp. Take tennis ball canister and cut off 6″. Peel label and spray paint silver. Paint center with yellow or adhere a 1.75″ circle of yellow construction paper in the center.

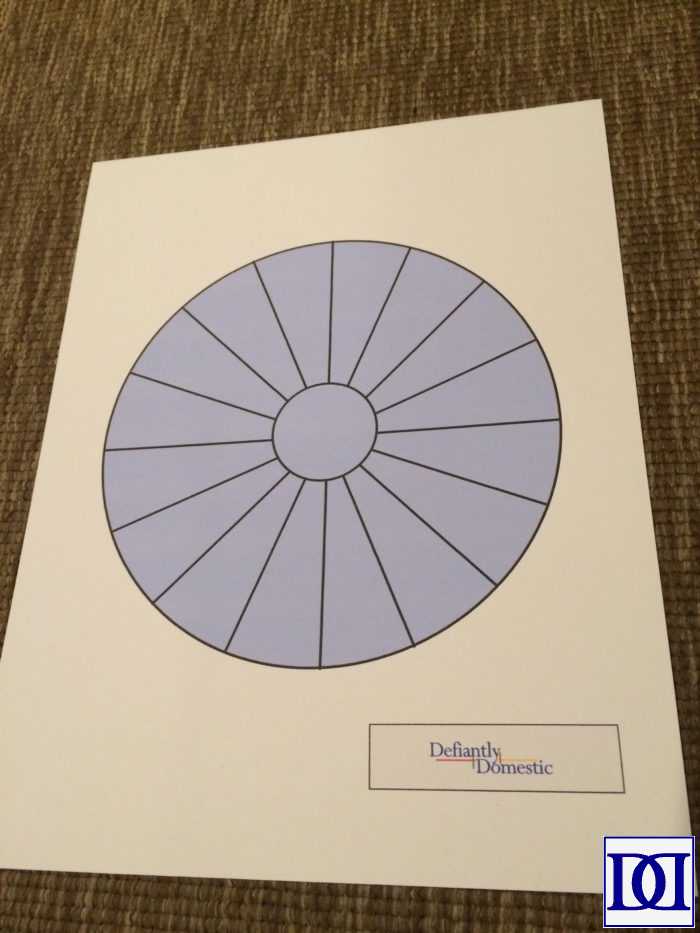
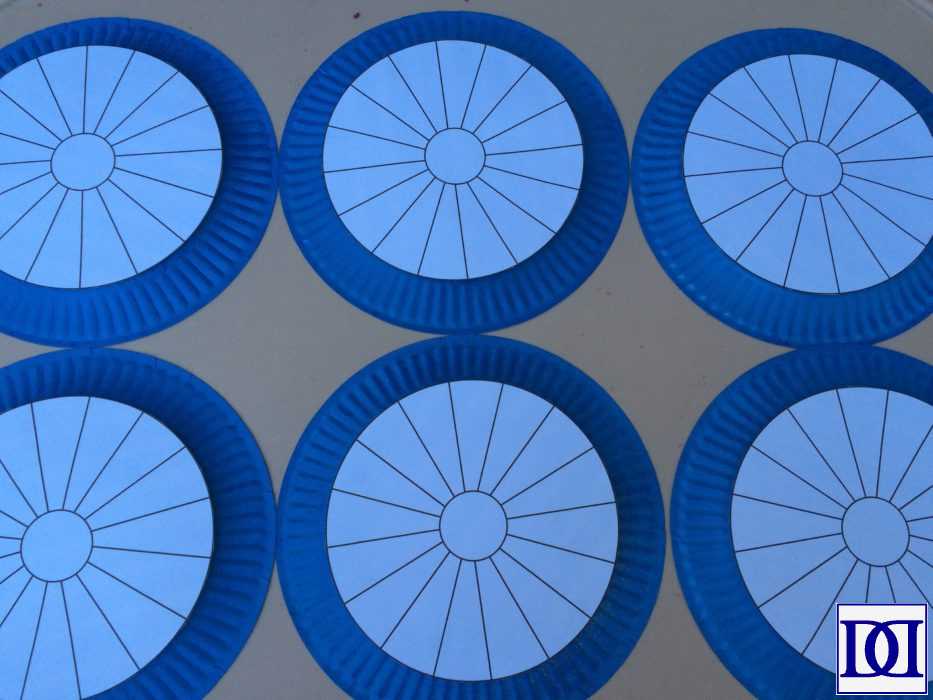
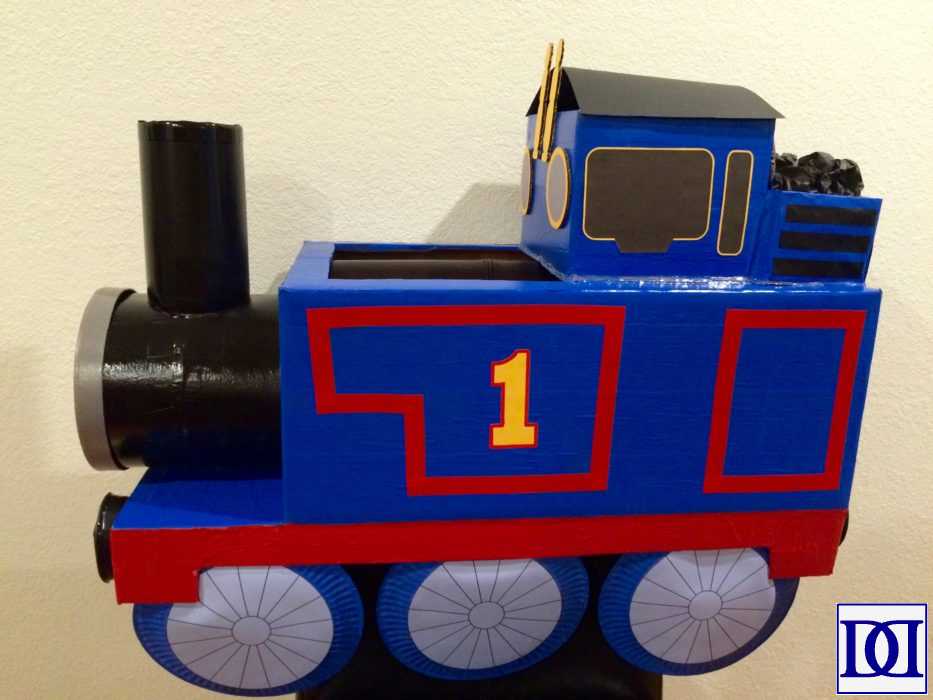
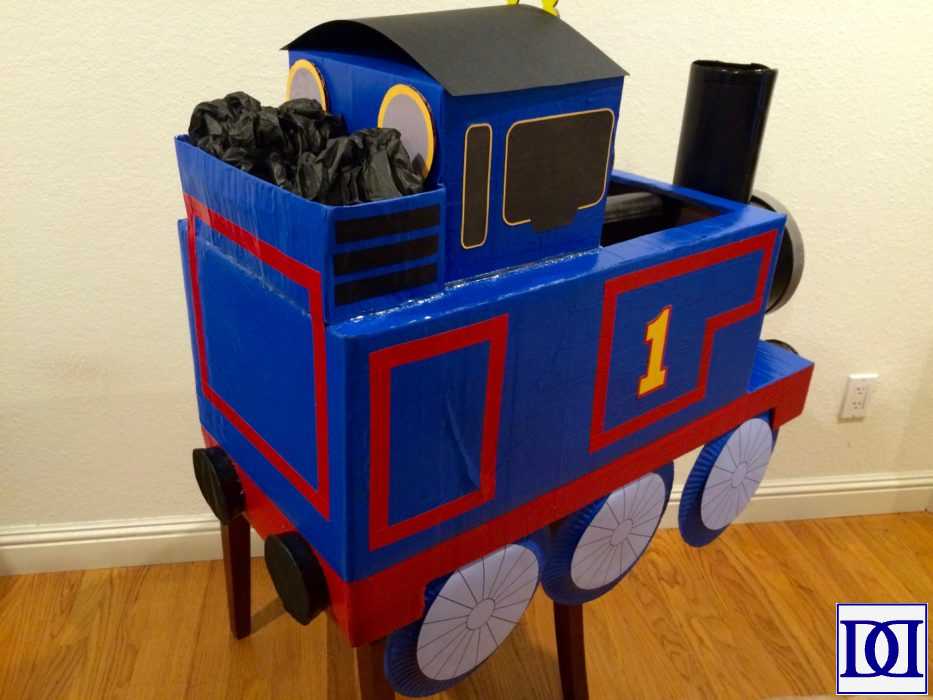
(2) Wheels. Spray paint 6 paper plates blue. Print 6 copies of Thomas Wheel onto cardstock. Cut out and adhere each to one paper plate.
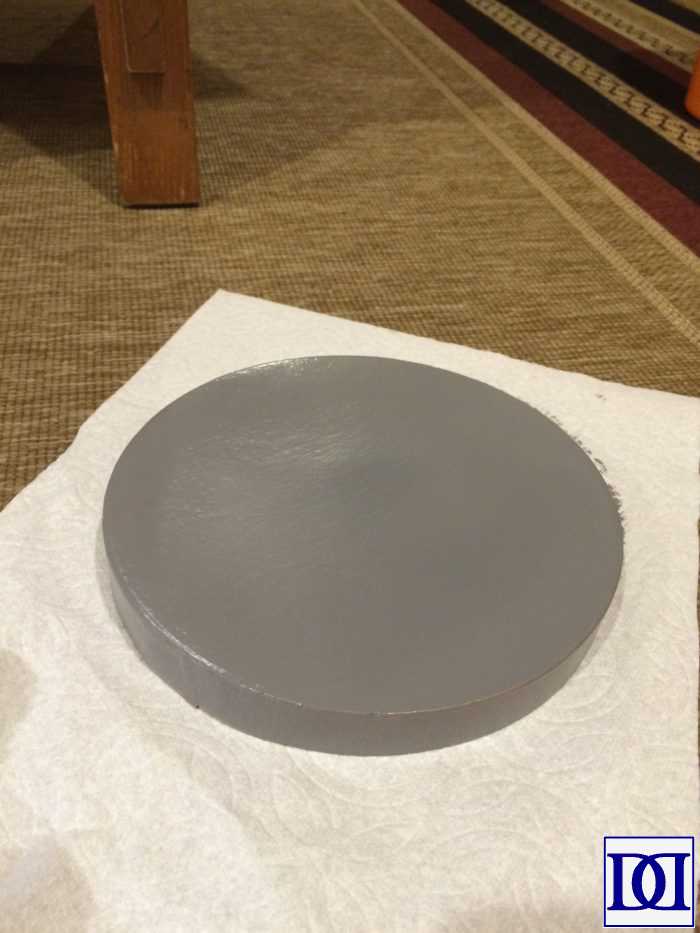
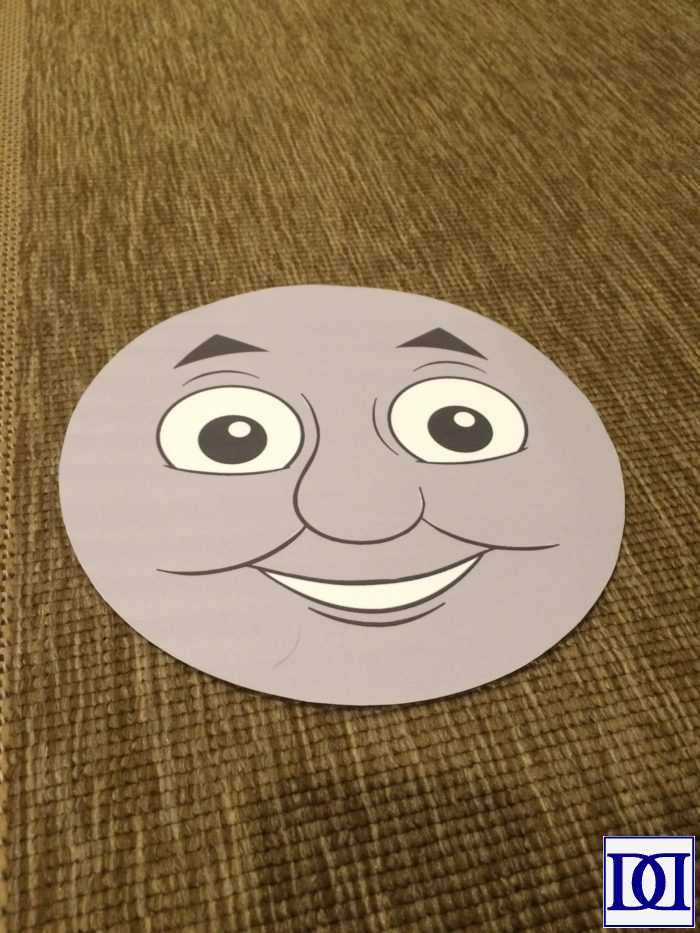
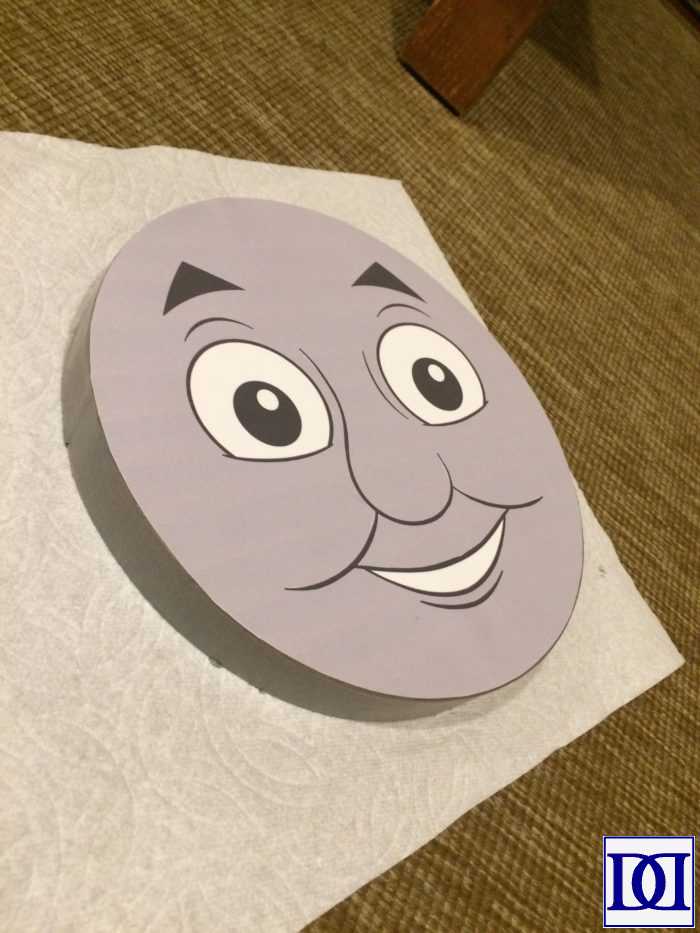
(3) Face. Spray paint hat box top gray. Print Thomas Face onto cardstock. Cut out and adhere to hat box top. Re-inforce lines with black sharpie as desired.
(4) Whistles. Print Thomas Whistle onto cardstock. Use as whistle as template to cut two basic shapes from cardboard. Paint one side of cardboard pieces yellow. Adhere whistles to non-yellow side of cardboard pieces.
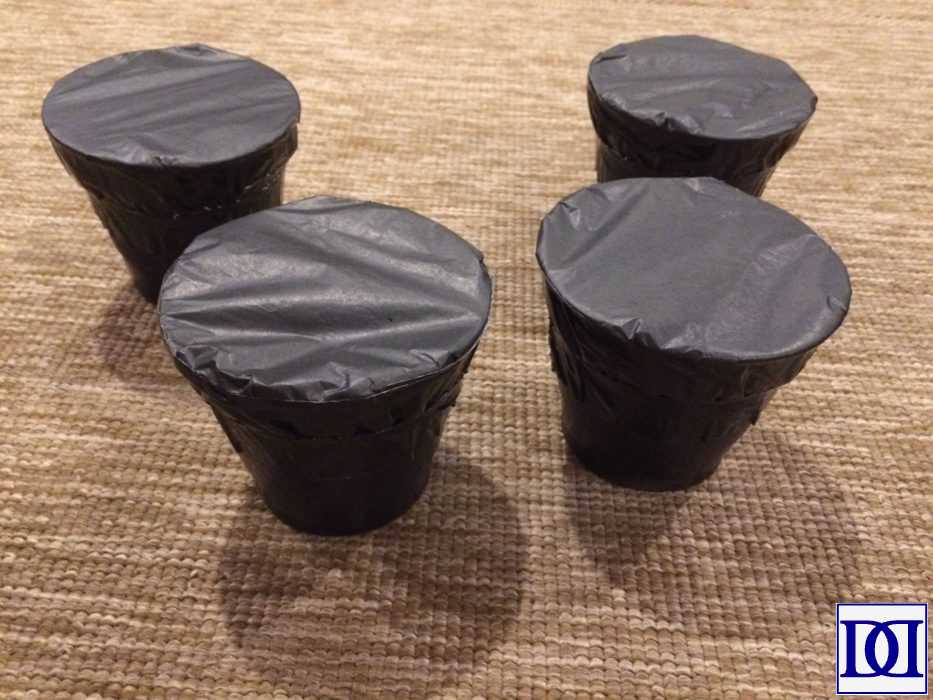
(5) Bumpers. Spray paint cups black. Cover openings of cups with black tissue paper, securing around with black electrical tape.
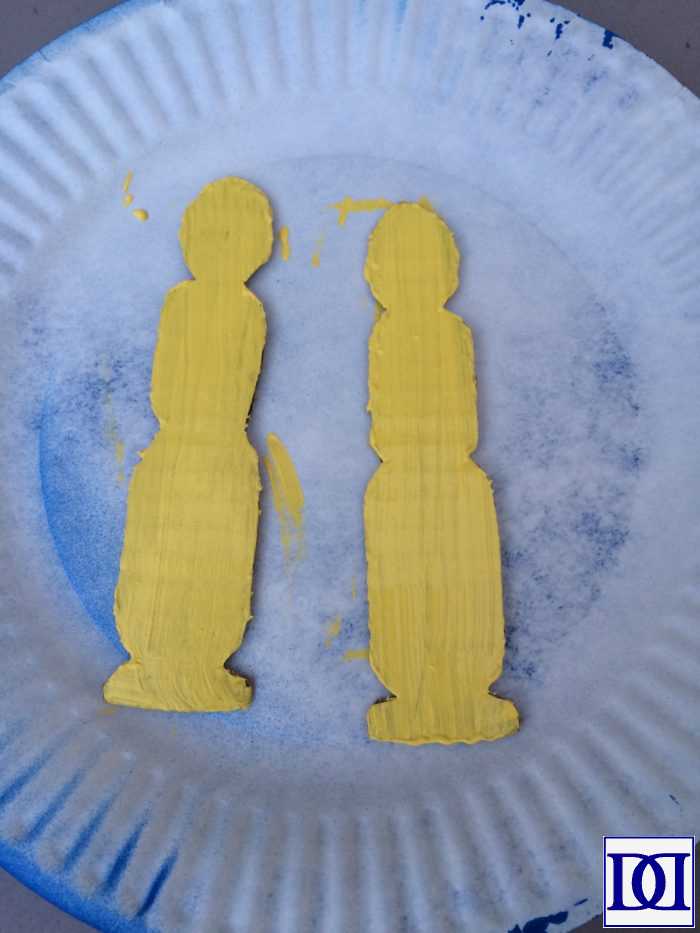
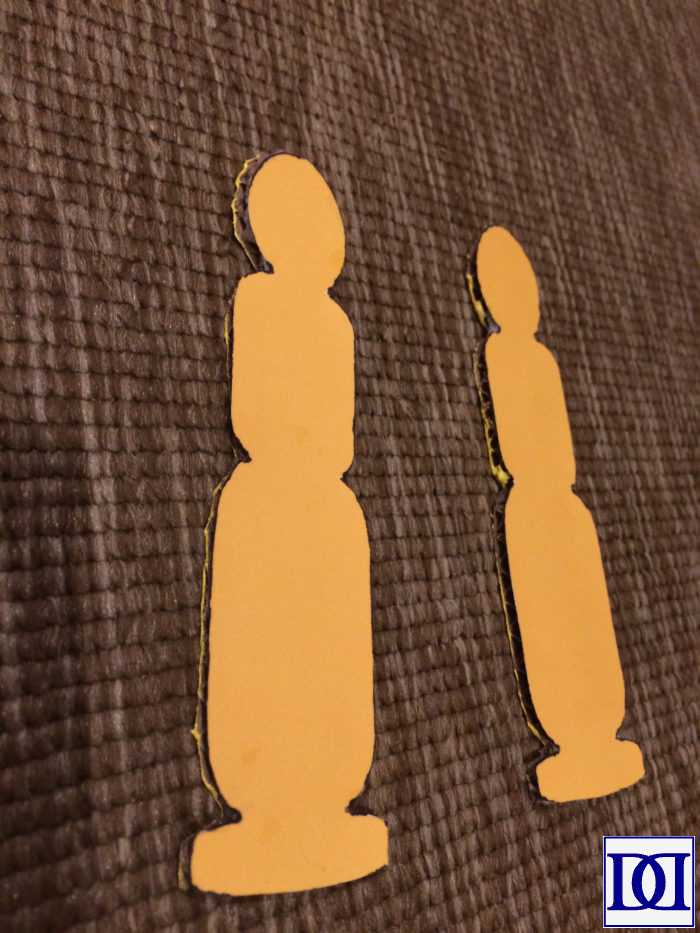
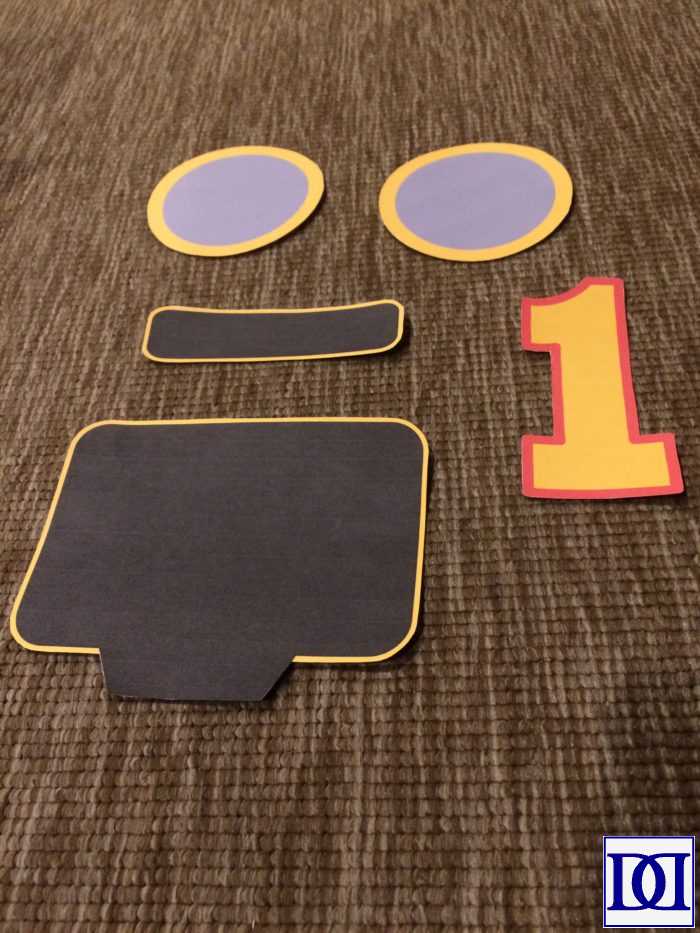
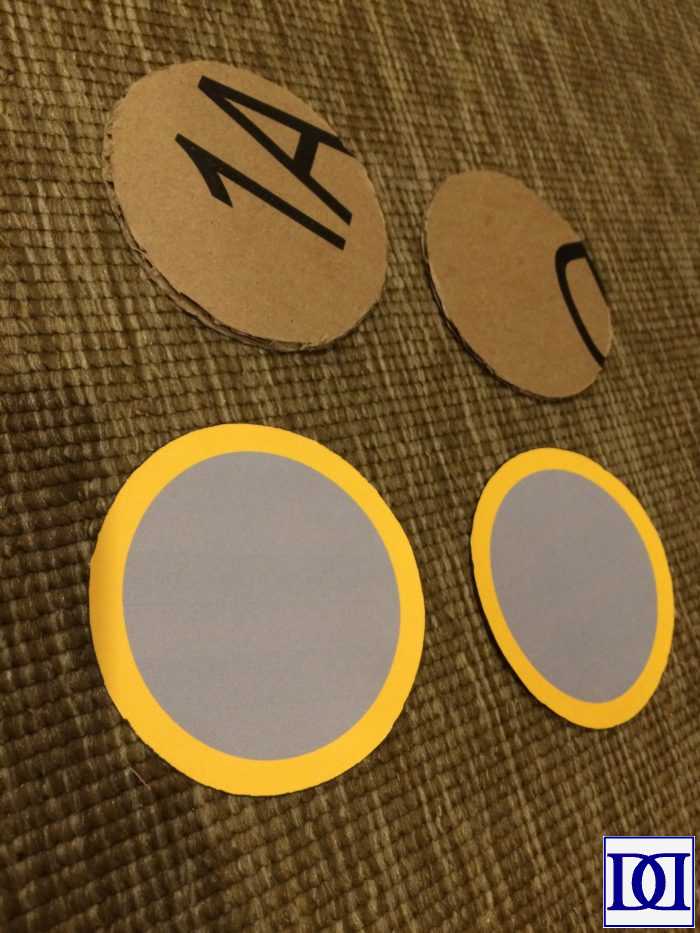
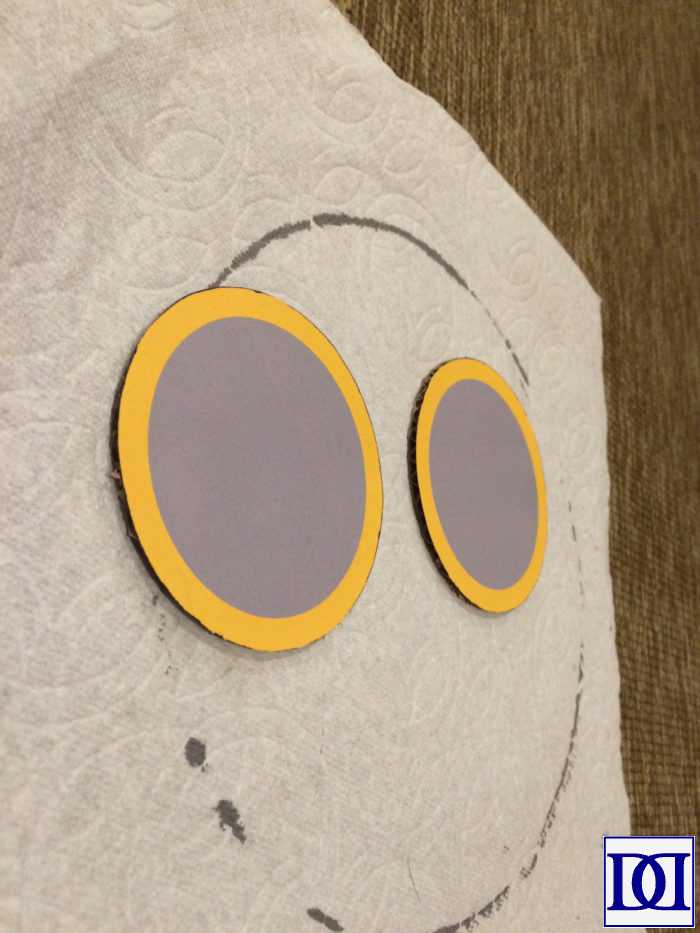
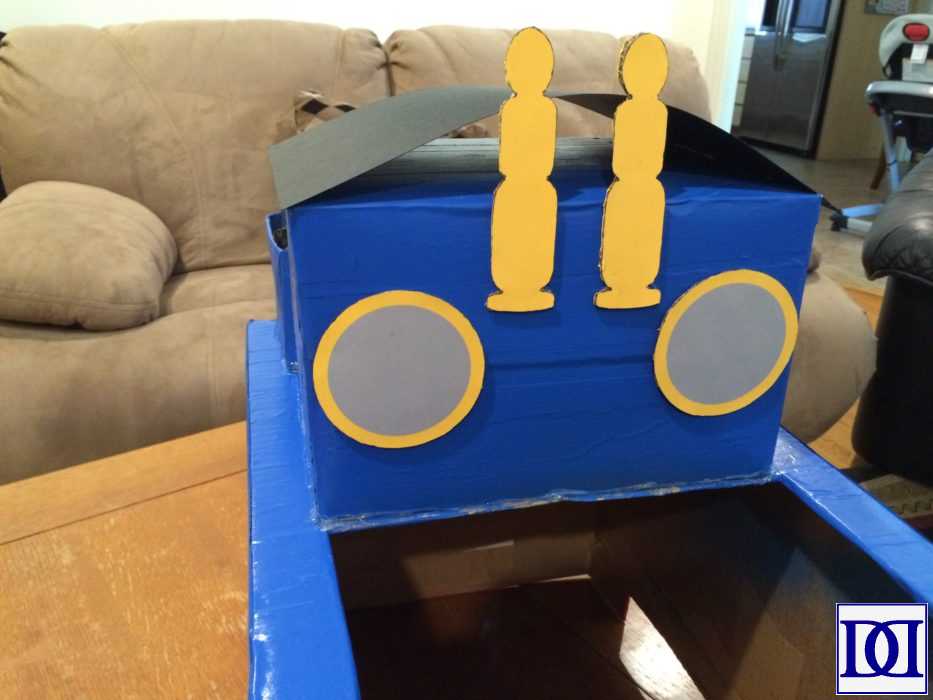
(6) Additional accents. Print TWO copies of Thomas Windows and Number on cardstock. Reinforce gray/yellow windows with cardboard.
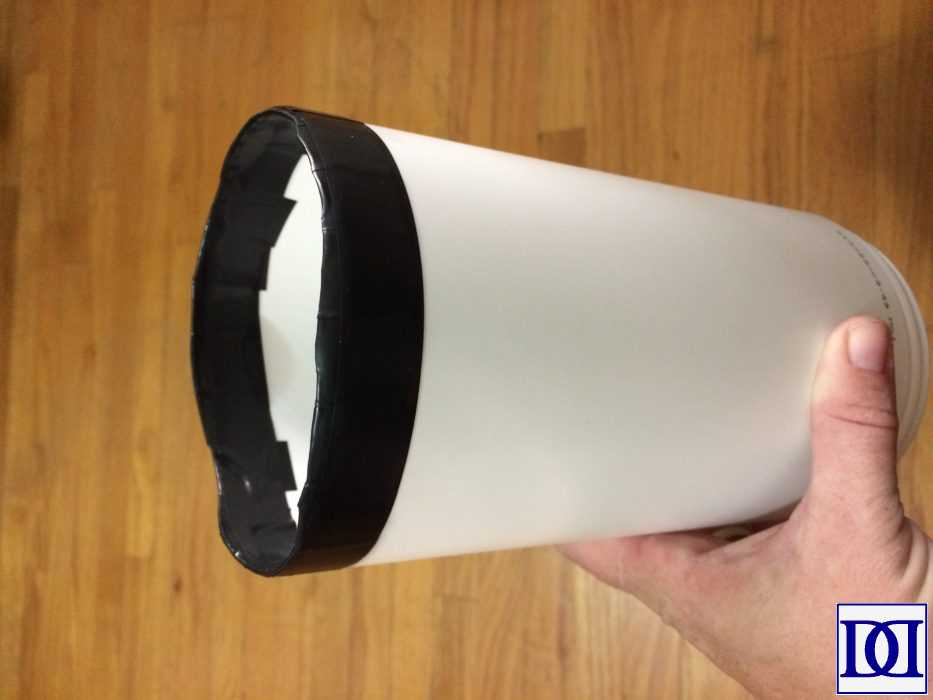
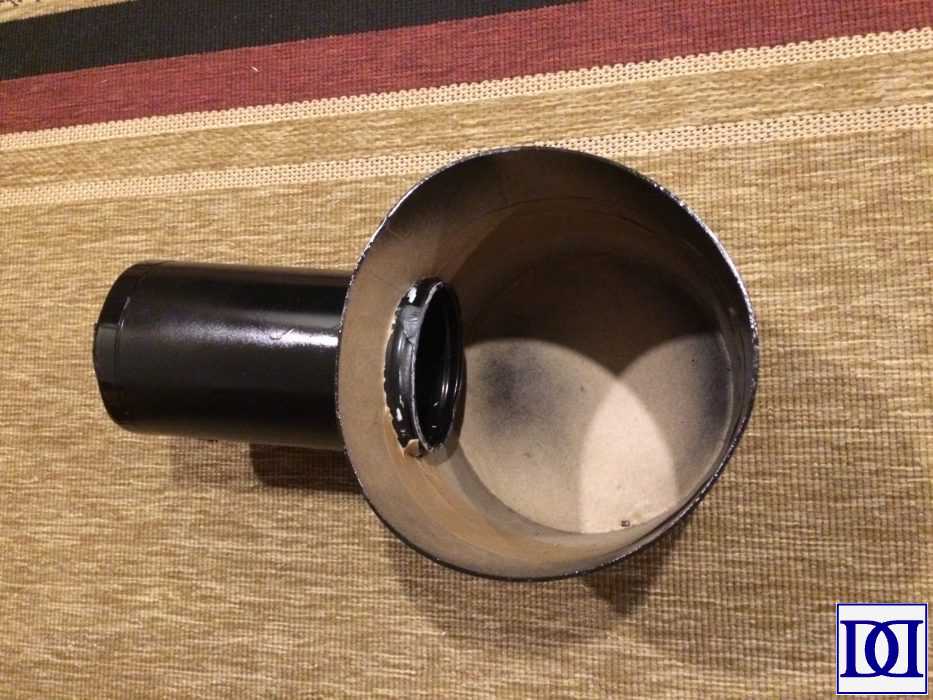
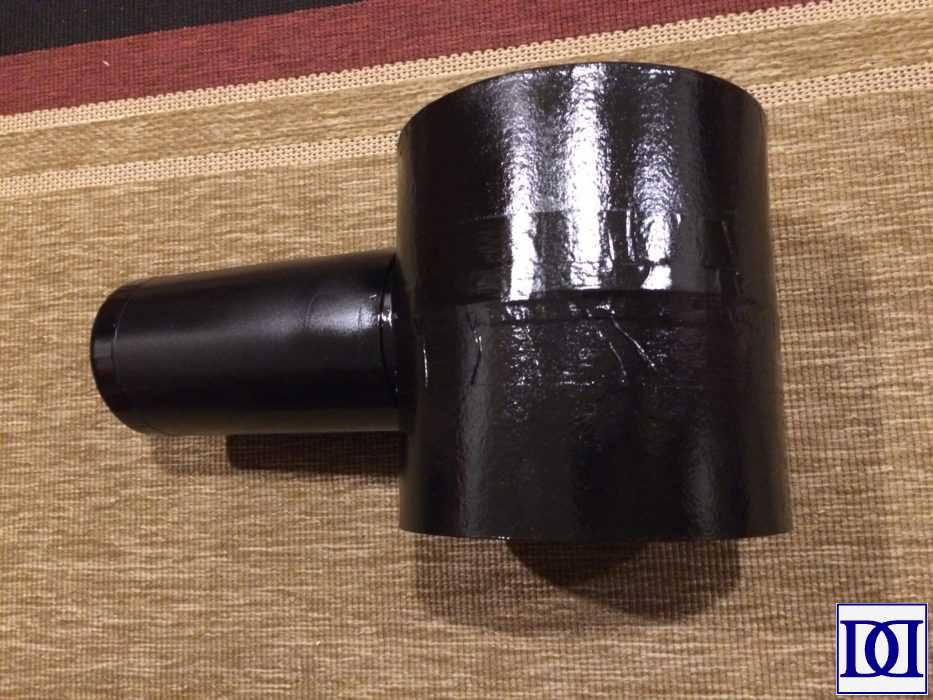
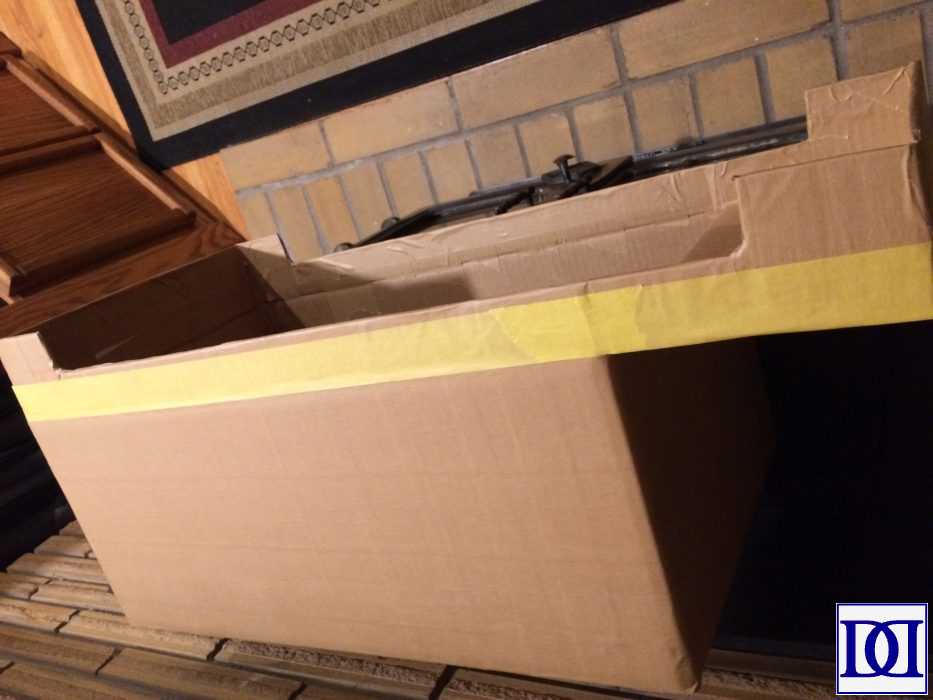
(7) Smoke stack and neck. Remove label and top from Lysol container, and cut the bottom off of the cylinder. Since the edges of my cylinder were a bit sharp, I used black electrical tape to smooth them. Spray paint Lysol piece black inside and out. Take the bottoms off of one of the hat boxes. Tape hat boxes together. Planning for open end to be Thomas’s face, mark where you’d like the smoke stack to go. Cut out opening for smoke stack and insert smoke stack. Spray paint combined neck and smoke stack black.


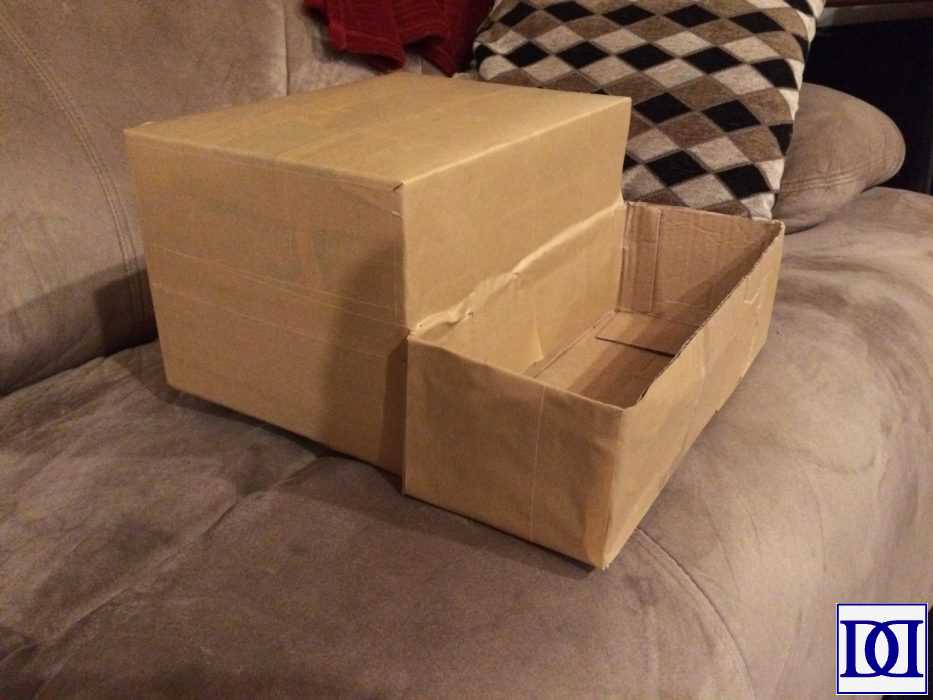
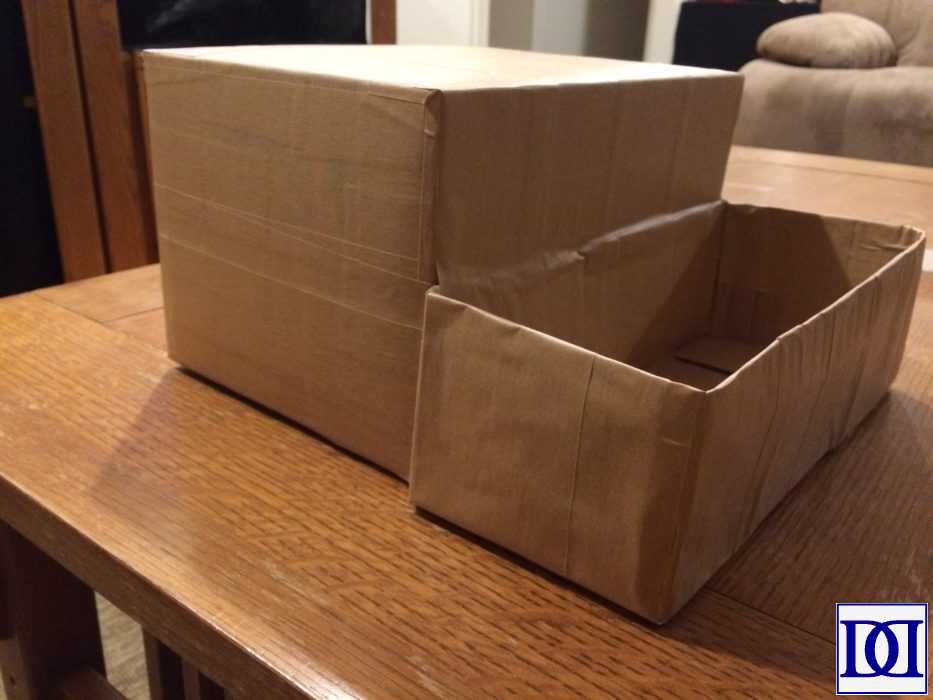
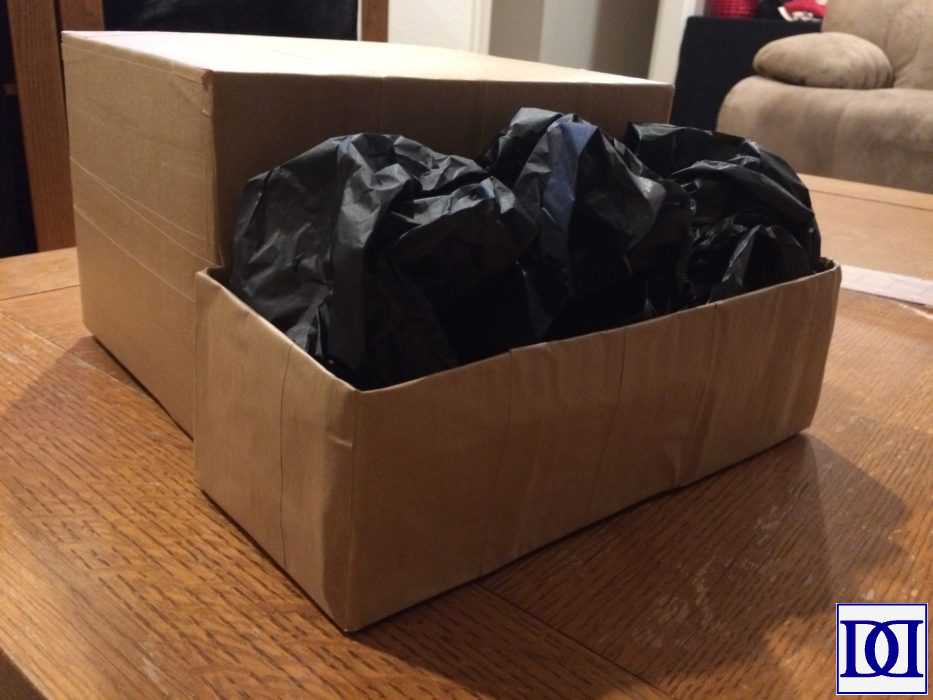
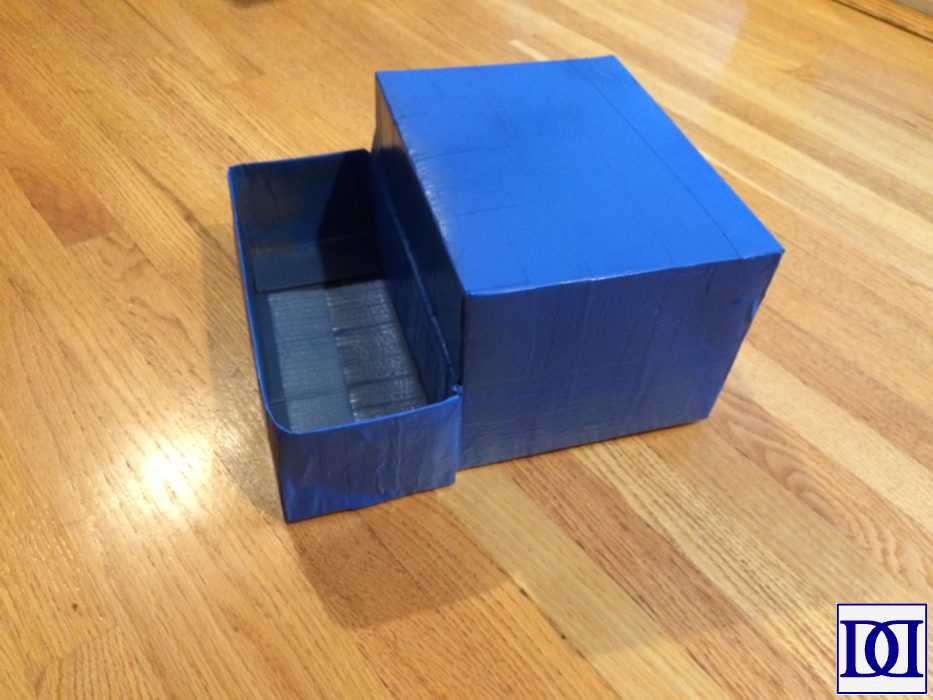
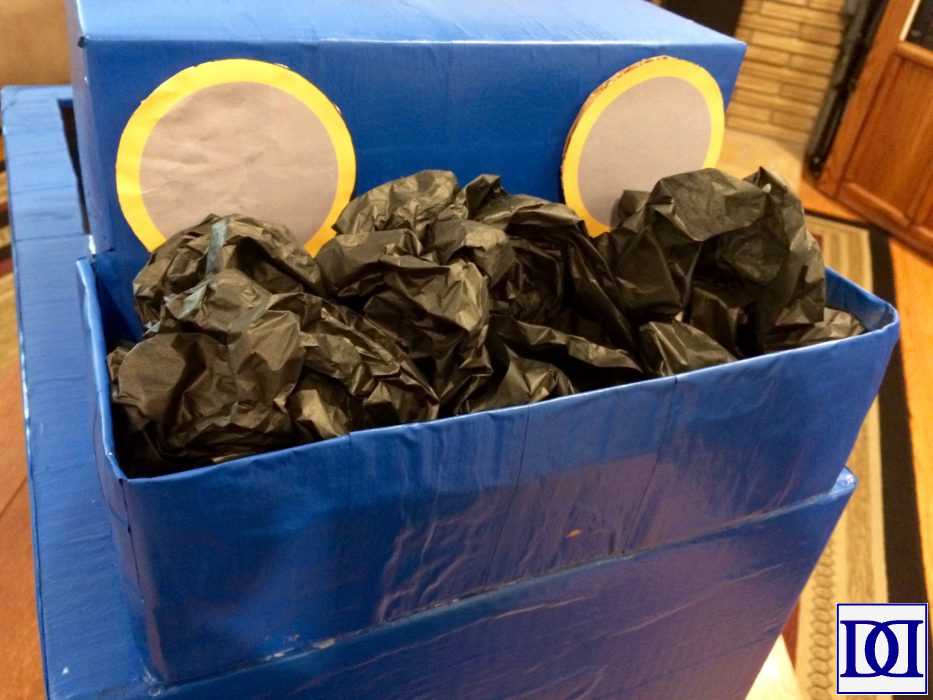
(8) Cab and coal holder. Connect two smaller boxes to create the basic shape. Cut open the top of the smaller piece (for coal). Crinkle black tissue paper and place in smaller piece (you will remove this before spray painting the entire Thomas shape blue, see below). Cut one piece of 12×12 black construction paper down to the width of the “cab section.” Leave the construction paper as long as possible until you attach after painting (see below).
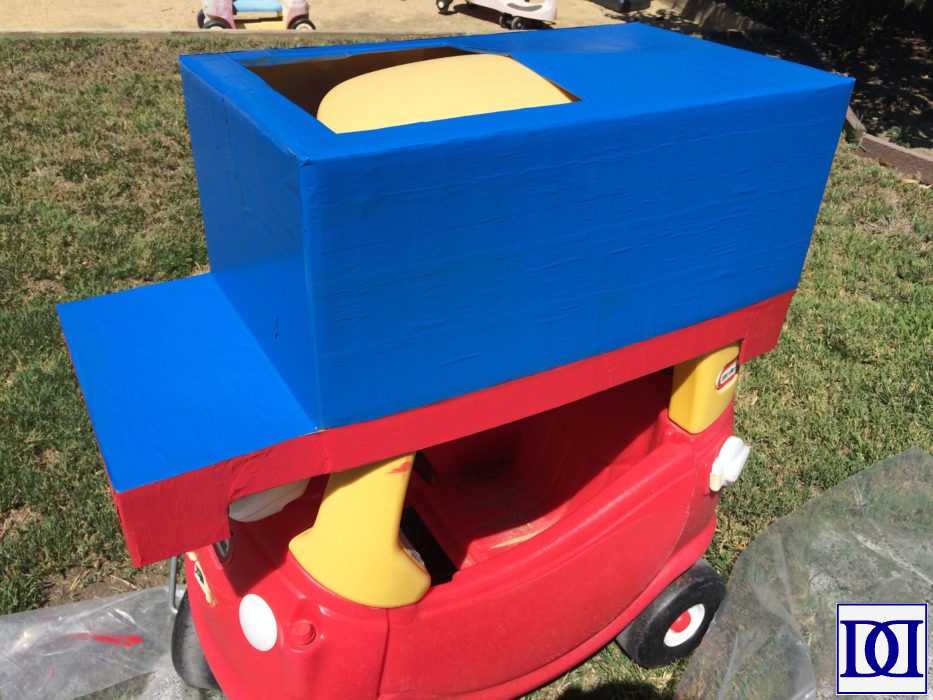
CONSTRUCTING THOMAS
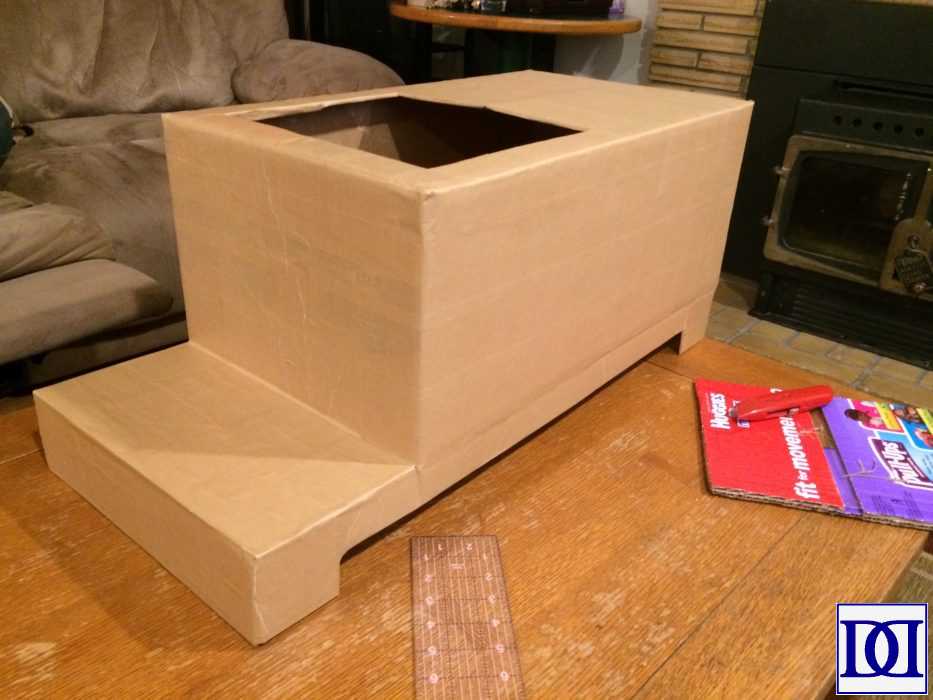
(1) Cut off one short end of diaper box and cut separated end in half.
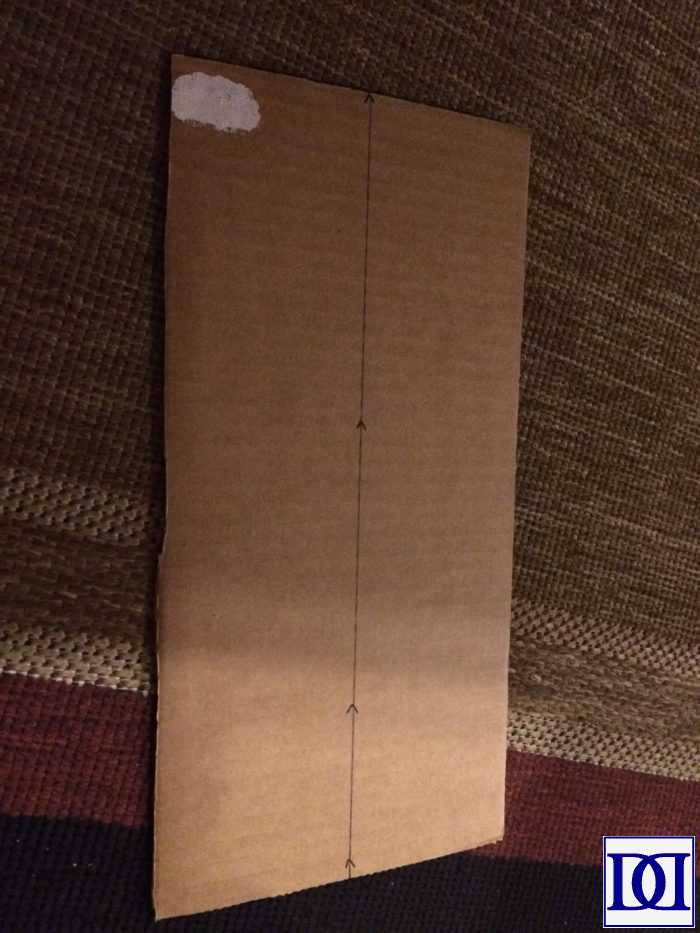
(2) Cut sides in half, retaining separated side halves for next steps.
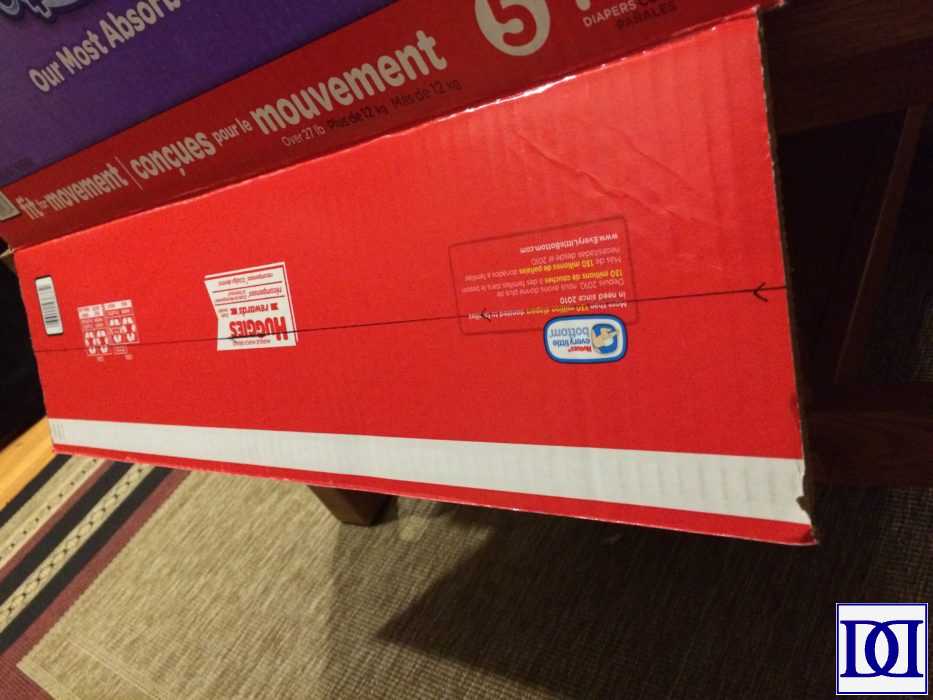
(3) Attach separated side half to remaining side half in the front. Cut down to the length of the extended end flap. Repeat on both sides.
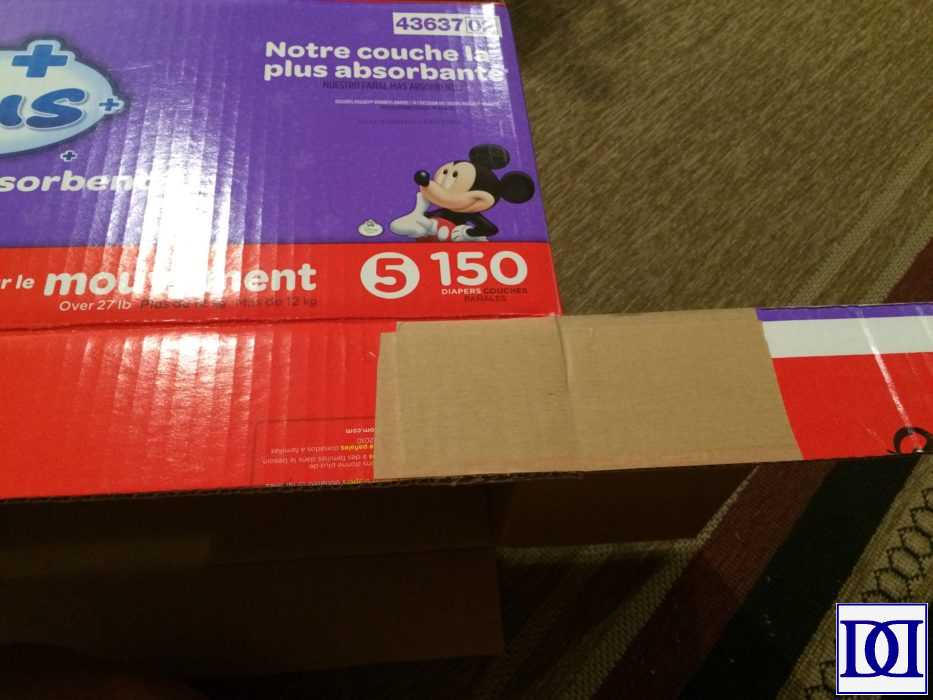
(4) Attach one separated half edge to the front extended flap and side edges, creating a shelf. Attach second separated half edge to the back and side edges, elongating the back.
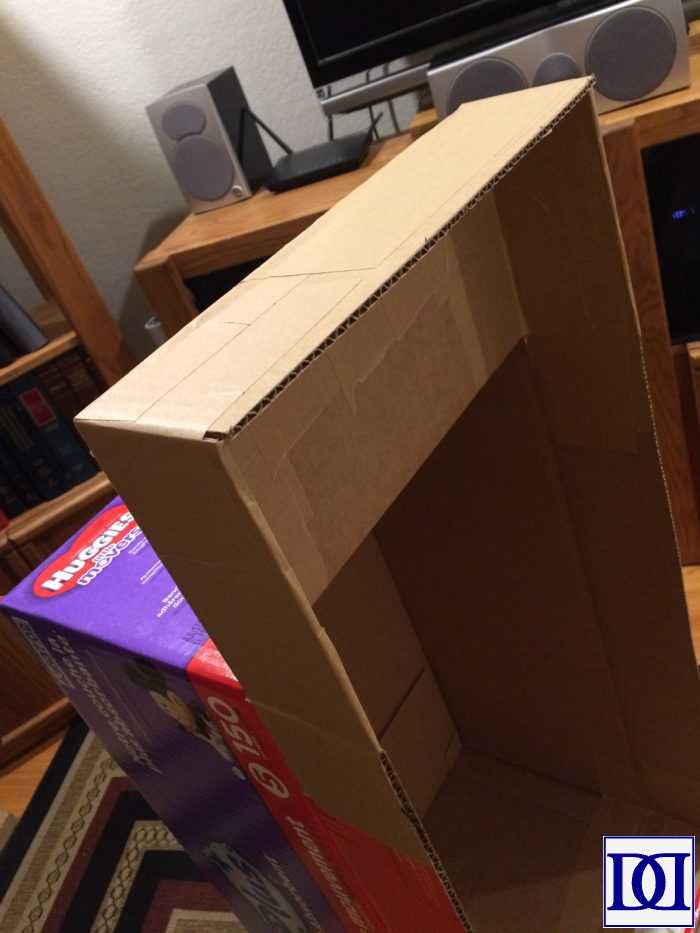
(5) Cut out track for wheels and hole for inhabitant (mark the placement of your cab/coal holder piece before you cut).

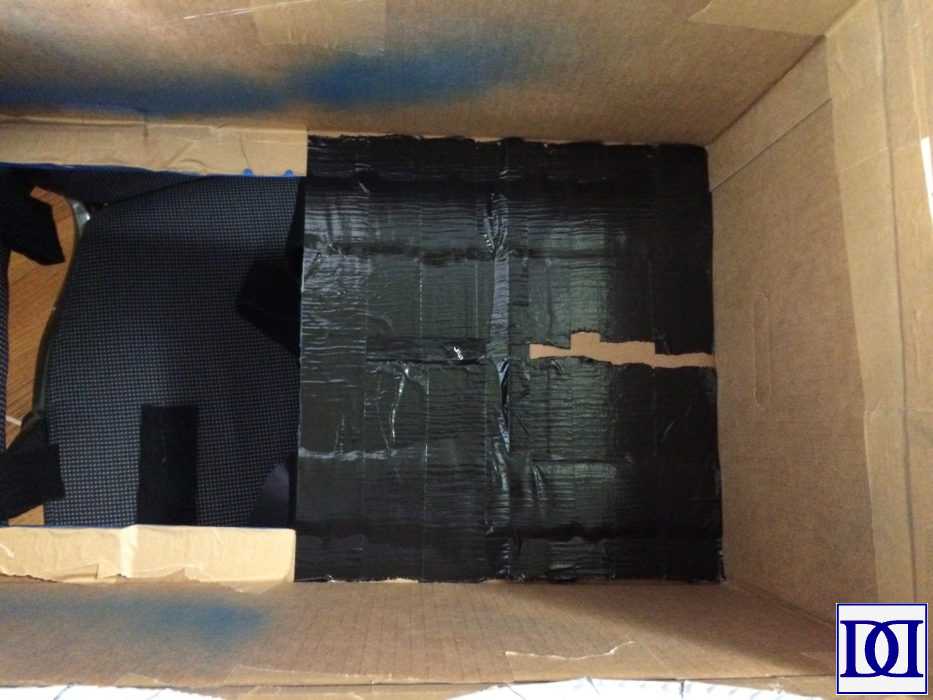
(6) Cover Thomas body in Ram board seam tape (or something similar).
DECORATING
(1) Use painter’s tape to mark off Thomas wheel track.
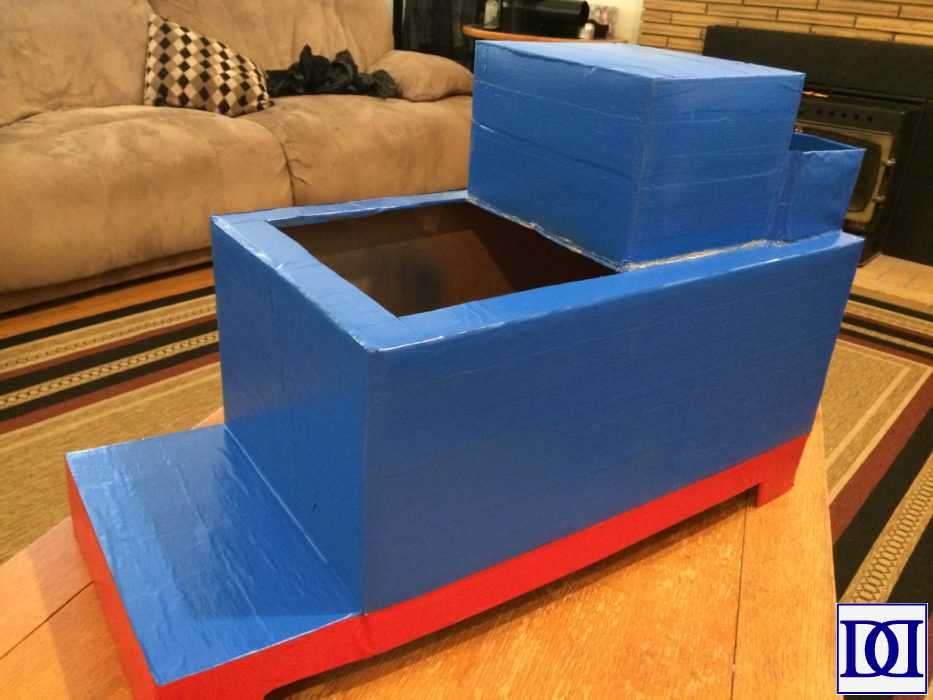
(2) Paint Thomas body blue. Since I wasn’t able to find a cab/coal holder piece that was flush to the main Thomas body, I decided to paint this piece separately.
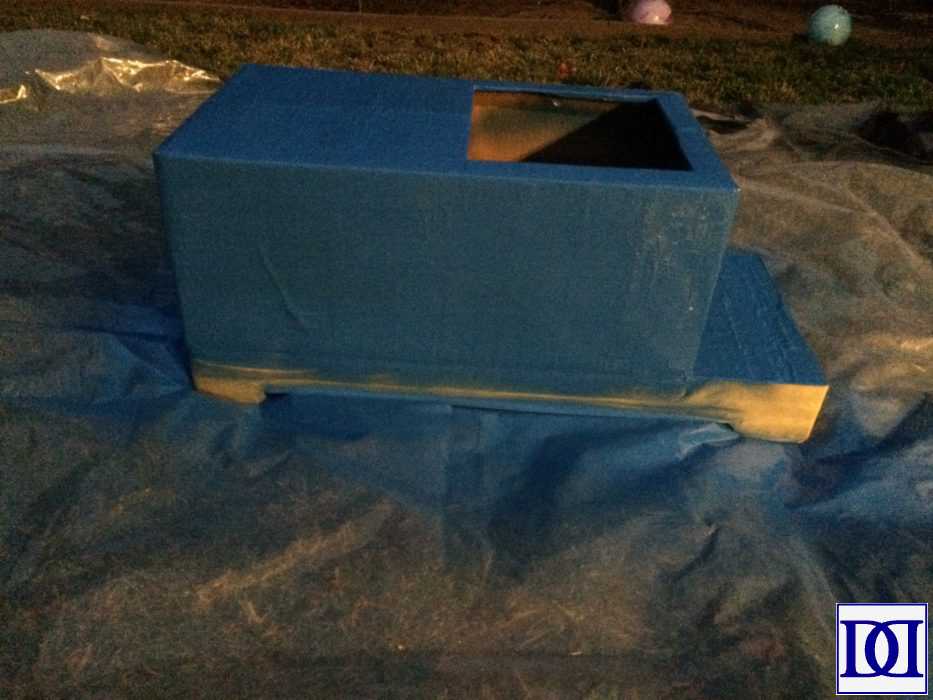
(3) Remove painter’s tape. Re-tape above wheel track (on dried blue paint), and paint track red.

(4) Hot glue/adhere pieces to Thomas body where required.

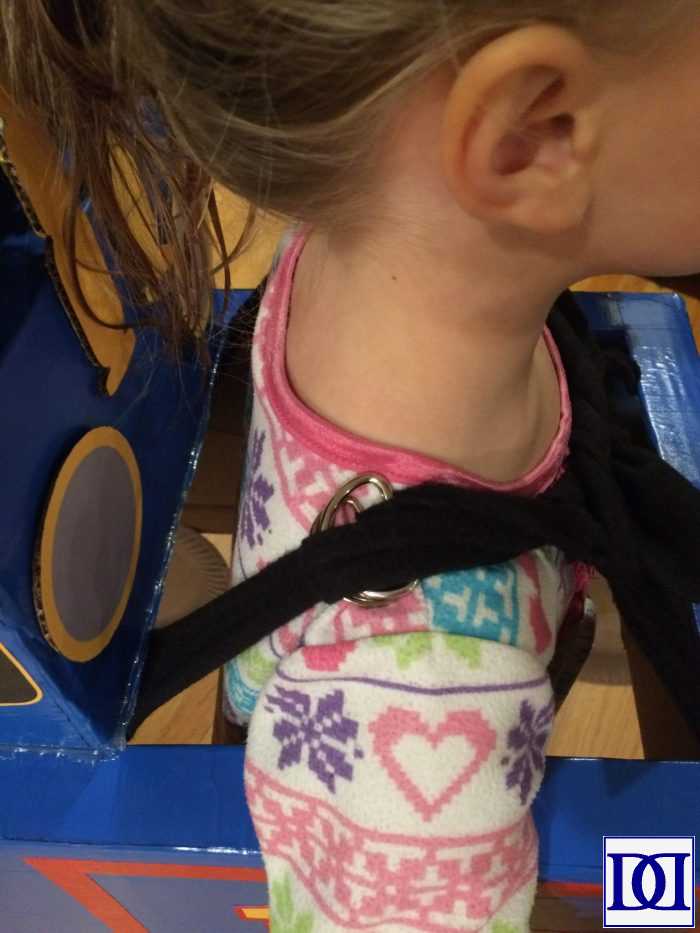
STRAPS
Something that will help keep Thomas level when worn as a costume is to determine where the balance point is. Put your fingers in the main opening on either side and try to balance the costume on your fingers. Where the costume naturally balances is where you want the majority of the weight distributed on your child and will help you determine how to proceed with the next steps. My instructions here are for where my balance point was.
(1) Using your scrap fabric, cut two shorter strips and two longer strips (mine are 14″ and 34″ respectively). The length will depend on your child’s size, the size of Thomas, and the size of your scrap fabric (mine was 34″ long).
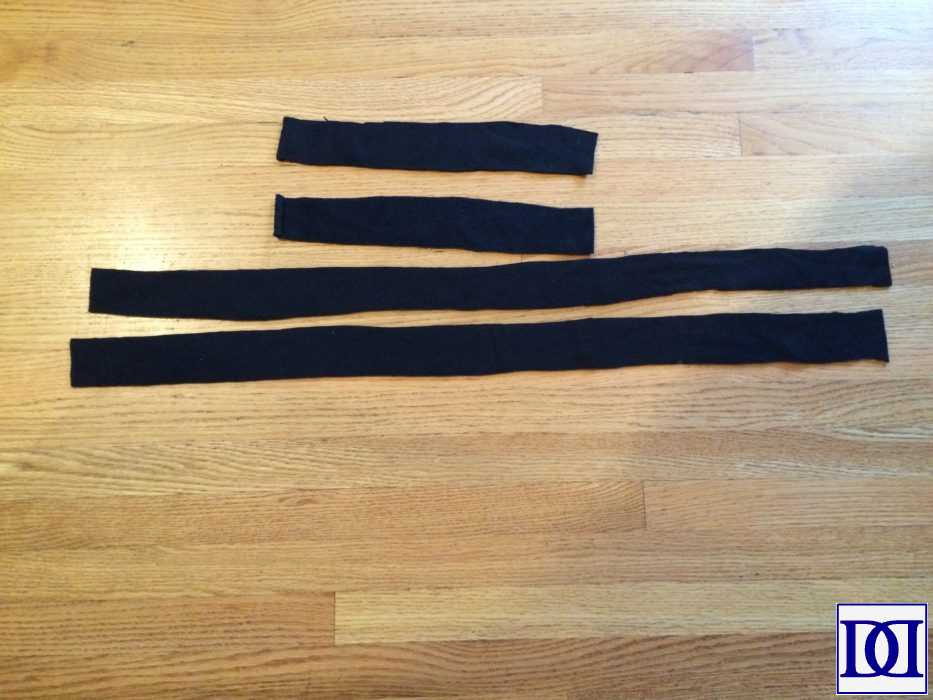
(2) Sew shorter strips in half, placing D-rings in loop of shorter strips before sewing. Sew closely to D-rings to secure.
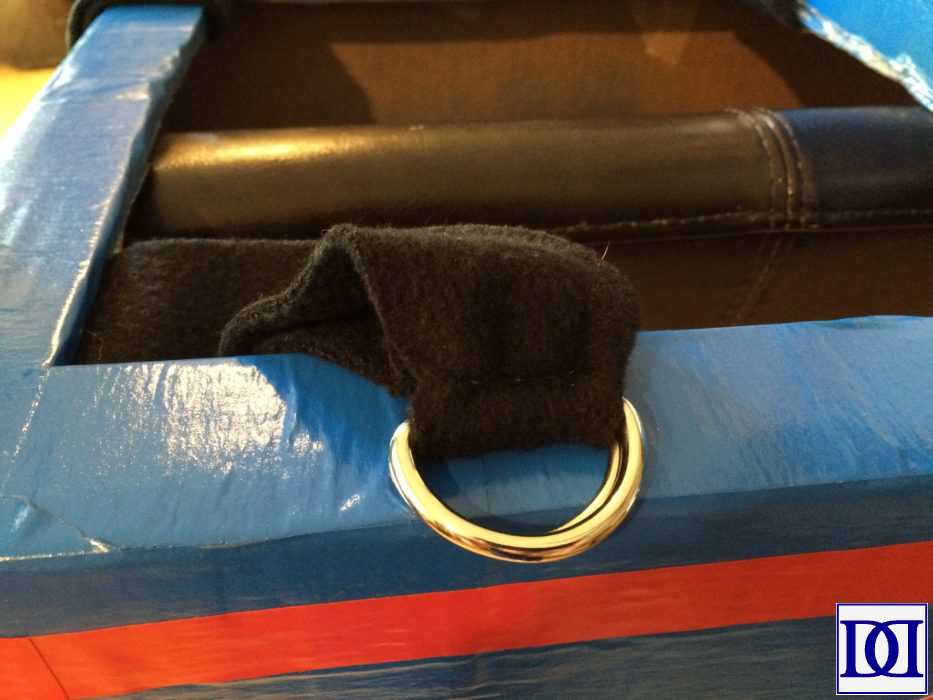
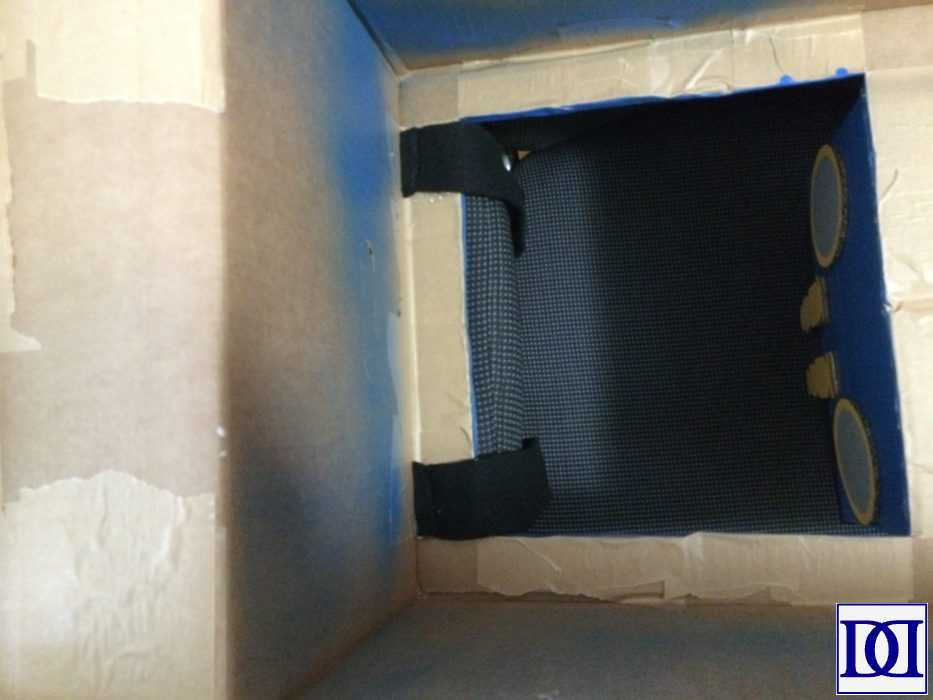
(3) Hot glue shorter strips at the front of Thomas. Hot glue longer straps as far back on Thomas as you can. If desired, reinforce with duct tape.

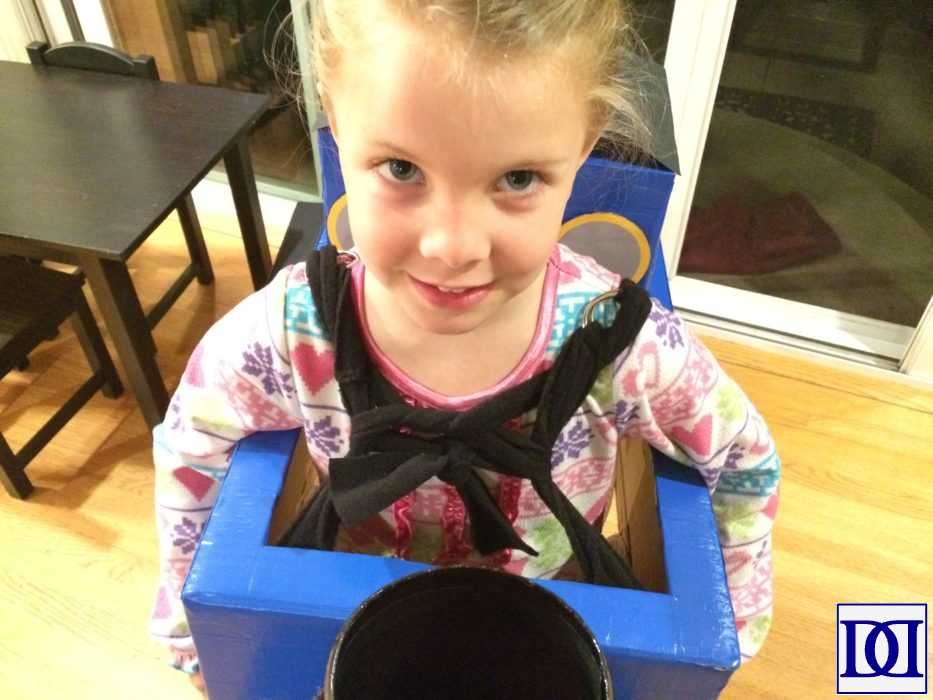
(4) Our Thomas was still not sitting right on our toddler (or our preschool model), so we added a few ties in the front. This threw of the balance of the costume, so we also added some “weight” (in the form of a bag of rice–to be replaced with candy on Halloween) to even him out.
Leave a Reply