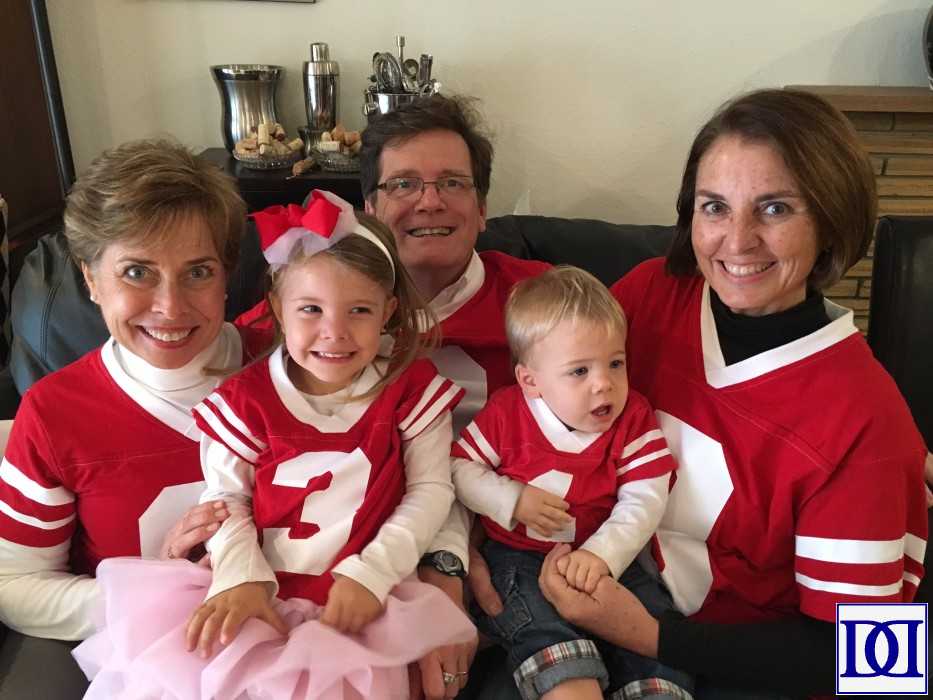
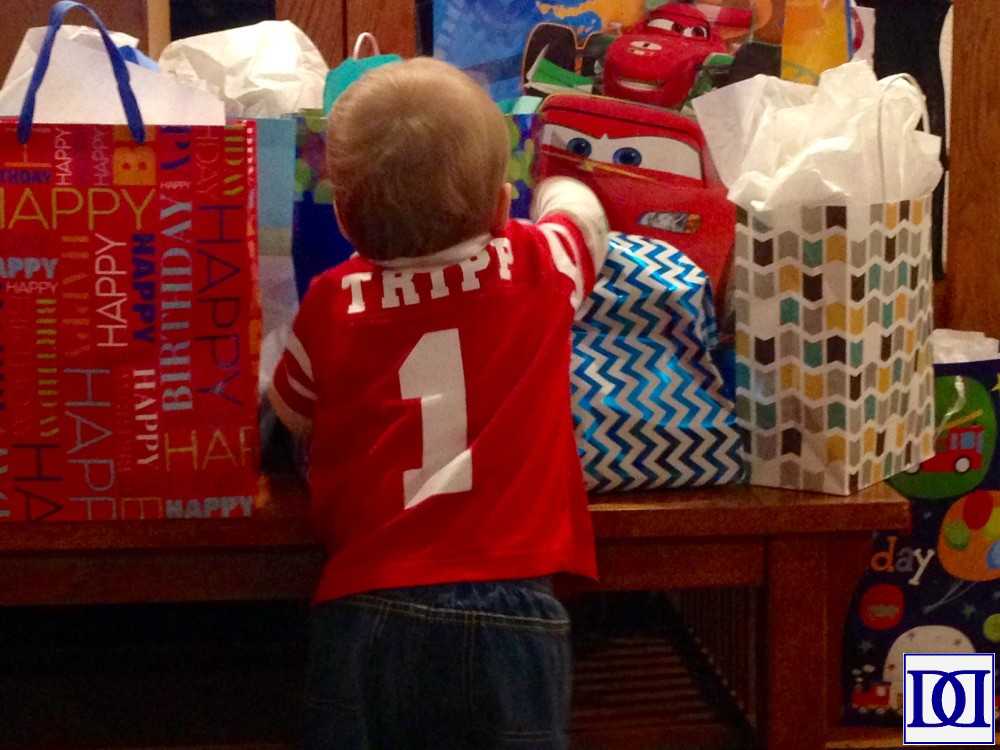
When we decided to throw a football-themed birthday for my son’s first birthday, I wanted to find a way to bring the whole family together (especially my 3 year old daughter). Since we are fairly big sports enthusiasts, I decided we would get the most use out of football jerseys in our team’s favorite colors.
Turns out, jerseys are expensive!!! Also, turns out, tshirts are fairly easy to find in a variety of sizes and colors for fairly cheap (WalMart, craft stores, and Amazon made this especially simple). This tutorial was also a great place to start, and with a few modifications, everyone in the family has really enjoyed their own t-shirt jersey!
Whether you’re making shirts for a tailgate, party or just for fun, I hope you enjoy this tutorial for everyone in the family!
What I Used:
- Tshirts/Onesie in our team’s home color
- White ribbed jersey material
- Coordinating tulle color (if making dresses)
- White heat transfer vinyl
TSHIRTS
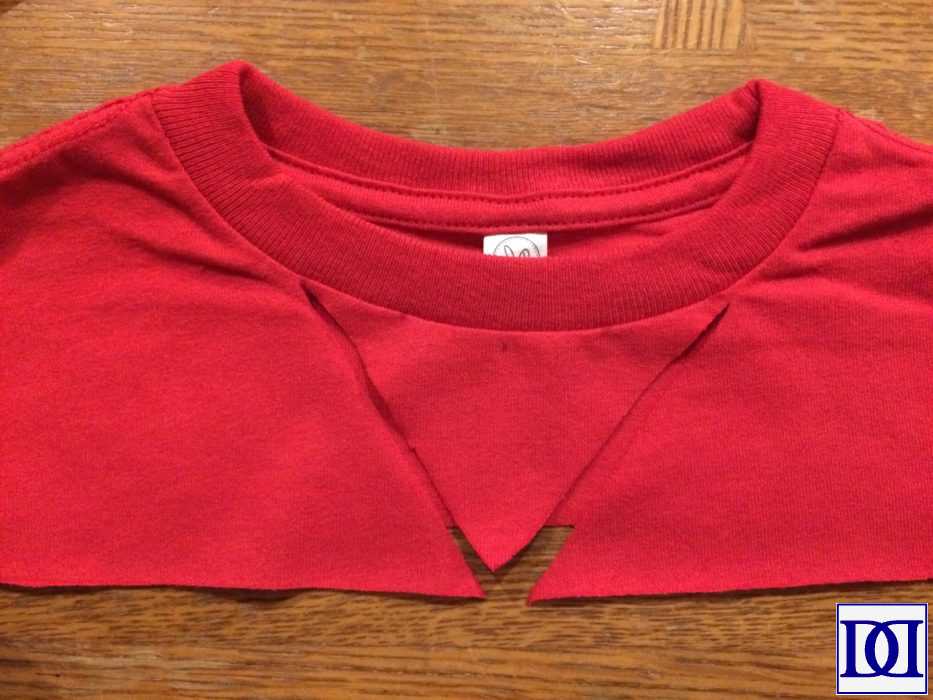
(1) Cut off the sleeves, including the seam (as shown below).

(2) Measure halfway down the open sleeve (or more depending on the desired size of your lettering), and cut the body of the shirt in two.
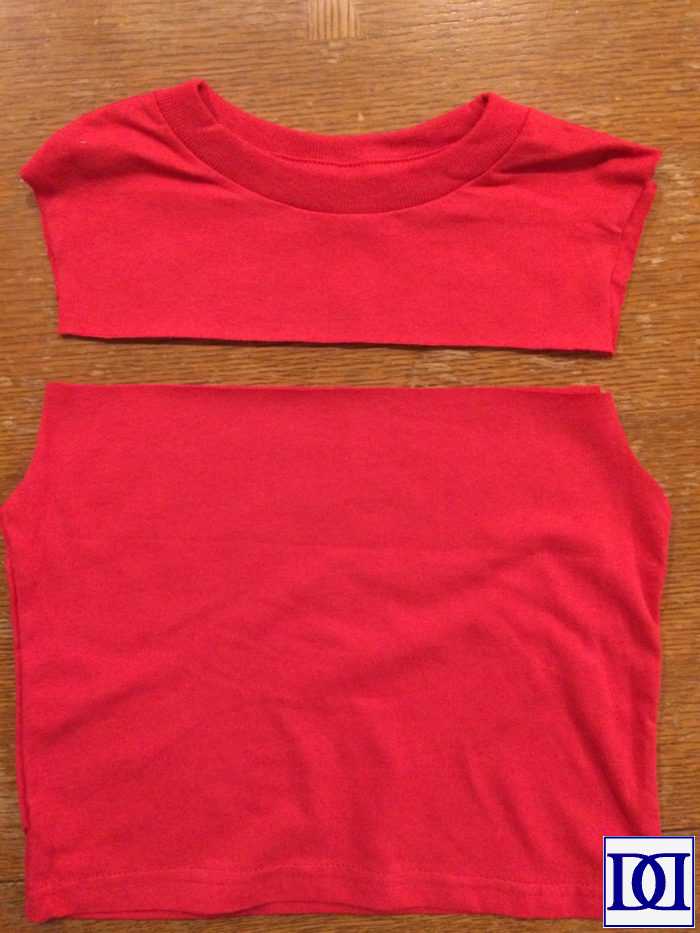
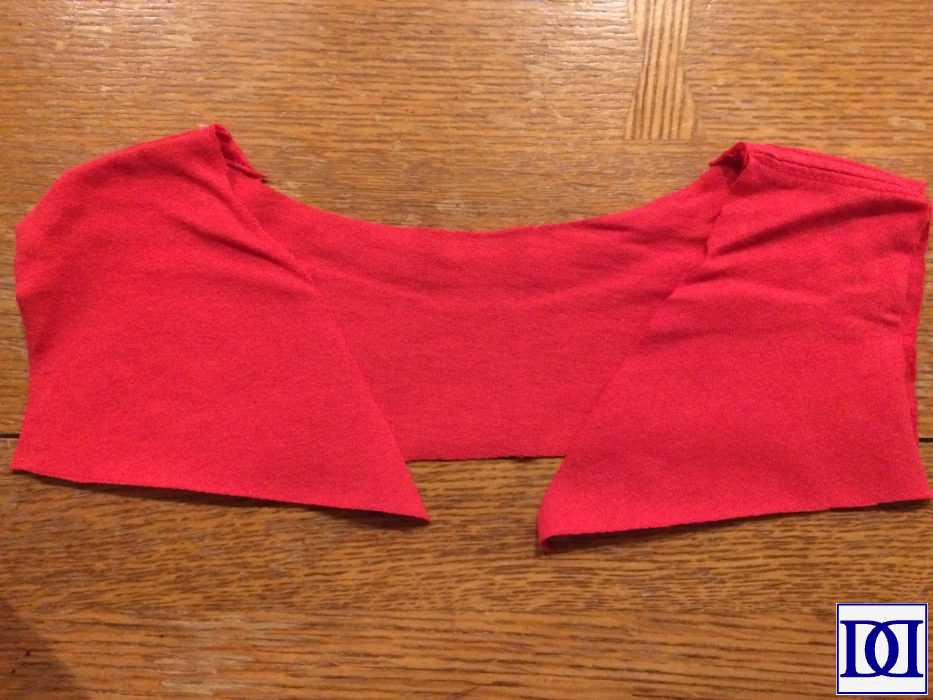
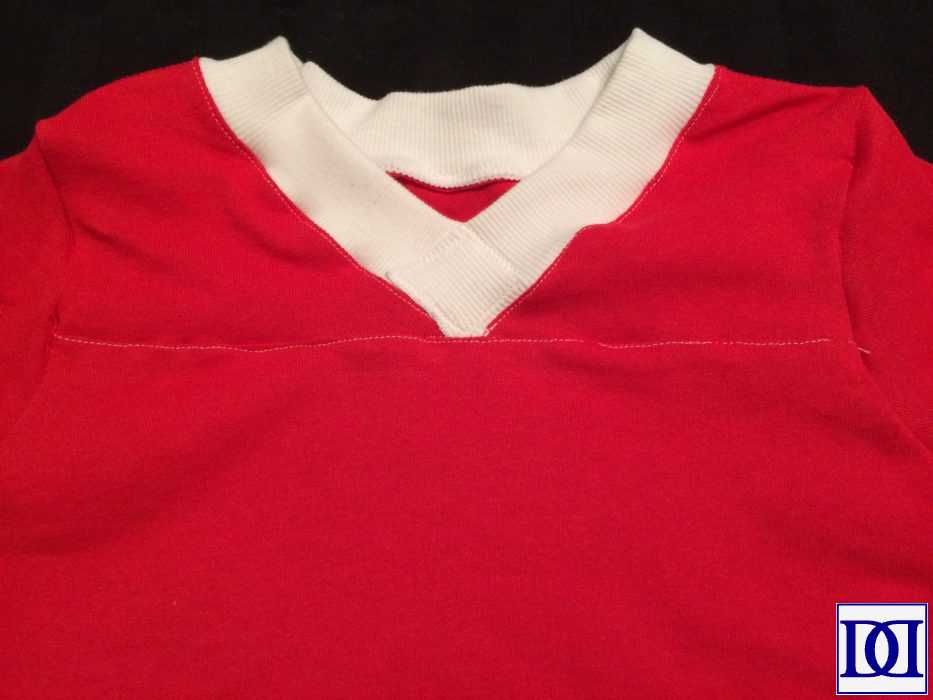
(3) Taking the top portion of the shirt, cut off the neckline at an angle down to the middle of your shirt piece.
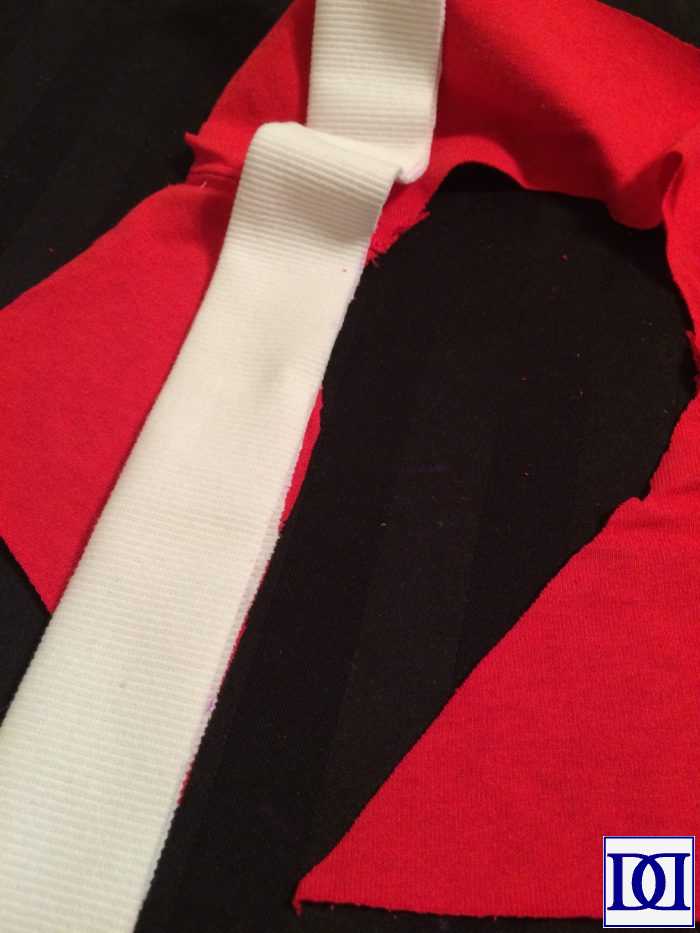
(4) Cut your jersey material into 3″ segments (mine is 24″ for a 4T shirt) and pin to neckline of the top portion of your shirt, cutting the jersey material at an angle to create a v-neck shape.
(5) Sew in place with a zig-zag stitch.
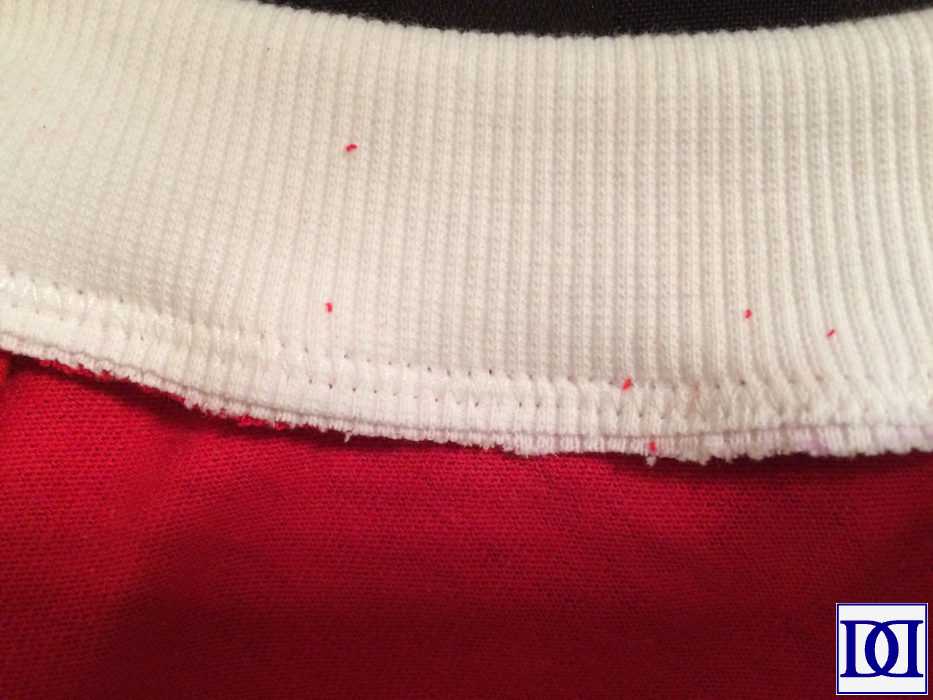
(6) Sew the seam down (I used the middle of my zig-zag stitch as a guide.
(7) Sew down the v-neck with a zig-zag stitch.
(8) Putting right sides together, sew the top piece back to the shirt body (you will need to stretch the top portion slightly to fit).
(9) If desired, add decorative stitching line across.
(10) Switch to matching thread, and sew on sleeves with right sides facing and using the pre-existing sleeve seam as a guide. I found a zig-zag stitch works best here.
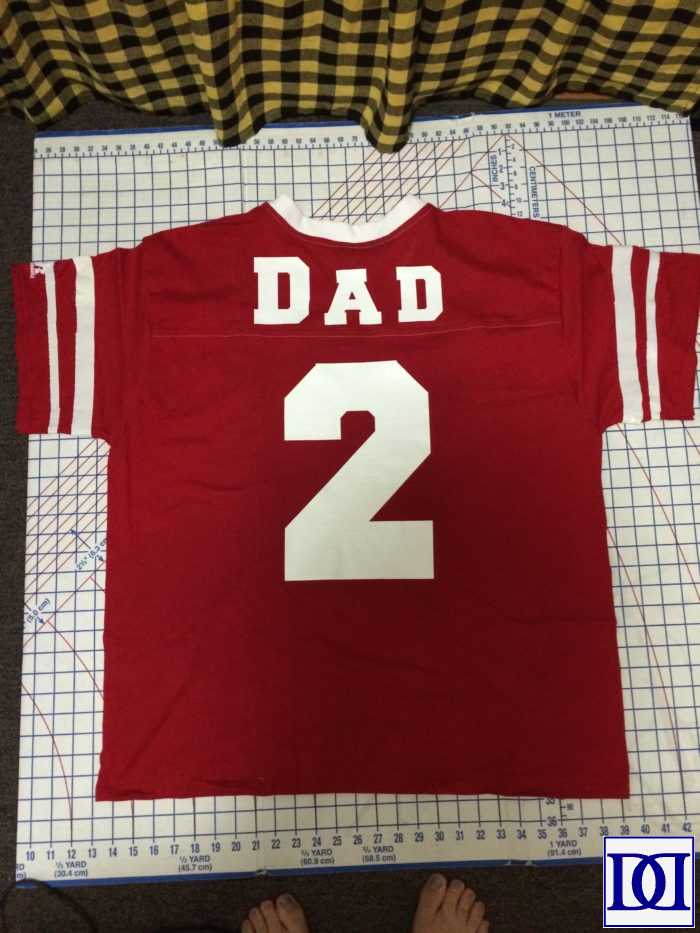
(11) Add lettering and/or accents as desired (see below for tips).

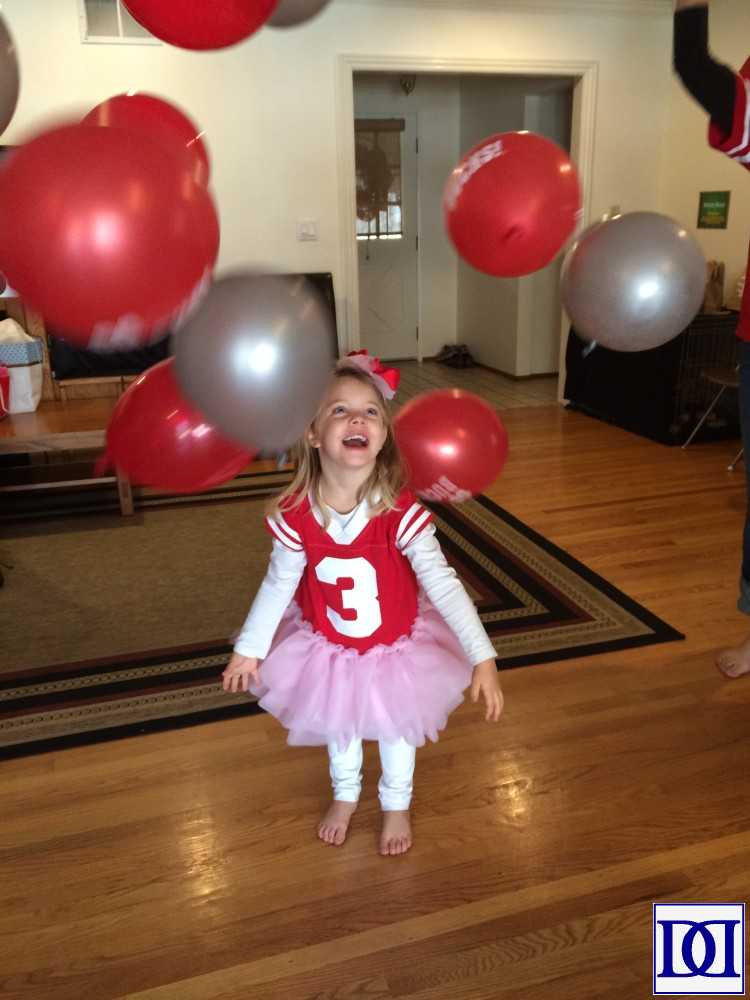
DRESSES
Complete steps (1)-(8) for shirts.
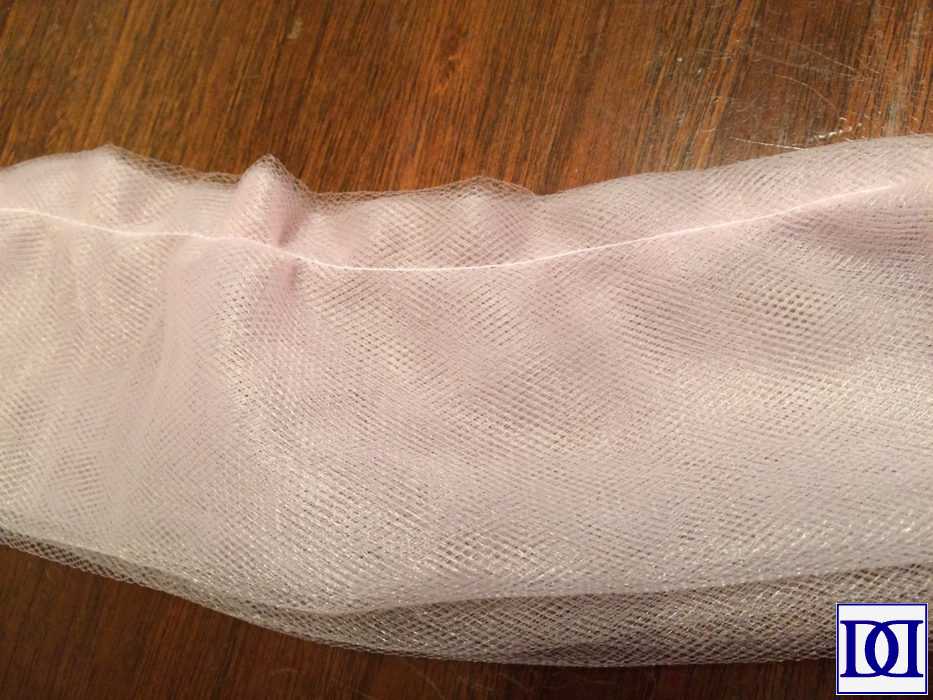
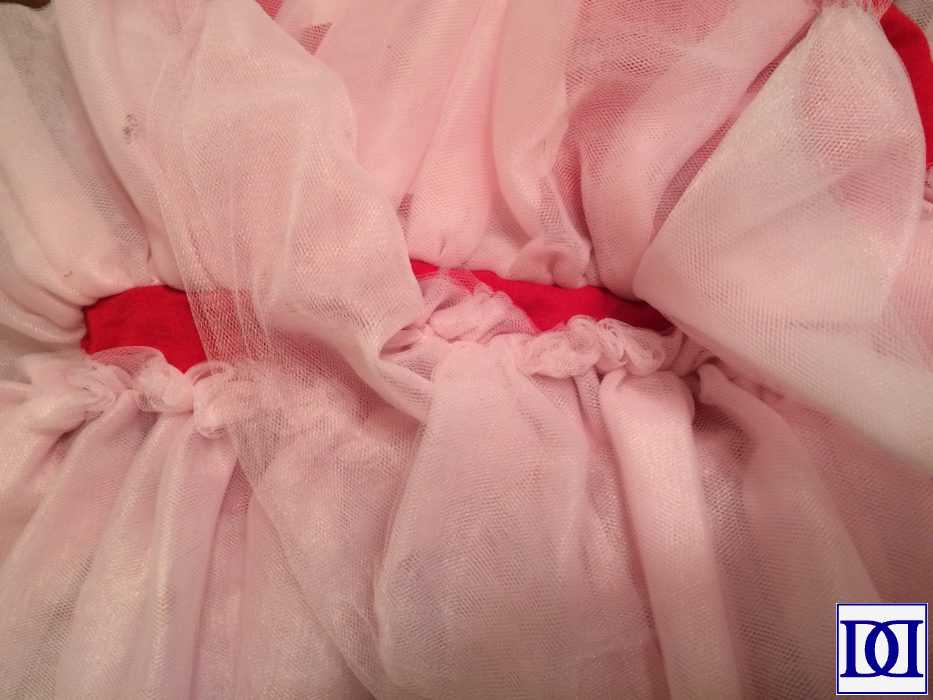
(1) Determine how long the dress should be and how many layers of tulle you’d like to use. Cut your tulle to the desired length (typically 2x the distance you ultimately want to cover) and thickness and baste stitch across the top.
(2) Pulling one of the threads of your baste stitch, ruffle your tulle to the desired length. Pin and sew the ruffled tulle to the shirt.
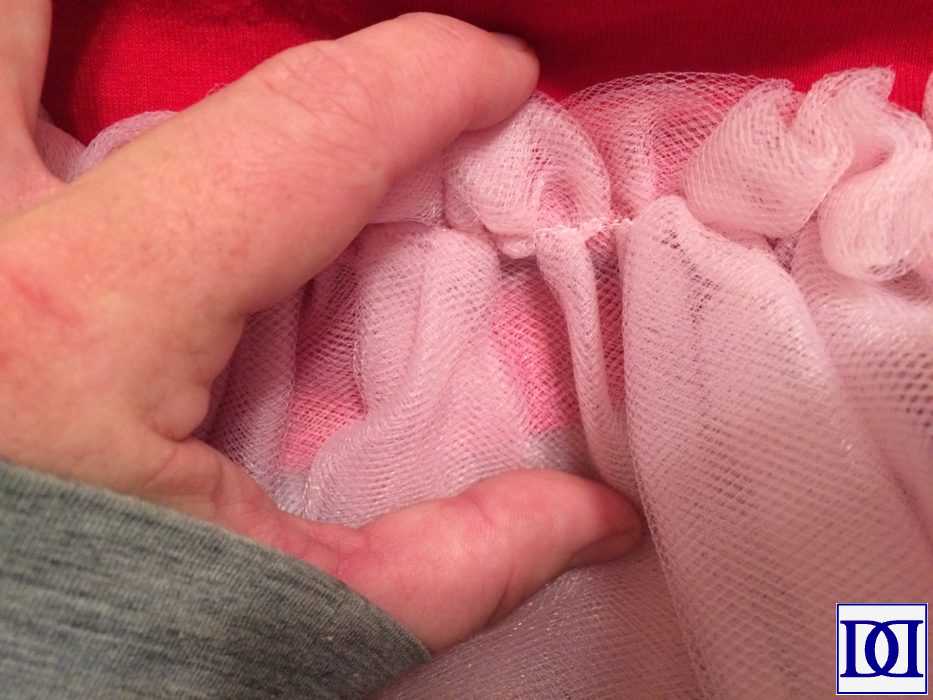
(3) Add layers as desired.
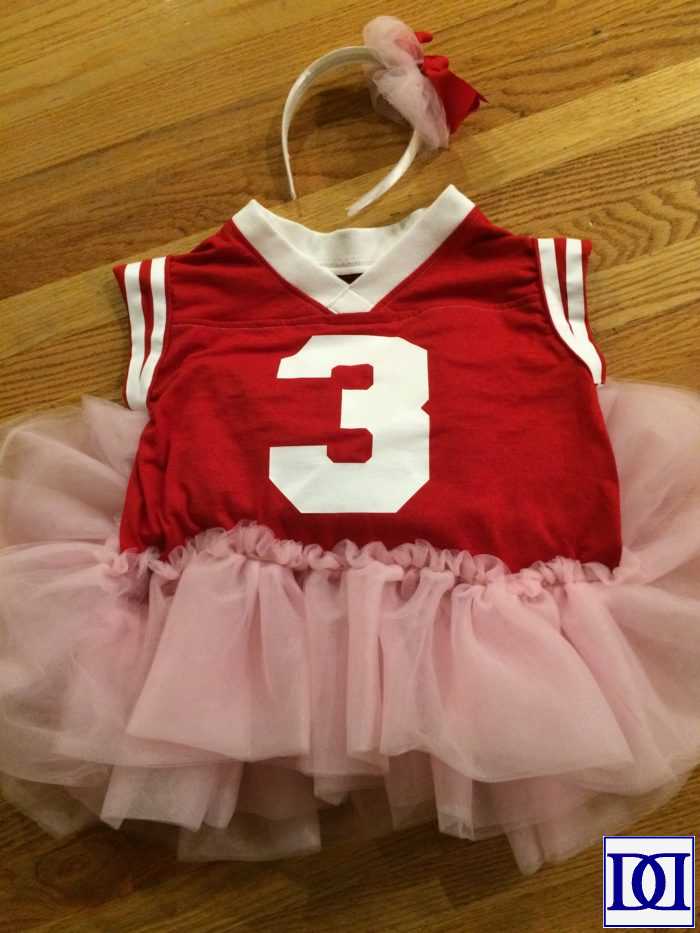
(4) Add lettering and/or accents as desired (see below for tips). My daughter and I finagled a headband out of the scraps for fun!
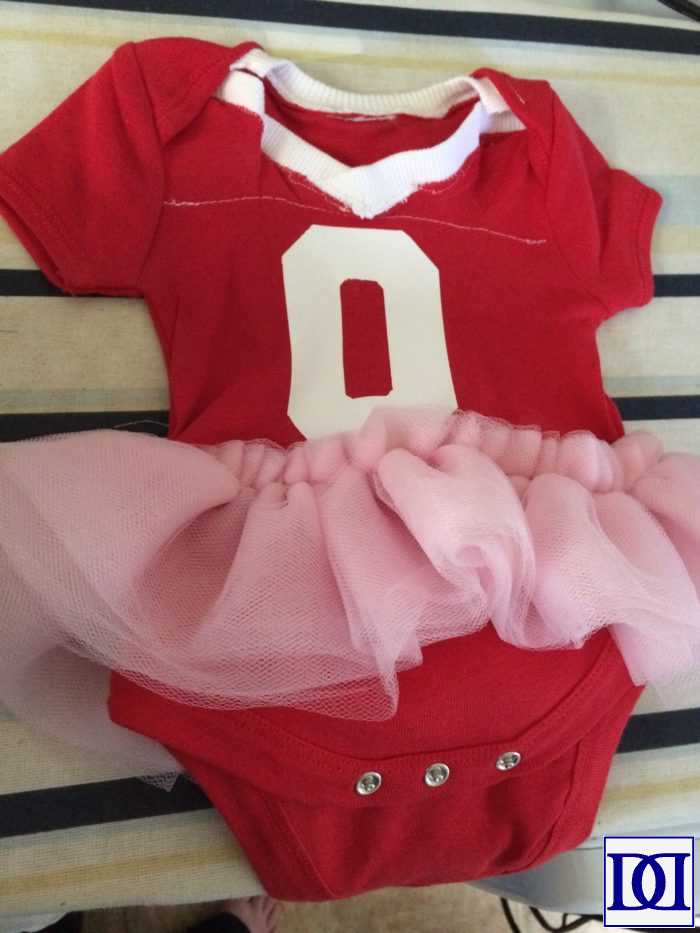
ONESIES
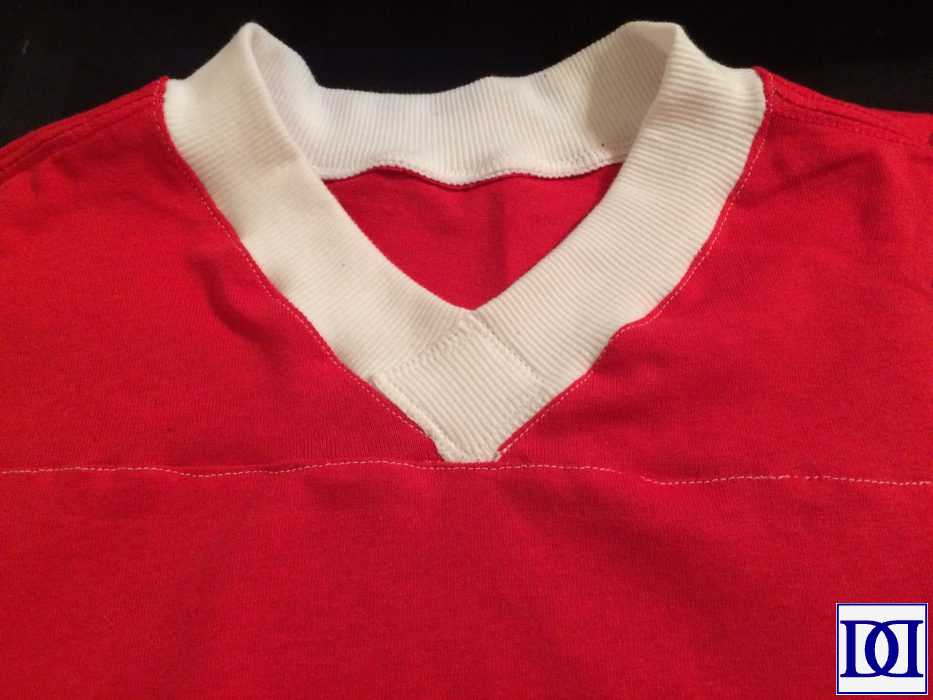
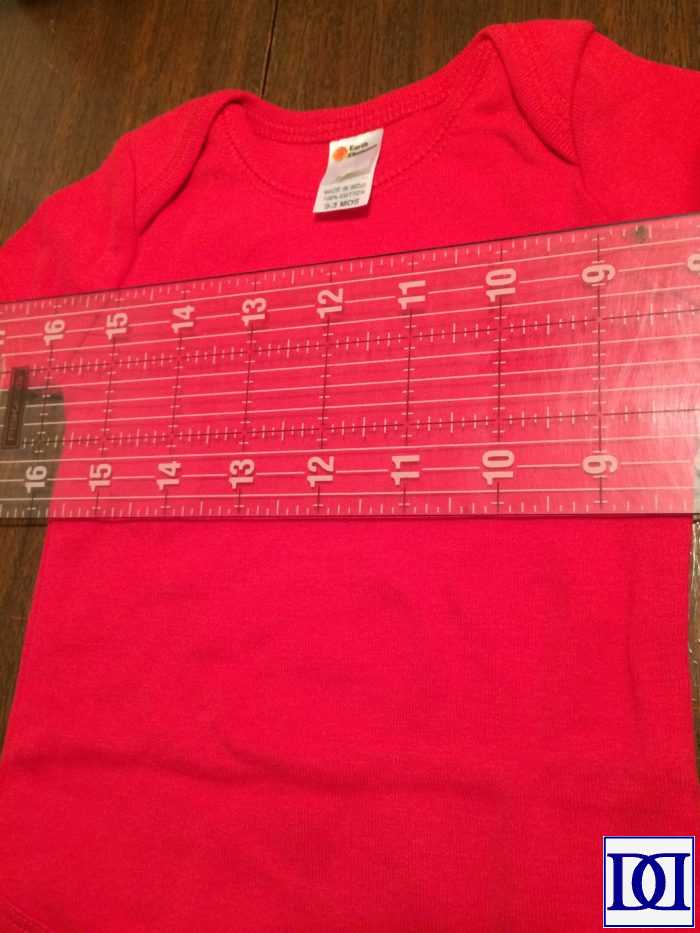
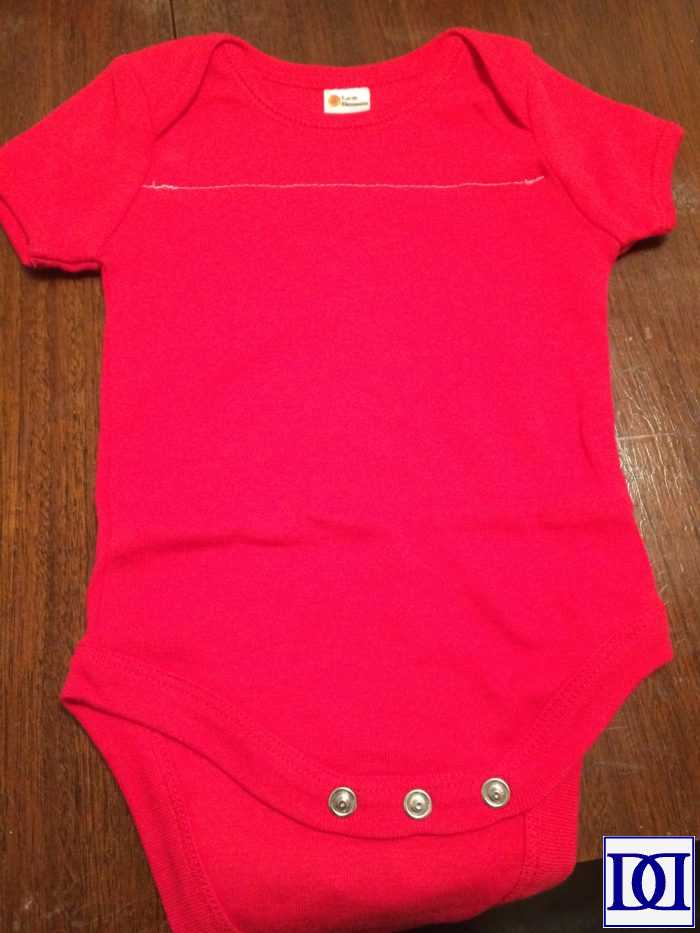
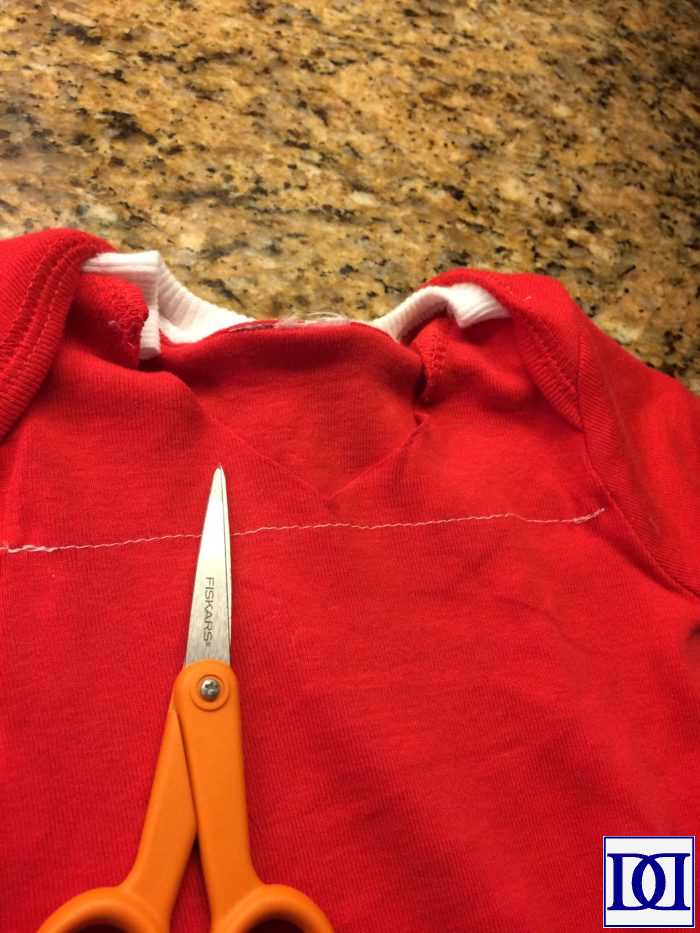
(1) Measure halfway down the front and back sleeve holes. Sew a decorative stitch across the chest of your onesie.
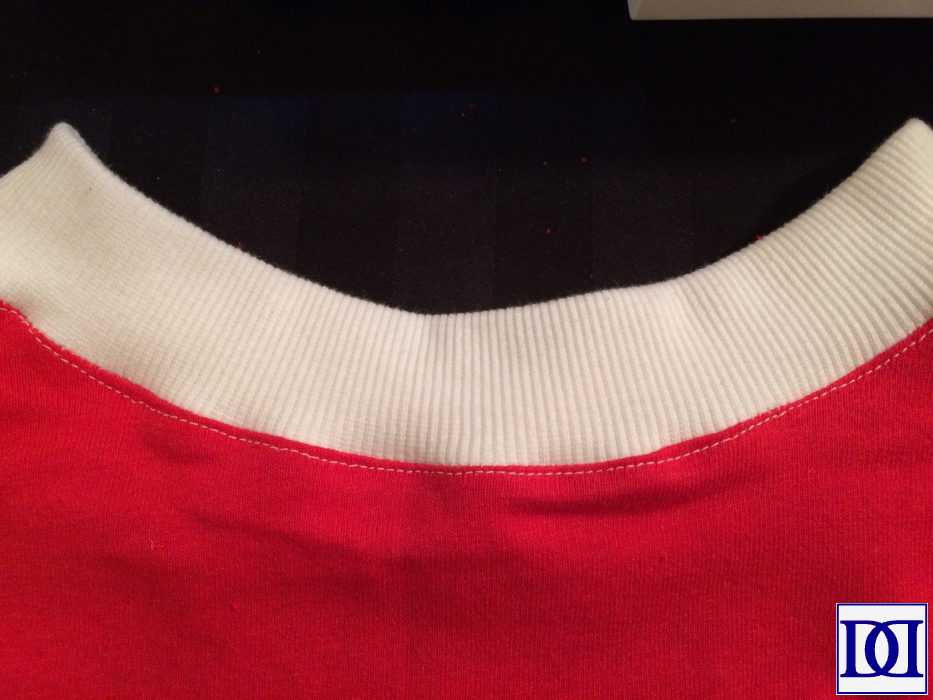
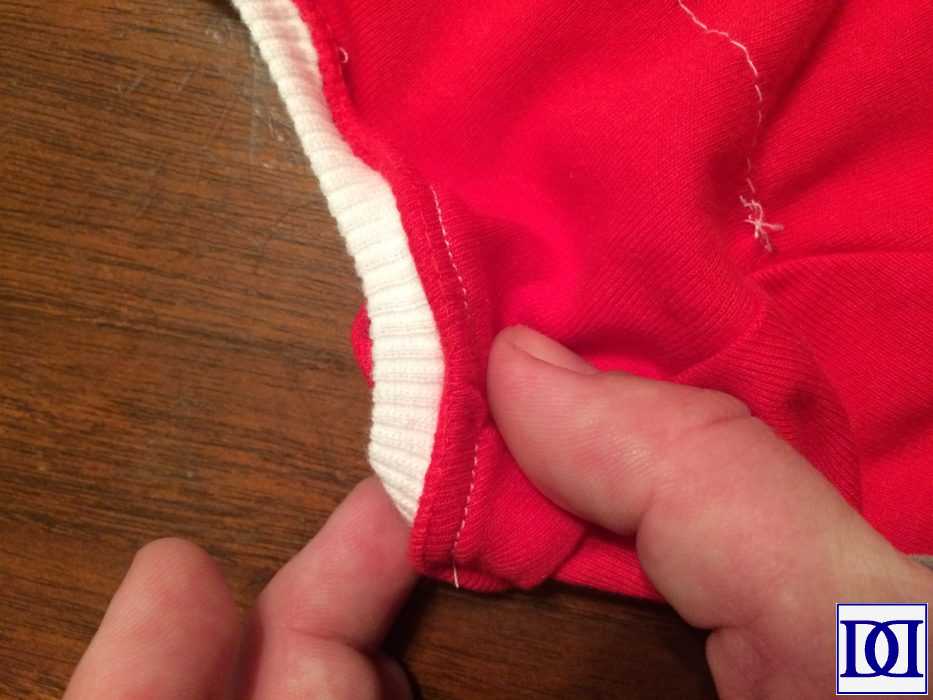
(2) Cut your jersey material into 1.5″ segments and iron in half. You’ll notice that a onesie’s neckline is comprised of two pieces, the back and the front. Pin the jersey material to the back piece of your onesie’s neckline, right sides facing. Sew with a zig-zag stitch.
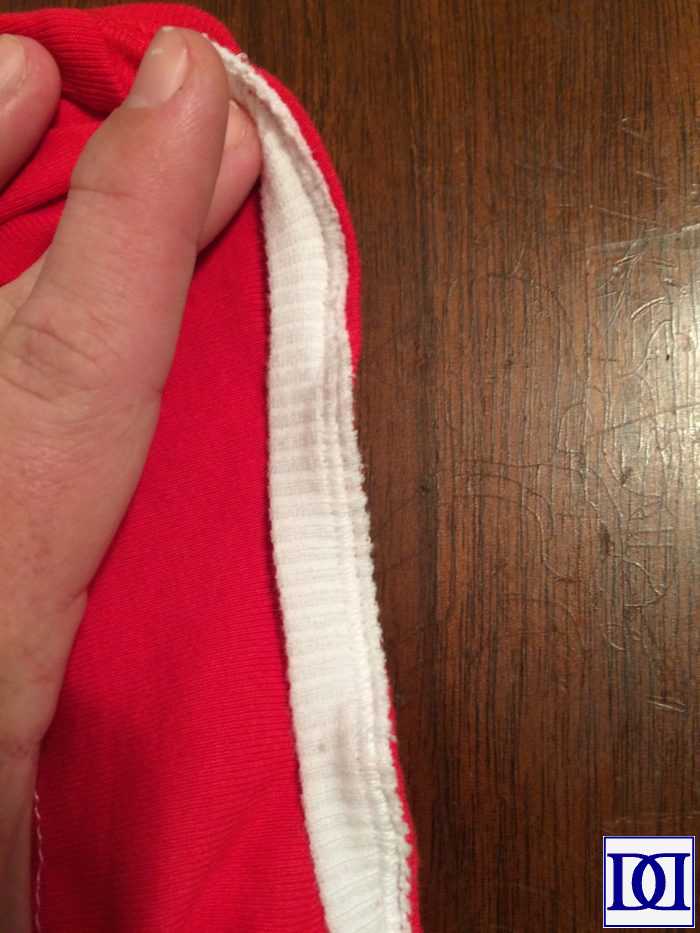
(3) Iron seam, and sew jersey material down.
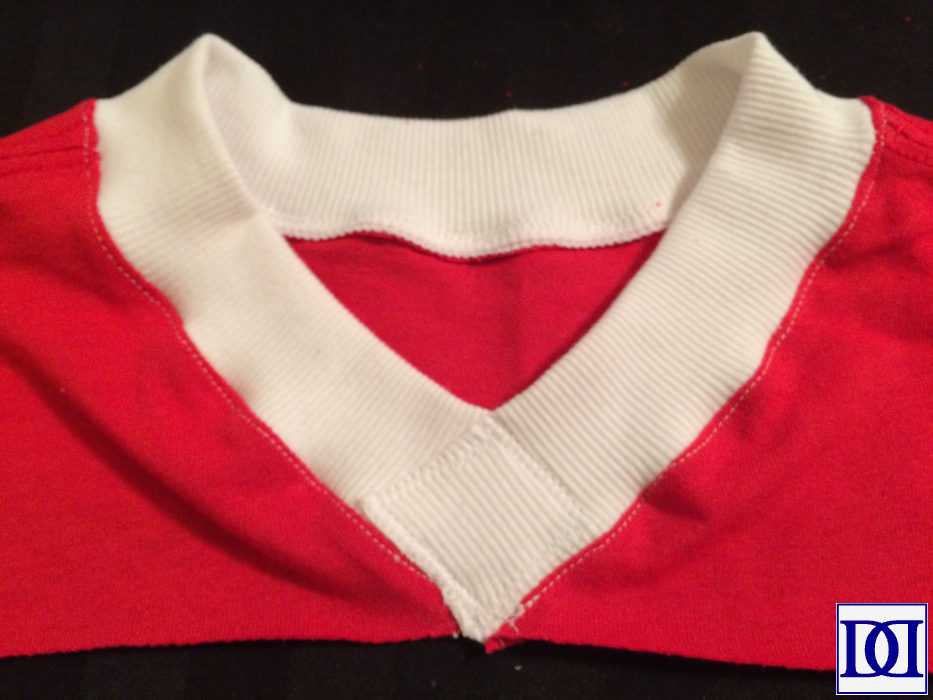
(4) Cut a v-neck on the front of the onesie.
(4) Cut your remaining jersey segment in half and pin one segment to each side of the front, meeting in a v-neck shape. Sew in place.
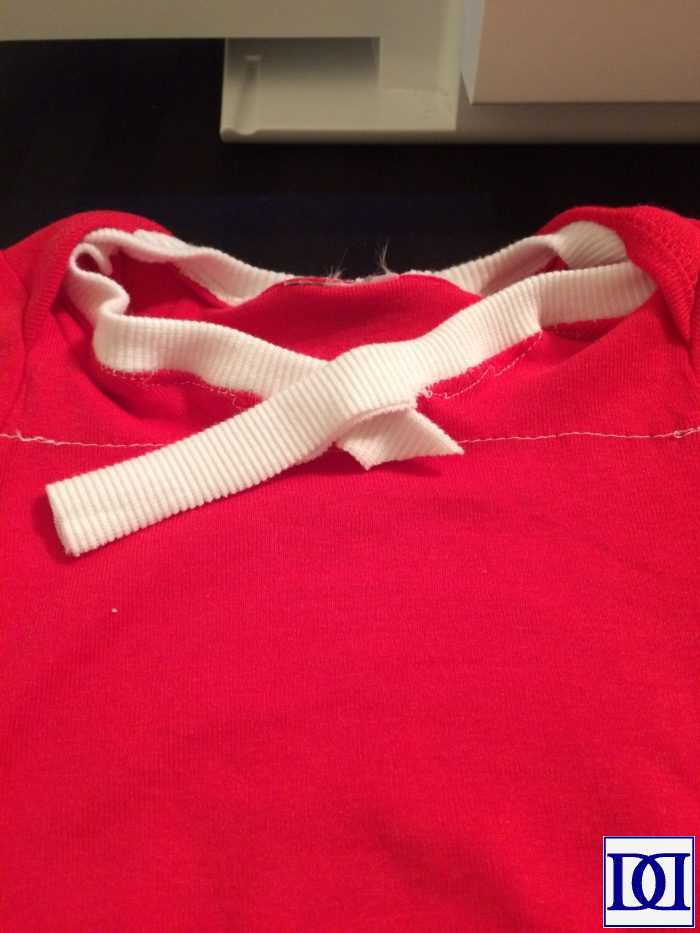
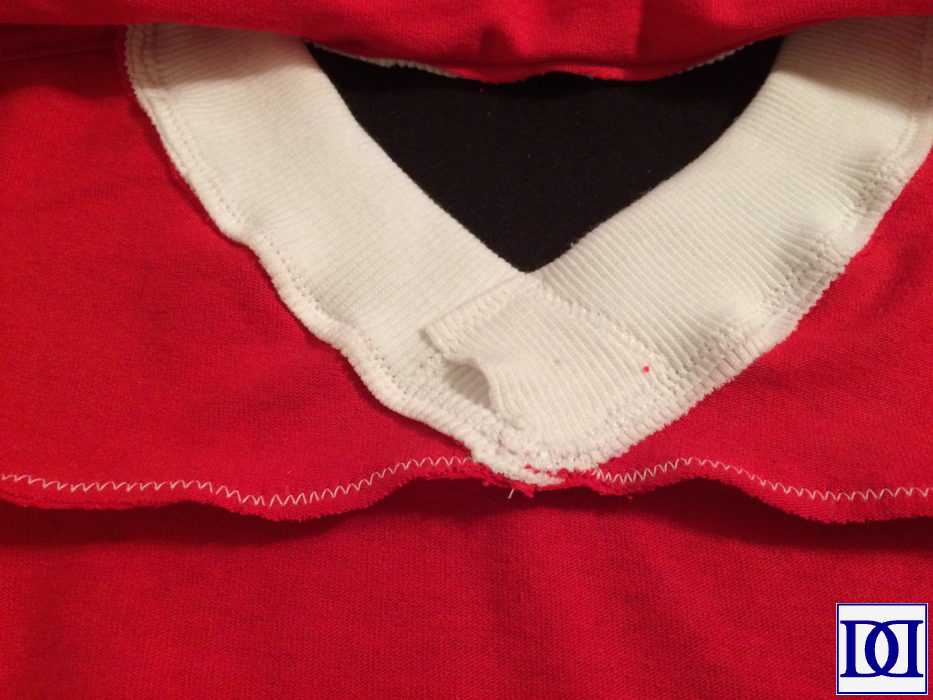
(5) Cut the jersey down to make a clean v-neck. Turn and sew seam down as with back. Because you are working with a more intact neckline than the shirts, this part is a bit trickier. I stitched the seam down until the sides of the v-neck were supposed to meet. Then, I merely zig-zag stitched the v-neck down to the shirt, and I think it turned out okay.

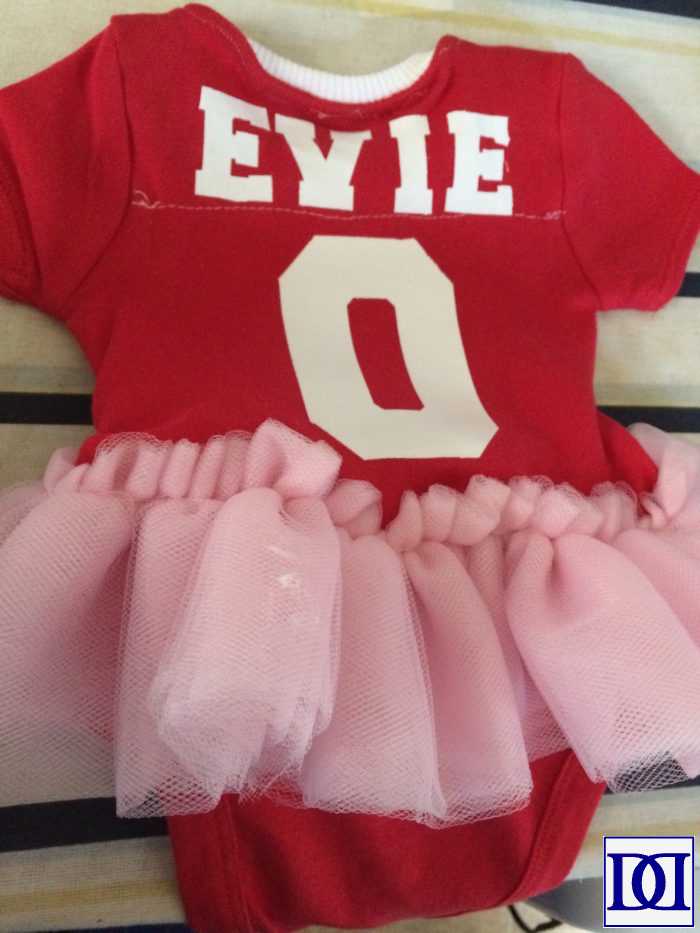
(6) Add ruffles (see “dress section”), lettering, and/or accents as desired (see below for tips).
LETTERING/ACCENTS
(1) Determine the size available for names/numbers and create a template. I used this font for mine.
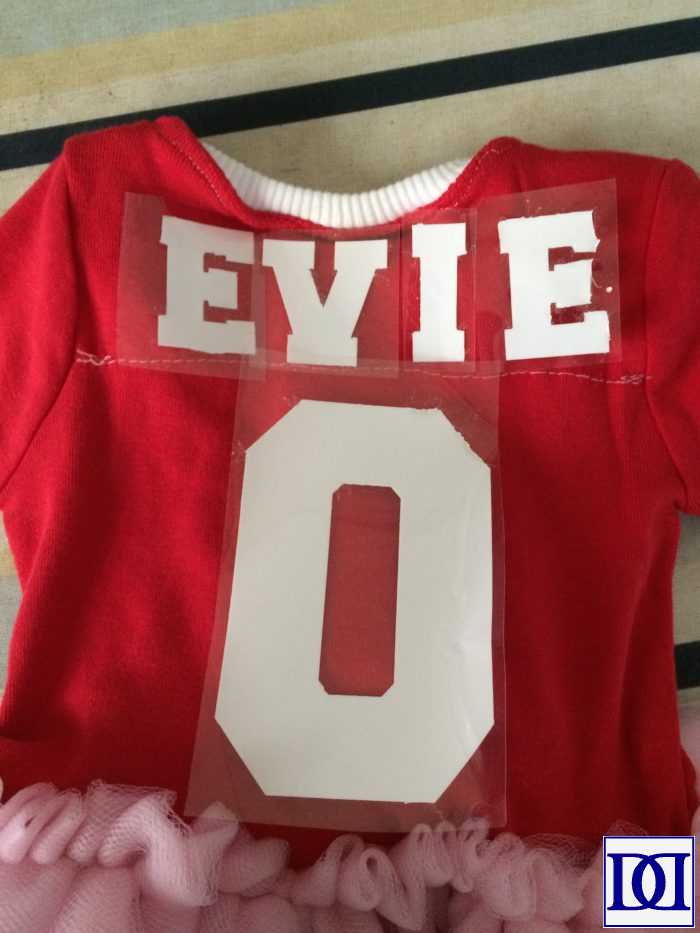
(2) Using heat transfer material or vinyl, transfer letters and numbers to your shirt.
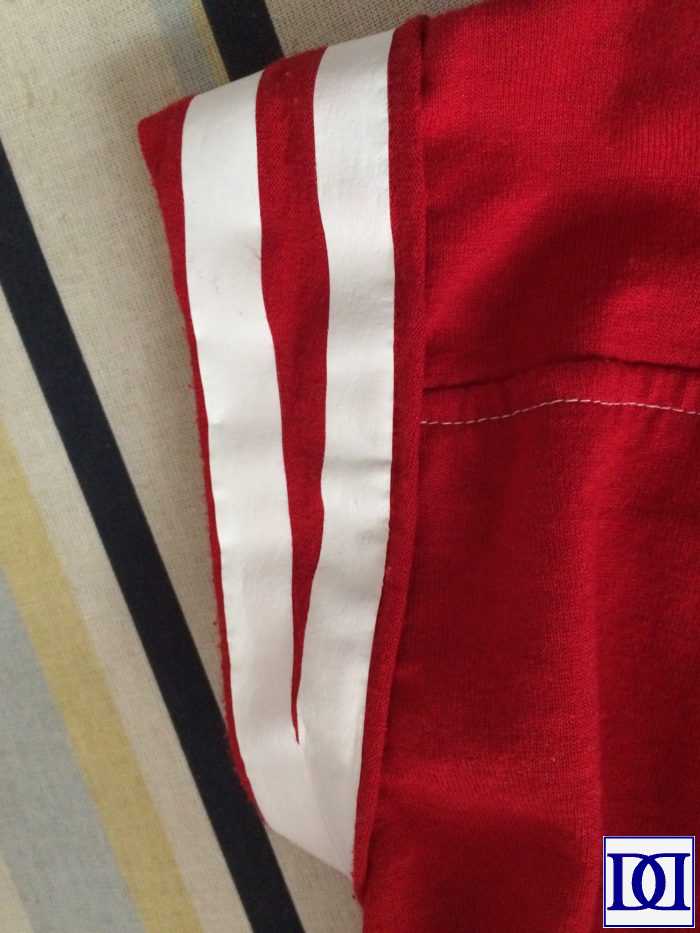
(3) If desired, add lines to the sleeves of your jerseys (the adults are 1″ and 1/2″ while the kids’ are 1/2″ and 1/4″).
For other tailgating or football party ideas, check out Football Shenanigans: A B1G Day!
Leave a Reply